如何使用 Angular 實作下拉選單?
下拉選單為常用的使用者介面,該如何優雅地將資料綁定在元件上,並且優雅地取得使用者的選擇資料呢?
Version
Angular CLI 1.1.2
Angular 4.2.3
Introudction

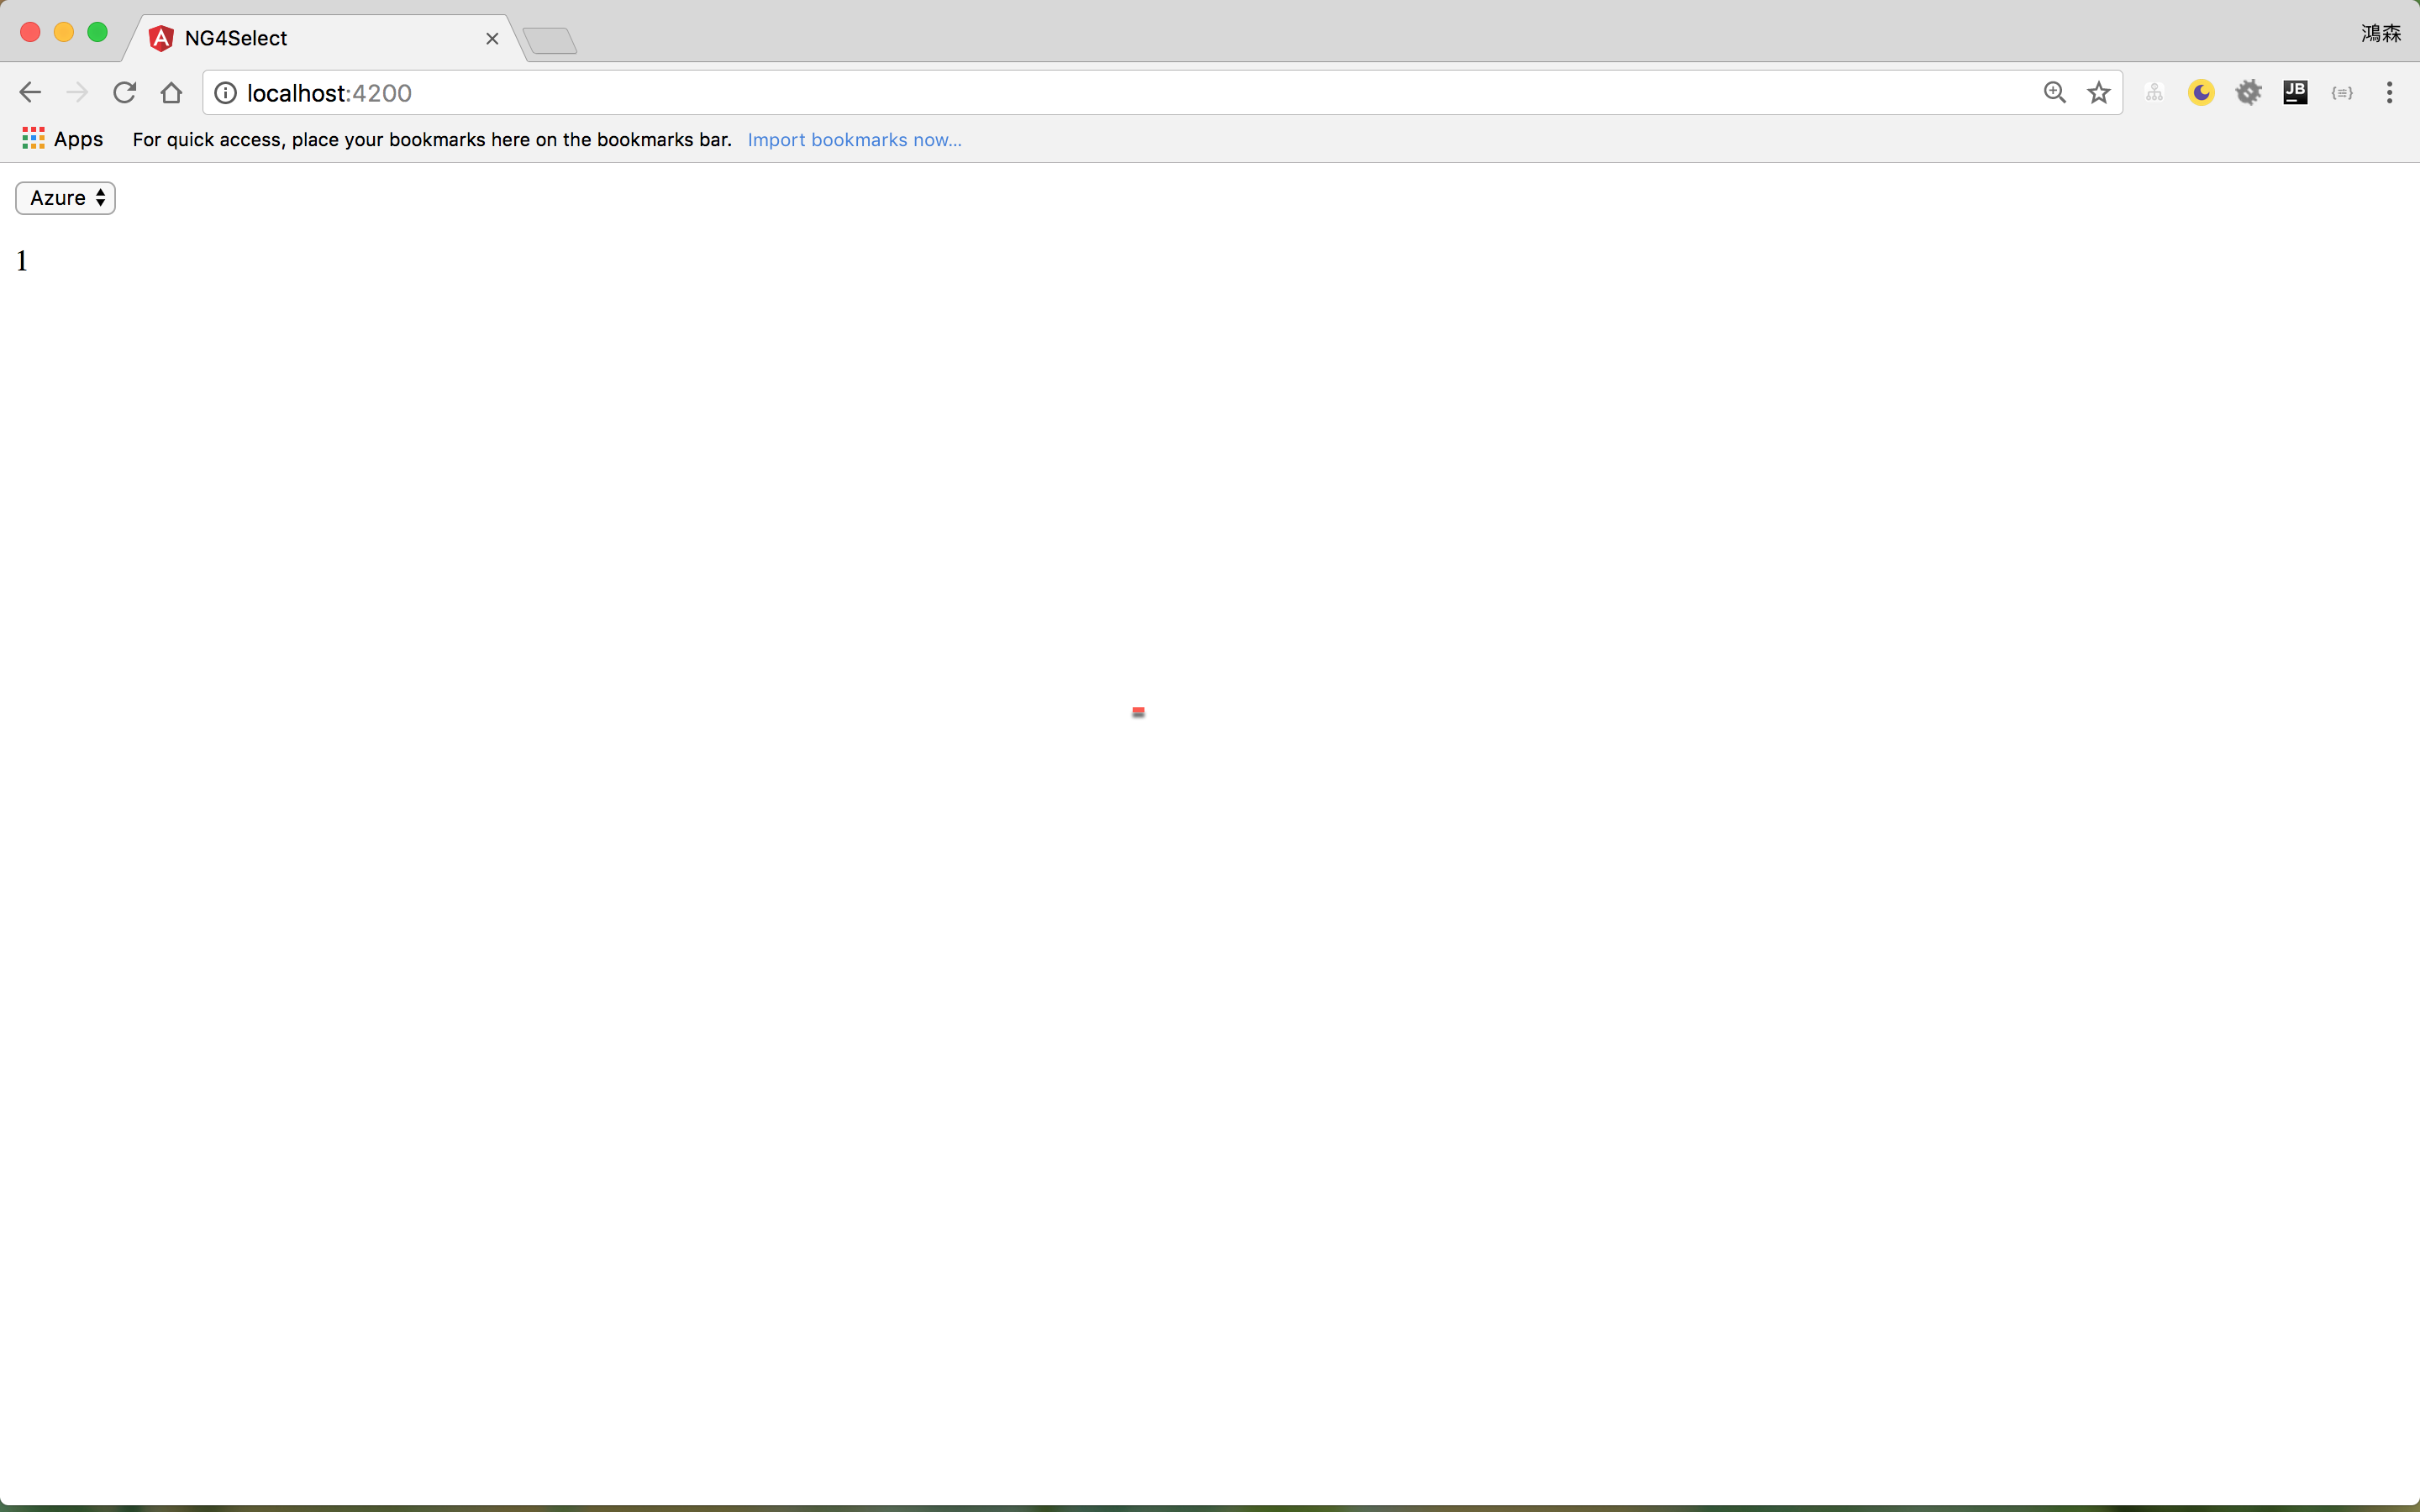
將實作出一下拉選單,其顯示資料來自於資料綁定,當使用者有不同的選擇,會將其值顯示在 select 下方。
將示範 3 種實作方式:
- 使用 DOM event
- 使用 Template Reference Variable
- 使用 Two-Way Binding
使用 DOM event 物件
src/app/app.component.html1 1GitHub Commit : app.component.html
1 | <select (change)="onChange($event)"> |
第 2 行
1 | <option *ngFor="let cloud of clouds" [value]="cloud.id">{{ cloud.name }}</option> |
使用 *ngFor 這個 structure directive 重複顯示 <option>,其中 clouds 型別為 Cloud[],每一筆資料 cloud 為 Cloud ViewModel,有 name 與 id 兩個欄位,稍後會看到 Cloud ViewModel 的定義。
第 1 行
1 | <select (change)="onChange($event)"> |
(change) 為 event binding,當 change event 被觸發時,執行 onChange() event handler。
$event 為 event object,若 event 為原生的 DOM event,則 $event 為 DOM event object,擁有 target 與 target.value 等 property。
將 $event 以參數傳進 onChange()。
在原生 JavaScript 中,
event物件可直接使用,不需要前面加上$,但在 Angular 的 HTML template 中,若要使用 event object,Angular 規定要從event改成$event,Angular 在底層另有處理,暫時只能當語法背起來。
第 5 行
1 | {{ selectedId }} |
顯示 select 所選擇的 value,即 cloud.id。
src/app/app.component.ts2 2GitHub Commit : app.component.ts
1 | import { Component } from '@angular/core'; |
第 10 行
1 | clouds: Cloud[] = [ |
clouds 為 select 欲作 data binding 的資料,實務上此資料會透過 API 取得,在此為了簡化起見,先直接 hardcode 一個陣列。
16 行
1 | selectedId: number; |
宣告 selectedCloudId 為 number 型別,雖然也可以宣告為 string,但因為 id 在 cloud 宣告為 number 型別,所以 selectedId 也宣告為 number 型別較合適。
18 行
1 | onChange(event: Event) { |
onChange 為 select change event 的 event handler,其中 event 為 HTML template 傳進來的 $event,型別為 Event。
event.target 在 lib.es6.d.ts 定義的型別為 EventTarget,但我們知道其本質型別為 HTMLSelectElement,因此使用 type assertion 加上 <HTMLSelectElement>將 event target 轉型成 HTMLSelectElement,則 intellisense 就會有 value 可選,不過 value 的型別為 string,因此要再加上 + 將 string 轉成 number。
src/app/cloud.ts3 3GitHub Commit : cloud.ts
1 | export interface Cloud { |
宣告 Cloud 的 ViewModel,id 為 number,name 為 string。
使用 Template Reference Variable
src/app/app.component.html4 4GitHub Commit : app.component.html
1 | <select (change)="onChange(mySelect)" #mySelect> |
第 1 行
1 | <select (change)="onChange(mySelect)" #mySelect> |
原本 onChange() 是傳進 $event,這裡改傳 mySelect。
# 為 template reference variable,我們可以在 HTML template 內,對任意 HTML element 加上 # 與變數名稱,Angular 會自動幫我們對該 element 建立物件。
src/app/app.component.ts4 4GitHub Commit : app.component.ts
1 | import { Component } from '@angular/core'; |
18 行
1 | onChange(element: HTMLSelectElement) { |
onChange() 改接收 template reference variable 後,因為我們確定 onChange() 為 select 的 event handler,所以傳進的 element 型別必為 HTMLSelectElement。
由於 element.value 型別為 string,必須加上 + 轉型為 number。
使用 Two-Way Binding
src/app/app.module.ts5 5GitHub Commit : app.module.ts
1 | import { BrowserModule } from '@angular/platform-browser'; |
11 行
1 | imports: [ |
要使用 two-way binding,必須在 AppModule 手動 import FormsModule。
src/app/app.component.html5 5GitHub Commit : app.component.html
1 | <select [(ngModel)]="selectedId"> |
使用 [(ngModel)] 直接 two-way binding 到 selectedId,其他都可以拿掉。
src/app/app.component.ts6 6GitHub Commit : app.component.ts
1 | import {Component} from '@angular/core'; |
由於使用了 two-way binding,所有的 event handler 也可以拿掉,當 select 選擇改變時,自動會改變 selectedId。
實務上該使用哪種寫法?
雖然表面上 two-way binding 的寫法最精簡,若以物件導向與強型別觀點,template reference variable 的寫法語意較佳:
- 明確將物件傳入 event handler 當中。
- Event handler 的參數可明確宣告物件型別加以檢查。
- 取得物件的值較直觀,不必搭配 type assertion。
Conclusion
- 仍然可以在 HTML template 使用 DOM 的 event 物件,但必須加上
event前面加上$變成$event。 - Template reference variable 技巧在實務上常常使用,可隨時在 HTML template 中將 HTML element 宣告成變數傳入 event handler。
- Two-way binding 實際上是個 syntax sugur,Angular 會展開實作
(ngModelChange)event handler。
Sample Code
完整的範例可以在我的 GitHub 上找到。