如何在 Angular 使用 ViewChild() Decorator ?
@ViewChild() decorator 一開始是在存取 child component 時學到的,事實上 @ViewChild() 還有其他使用方法。
Version
Node.js 8.9.3
Angular CLI 1.6.2
Angular 5.2
Component
使用 @ViewChild() 存取 child component。
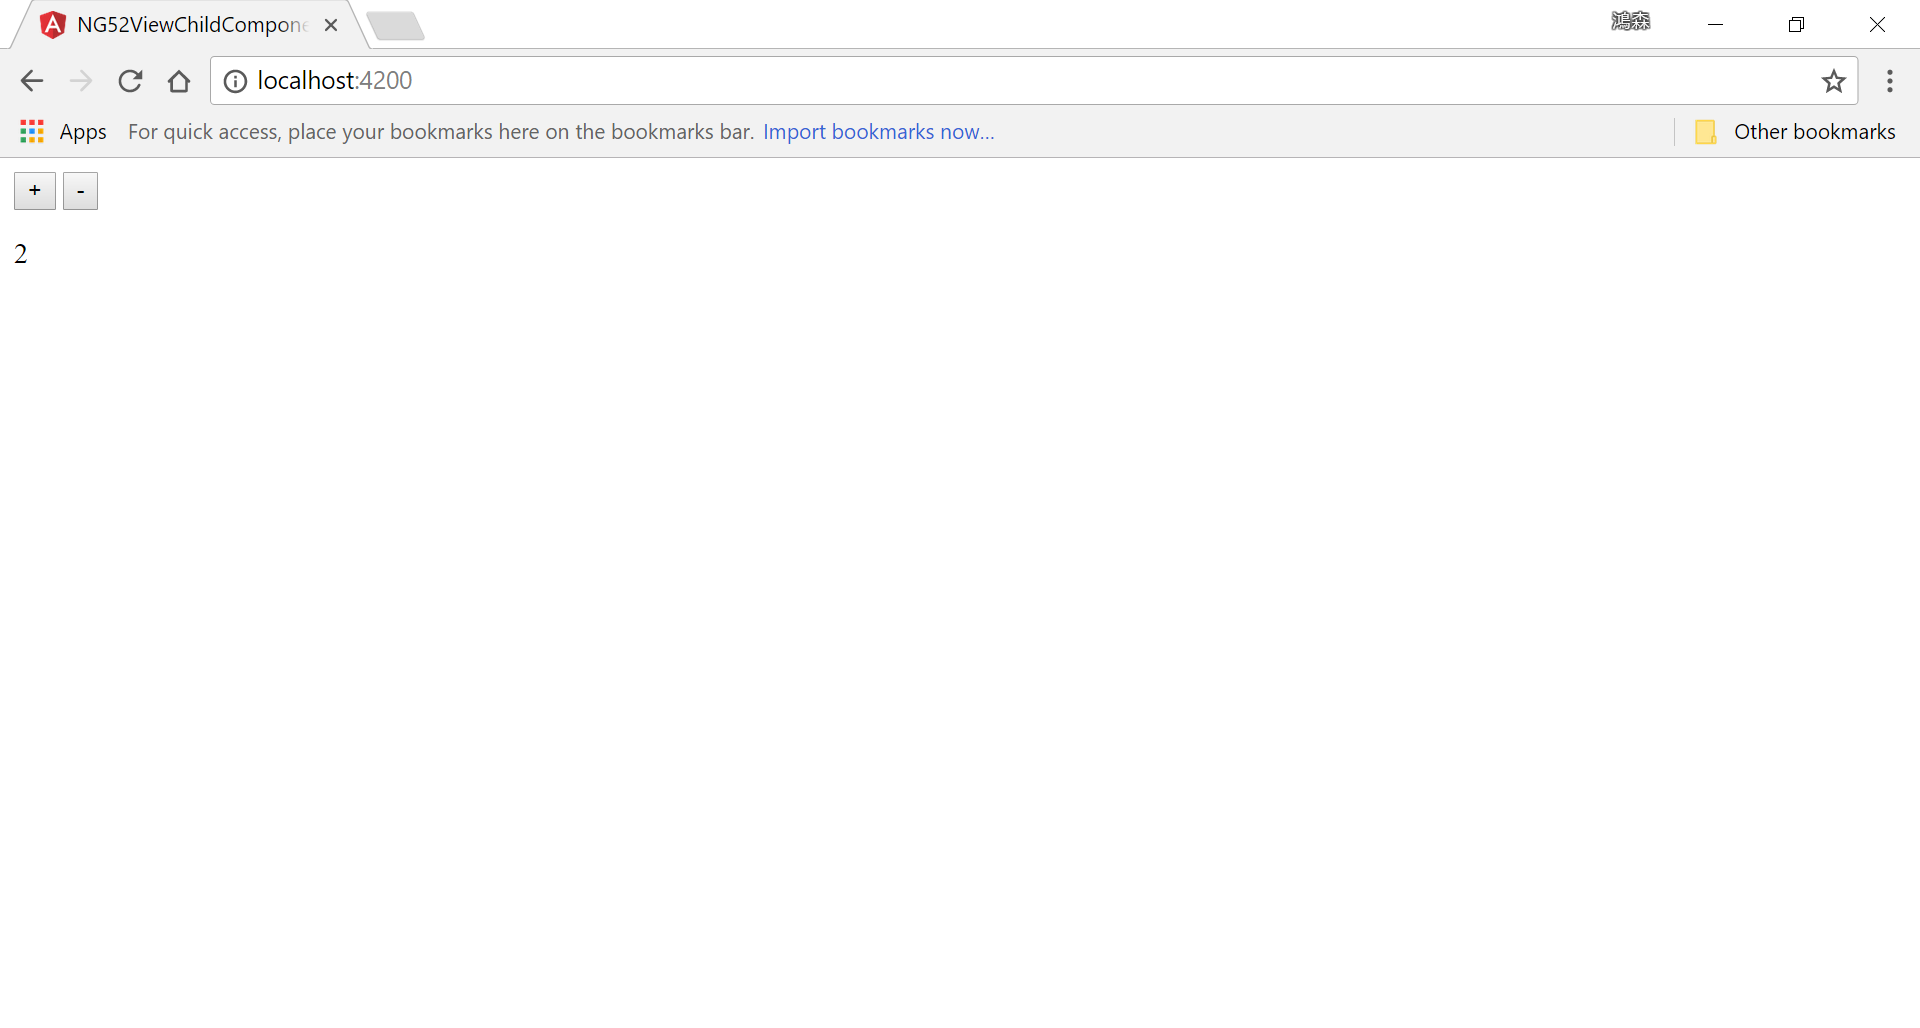
counter初始值為2- 按
+則counter+ 1,按-則counter-1
Architecture

AppComponent負責處理<button/>;CounterComponent負責顯示counterAppComponent相當於 parent component,CounterComponent相當於 child componentAppComponent直接呼叫CounterComponent的 method 改變counter;AppComponent也可直接讀取CounterComponent的 property
Implementation
AppComponent

app.component.html
1 | <button (click)="onAddOneClick()">+</button> |
將 2 個 <button/> 留在 AppComponent 內。
counter 的顯示由 <app-counter/> 負責。
app.component.ts
1 | import { AfterViewInit, Component, ViewChild } from '@angular/core'; |
10 行
1 | @ViewChild(CounterComponent) |
Angular 允許我們在 parent component 透過 @ViewChild() decorator 宣告 child component,藉此存取 child component 的 public field 與 method。
@ViewChild() 第一個參數傳入 child component 的型別。
第 9 行
1 | export class AppComponent implements AfterViewInit { |
若要透過 @ViewChild() 存取 child component 的 public field,則必須在 ngAfterViewInit() lifecycle hook 才可抓的到,不可以在 ngOnInit()。
17 行
1 | onAddOneClick() { |
若要透過 @ViewChild() 存取 child component 的 public method,則無此限制。
CounterComponent

counter.component.html
1 | {{ counter }} |
負責顯示 counter。
counter.component.ts
1 | import { Component } from '@angular/core'; |
沒有特別的部分需要講解。

當 parent component 要存取 child component 時,使用 @ViewChild() 宣告 child decorator,public field 可在 ngAfterViewInit() 存取,public method 則無此限制
Directive
當使用 directive 套用在 HTML 上時,可以藉由 @ViewChild() 取得 directive 的物件實體,藉此控制 directive。
Implementation
ChangeColorDirective
change-color.directive.ts
1 | import { AfterViewInit, Directive, ElementRef } from '@angular/core'; |
使用 Angular CLI 的 ng g d ChangeColor 建立 ChangeColor directive。
15 行
1 | change(changedColor: string) { |
ChangeColor directive 提供了 change() 修改 color。
AppComponent
app.component.html
1 | <p appChangeColor>{{ title }}</p> |
<p> 套用了 ChangeColor directive。
app.component.ts
1 | import { Component, ViewChild } from '@angular/core'; |
10 行
1 | @ViewChild(ChangeColorDirective) |
為了使用 ChangeColor directive 的 change(),特別使用 @ViewChild() 取得 ChangeColor directive 的物件實體,如此就能使用 change()。
DOM Element
最後一個常用的 @ViewChild() 方式,是藉由 template reference varibale 存取 DOM element。
Implementation
AppComponent
app.component.html
1 | Name: <input type="text" #name> |
若要在 JavaScript 存取 HTML,傳統會使用 id 或 CSS selector,在 Angular 提出新的方法,我們可以為 HTML 加上 # 開頭的 template reference variable。
app.component.ts
1 | import { Component, ElementRef, ViewChild } from '@angular/core'; |
11 行
1 | @ViewChild('name') |
使用 @ViewChild() 取得 DOM element 的物件實體,參數以字串傳入 template reference variable 的字串名稱。
注意其型別為 ElementRef。
14 行
1 | onSubmitClick() { |
如此就能在 TypeScript 藉由 @ViewChild() 所宣告的變數,存取 DOM element 物件。
Conclusion
- 傳統都只將
@ViewChild()用在存取 child component,事實上@ViewChild()還可以用在存取 directive 與 DOM element。
Sample Code
完整的範例可以在我的 GitHub 上找到