如何使用 Laravel Debugbar ?
Chrome/FireFox都會自帶一些debug工具可以幫助我們debug前端資訊,如CSS、JavaScript…等,但若要debug後端的Laravel資訊呢?如有了ORM之後雖然方便,但我們可能對其產生的SQL有所疑慮,想深入了解其所產生的SQL是否符合我們的需求,這些在Barry vd. Heuvel的Laravel Debugbar都可以滿足我們。
Version
Laravel 5.1
Laravel Debugbar 2.0
安裝Laravel Debugbar
使用Composer安裝
1 | oomusou@mac:~/MyProject$ composer require barryvdh/laravel-debugbar --dev |
在專案目錄下,使用composer將Laravel debugbar安裝到目前專案中。
根據Laravel debugbar官網的說明檔,並沒有加上 –dev,這會使得Laravel debugbar被裝在composer.json的require區段,而非require-dev區段,這會造成在正式上線主機也會安裝Laravel debugbar,這是不需要的。
composer require執行完,composer.json內容會如下圖所示 :1
2
3
4
5
6
7
8
9
10
11
12"require": {
"php": ">=5.5.9",
"laravel/framework": "5.1.*"
},
"require-dev": {
"fzaninotto/faker": "~1.4",
"mockery/mockery": "0.9.*",
"phpunit/phpunit": "~4.0",
"phpspec/phpspec": "~2.1",
"laravel/homestead": "^2.1",
"barryvdh/laravel-debugbar": "^2.0"
},
新增Service Provider
Composer只是將Laravel debugbar安裝到目前專案目錄的/vendor/barryvdh/laravel-debugbar目錄下,此時Laravel還不知道有這個package,必須透過service provider的註冊載入,Laravel debugbar才會啟動。1
2
3
4
5
6
7
8
9
10
11
12
13
14
15
16
17
18
19
20
21
22
23
24
25
26
27
28
29namespace App\Providers;
use Illuminate\Support\ServiceProvider;
class AppServiceProvider extends ServiceProvider
{
/**
* Bootstrap any application services.
*
* @return void
*/
public function boot()
{
//
}
/**
* Register any application services.
*
* @return void
*/
public function register()
{
    if ($this->app->environment() == 'local')
    {
    	$this->app->register('Barryvdh\Debugbar\ServiceProvider');
    }
}
}
22行1
2
3
4
5
6
7public function register()
{
if ($this->app->environment() == 'local')
{
$this->app->register('Barryvdh\Debugbar\ServiceProvider');
}
}
在register()加入以上程式碼,只有在本機開發環境時,Laravel debugbar才會被註冊載入,如此可避免Laravel debugbar在正式上線主機被註冊載入。
在Laravel debugbar官網的說明檔,是教人直接在config/app.php的providers加入Barryvdh\Debugbar\ServiceProvider::class,這樣雖然可行,但會導致正式上線主機也會載入Laravel debugbar,雖然APP_DEBUG=false會使Laravel debugbar不會在正式上線主機執行,但還是會影響Laravel啟動時間,也較浪費記憶體。
設定Facade
為了方便我們更容易使用Laravel debugar顯示變數,建議將Laravel Debugbar加入facade。1
2
3
4
5
6
7'aliases' => [
(略)
'Validator' => Illuminate\Support\Facades\Validator::class,
'View' => Illuminate\Support\Facades\View::class,
// Laravel Debugbar
'Debugbar' => Barryvdh\Debugbar\Facade::class,
],
第5行1
2// Laravel Debugbar
'Debugbar' => Barryvdh\Debugbar\Facade::class,
加入Debugbar facade。
複製設定檔
1 | oomusou@mac:~/MyProject$ php artisan vendor:publish |
將/vendor/barryvdh/laravel-debugbar/config/debugbar.php複製到/config/debugbar.php,將來你可以直接修改專案下的/config/debugbar.php對Laravel Debugbar進行設定。
確認.env
1 | APP_ENV=local APP_DEBUG=true |
Laravel Debugbar只有在APP_ENV=local與APP_DEBUG=true下才會啟動,確認.env設定正確。
測試
在下方會出現Laravel Debugbar,因為他是純HTML,所以各種瀏覽器都可使用。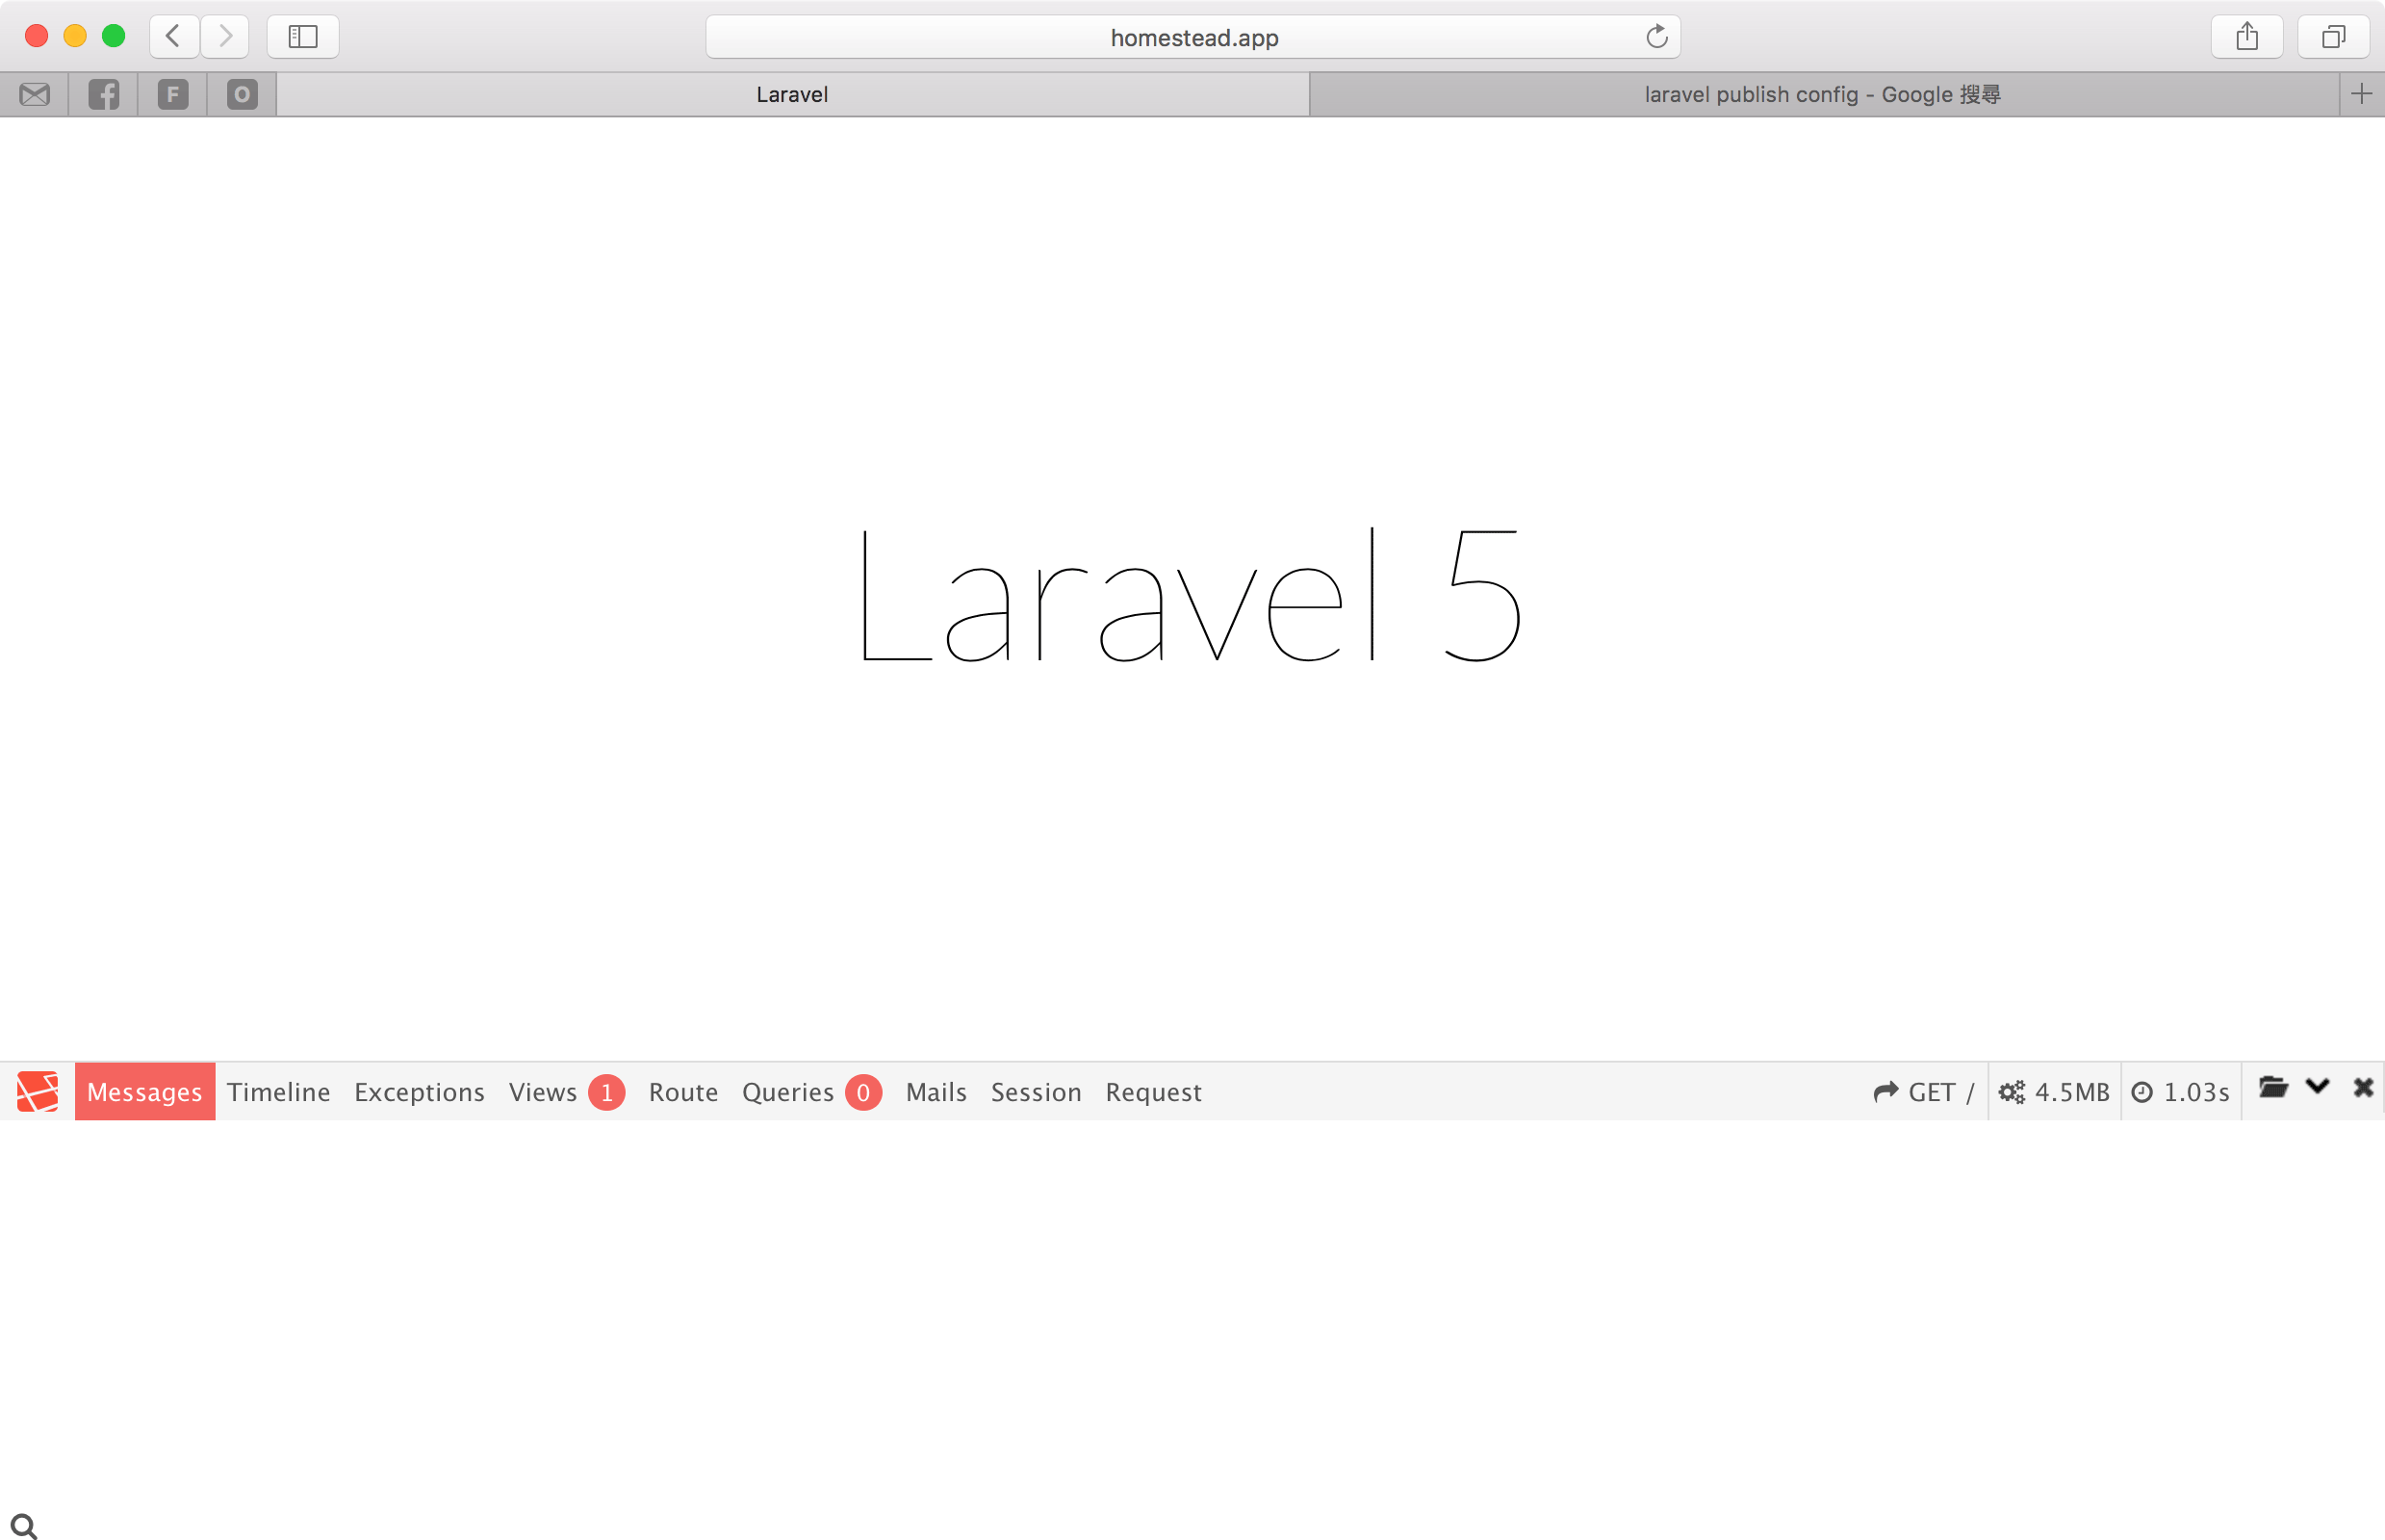
使用Laravel Debugbar
觀察SQL
在Queris會顯示目前網頁所執行過的SQL,可藉此觀察ORM所產生的SQL是否有調整的空間。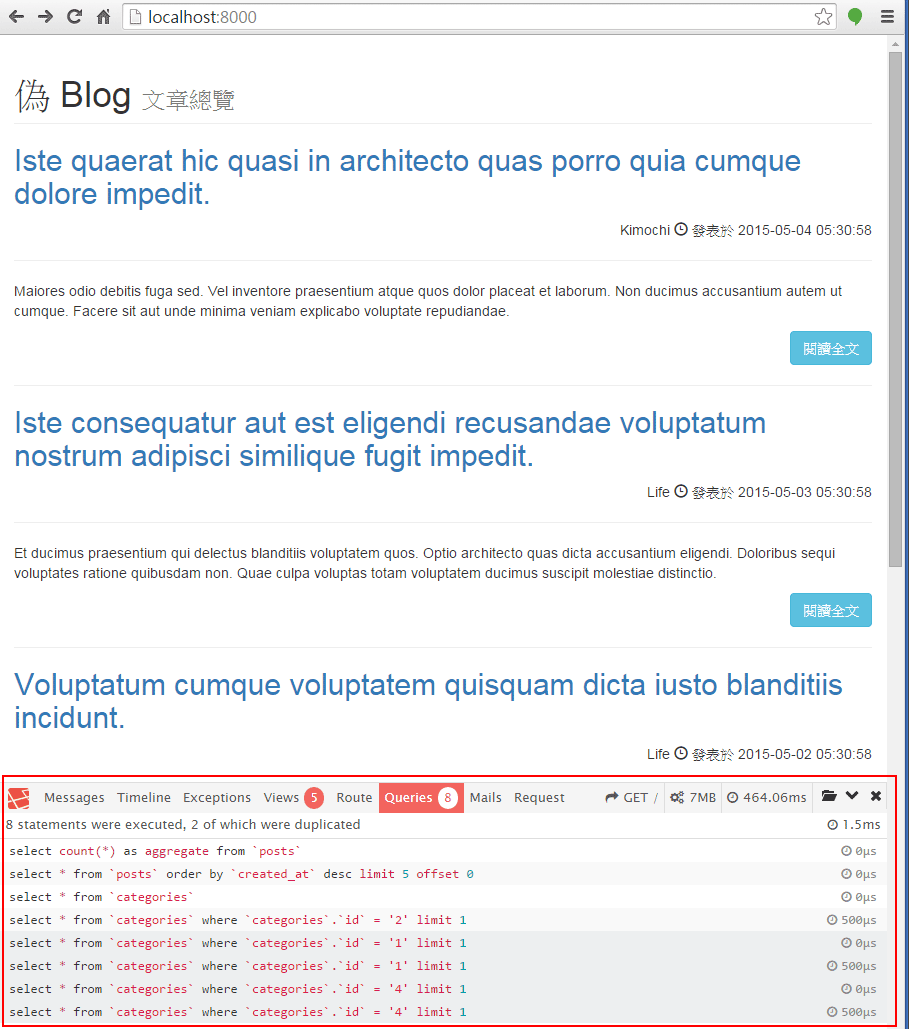
觀察View
在Views會顯示目前網頁正使用了哪些view。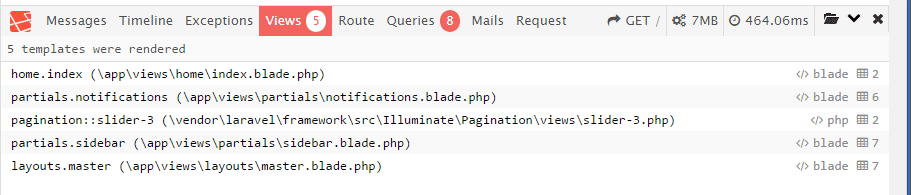
觀察Route與Controller
在Route會顯示目前網頁正使用哪個route與controller。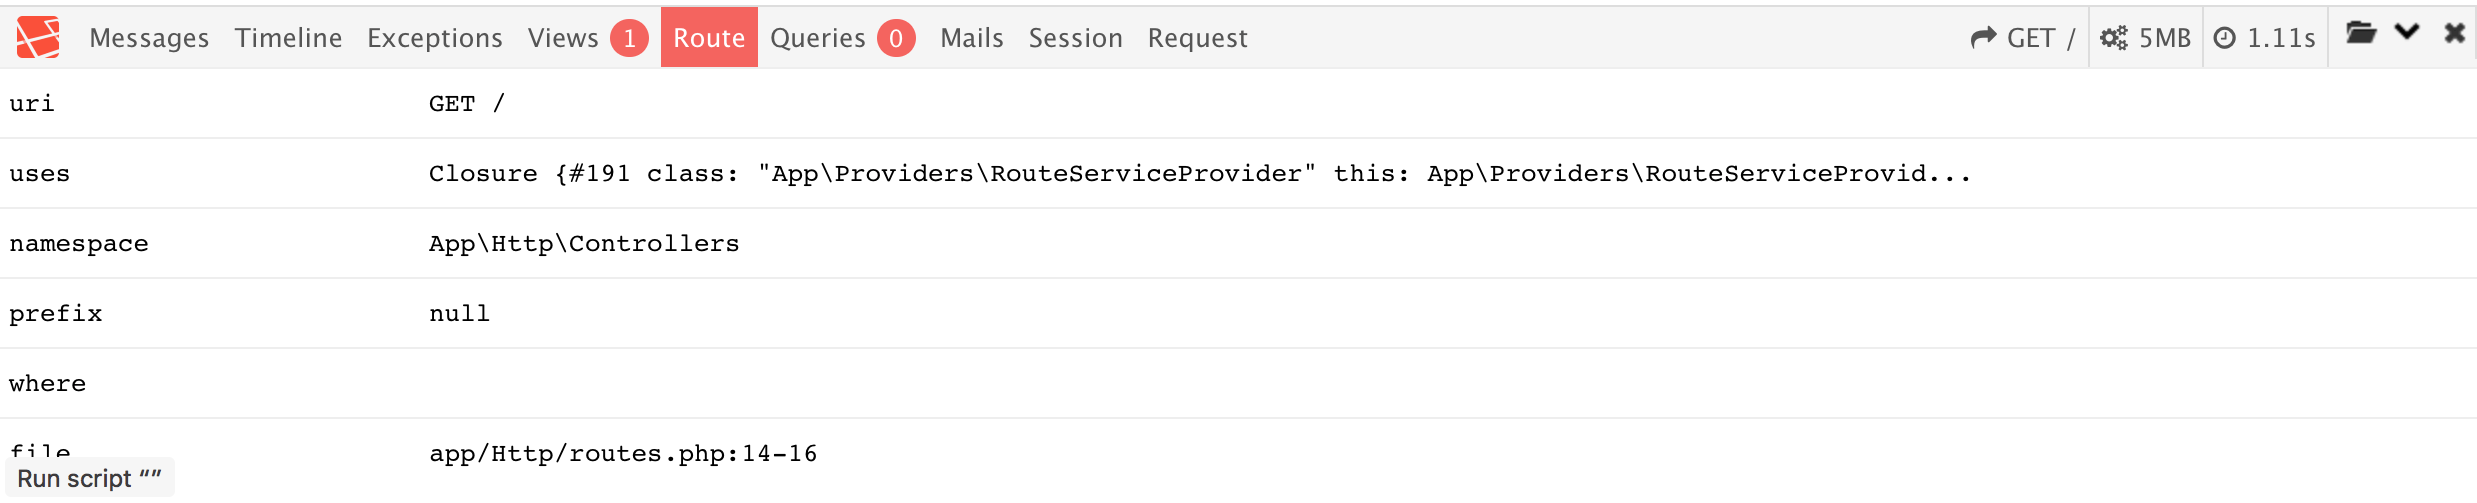
觀察HTTP Request
在Request會顯示目前網頁使用HTTP request的狀態。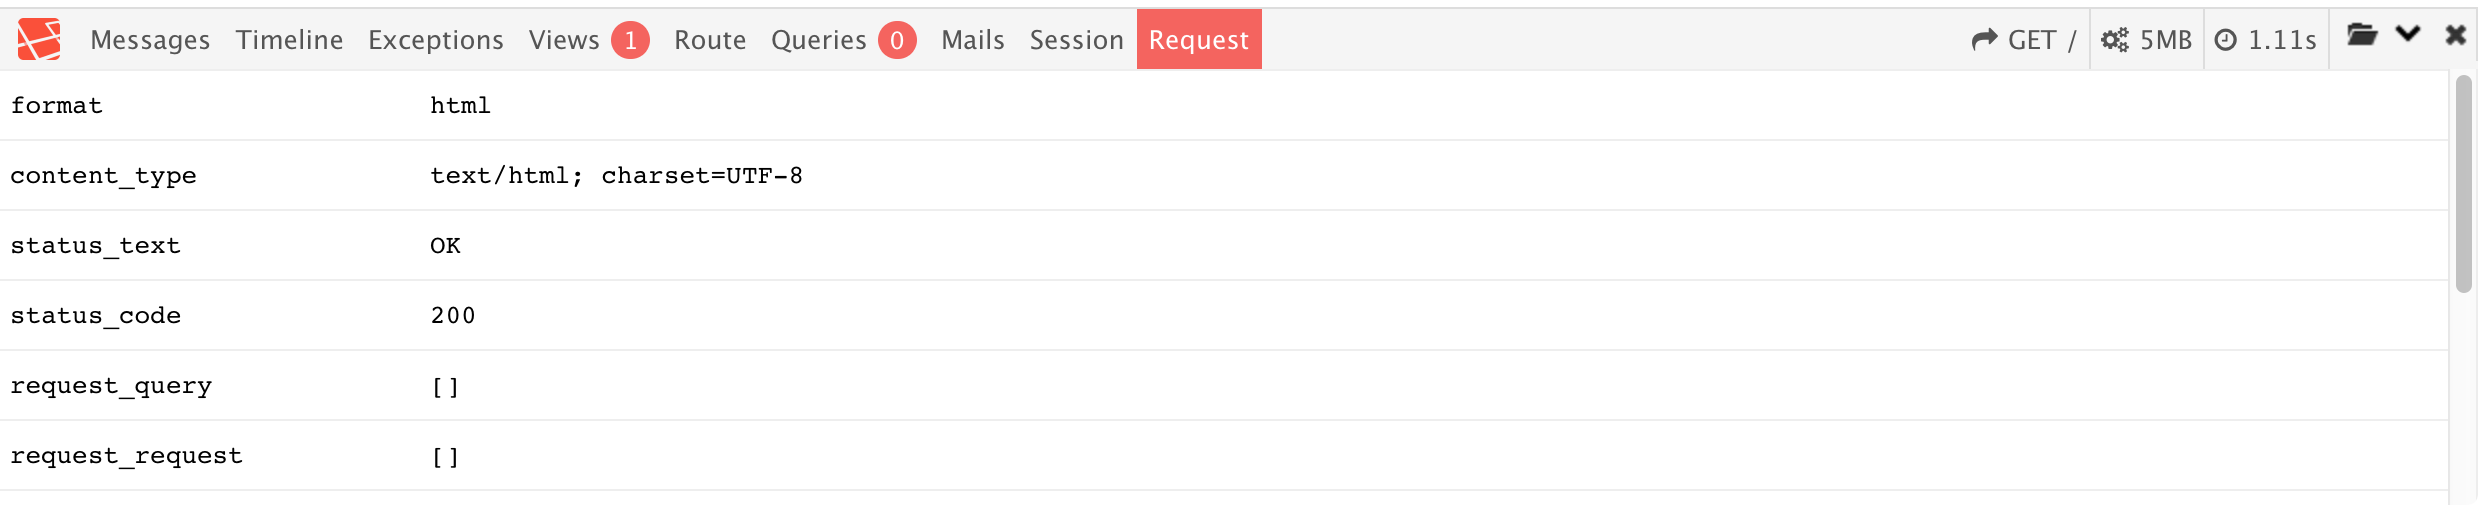
自行加入Debug資訊
實務上我們可以直接將debug訊息顯示在Laravel Debugbar,這樣就不用使用echo()或dd()將原本的網頁弄亂了。
Laravel Debugbar提供了以下方法 :1
2
3Debugbar::info($object);
Debugbar::error('Error!');
Debugbar::warning('Watch out…');
在Message可以看到我們自己的debug訊息。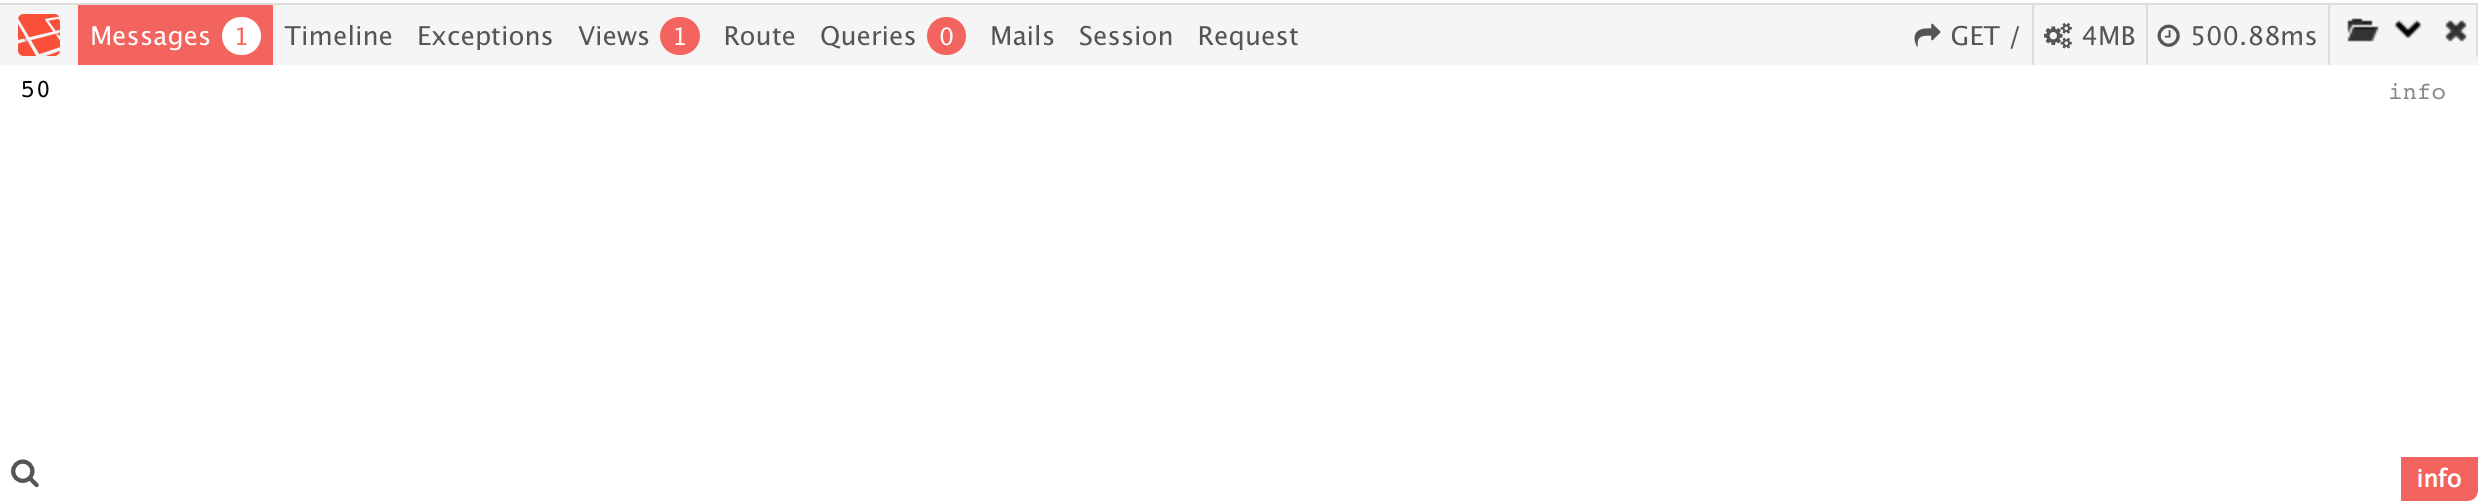
使用Timer評估效能
實務上我們常會需要自行使用timer評估一段演算法或SQL的效能,Laravel Debugbar提供了以下方法 :1
2
3
4
5
6Debugbar::startMeasure('render','Time for rendering');
Debugbar::stopMeasure('render');
Debugbar::addMeasure('now', LARAVEL_START, microtime(true));
Debugbar::measure('My long operation', function() {
// Do something…
});
在Timeline可以看到實際執行時間。
1 | Debugbar::addMeasure('now', LARAVEL_START, microtime(true)); |
Debugbar::addMeasure()的第1個參數為在Debugbar的識別文字,第2個參數為起始時間,第3個參數為結束時間。
下圖為從Laravel啟動到目前這行程式所花的時間。
使用Helper Function
以上方式雖然方便,但還要使用到Debugbar facade,Laravel debugbar另外提供了helper function,可以更簡單的使用。1
2
3
4
5
6
7
8
9// All arguments will be dumped as a debug message
debug($var1, $someString, $intValue, $object);
start_measure('render','Time for rendering');
stop_measure('render');
add_measure('now', LARAVEL_START, microtime(true));
measure('My long operation', function() {
// Do something…
});
debug()可以接受無限參數,每一個參數在Messages都會獨立一行,歸於debug分類。start_measure()相當於Debugbar::startMeasure()。stop_measure()相當於Debugbar::stopMeasure()。add_measure()相當於Debugbar::addMeasure()。measure()相當於Debugbar::measure()。
正式上線主機的安裝考量
Laravel Debugbar是開發者的神兵利器,但若不小心安裝在正式上線主機,則成為駭客的最好的入侵工具。
使用–no-dev安裝
由於vendor與沒有進git,所以勢必在正式主機也要重新安裝package,在composer install時,切記要安裝加上--no-dev參數,再回顧一下我們的composer.json。1
2
3
4
5
6
7
8
9
10
11
12"require": {
"php": ">=5.5.9",
"laravel/framework": "5.1.*"
},
"require-dev": {
"fzaninotto/faker": "~1.4",
"mockery/mockery": "0.9.*",
"phpunit/phpunit": "~4.0",
"phpspec/phpspec": "~2.1",
"laravel/homestead": "^2.1",
"barryvdh/laravel-debugbar": "^2.0"
},require-dev區段,因此加上--no-dev之後,composer將不會在正式上線主機安裝Laravel debugbar。
APP_DEBUG=false
1 | APP_ENV=production APP_DEBUG=false |
切記將APP_DEBUG=false,確保Laravel debugbar不會在正式上線主機執行。
Conclusion
- 凡是只有開發者本身在用的package,都可以模仿這種方式註冊與載入,這樣除了可以避免將package安裝到正式上線主機外,也可加速Laravel啟動速度,更節省記憶體。
- Laravel debugbar是Laravel開發必用的package,對於debug非常方便。
- 由於Laravel debugbar功能過於強大,在正式主機要特別小心。
Sample Code
完整的範例可以在我的 GitHub 上找到。