如何使用 .NET Core CLI 驗證 Class Library ?
使用 .NET Core SDK 建立 Class Library
Contents
雖然我們可以使用 ng new classlib 建立 class library 型態專案,但畢竟是 class library,無法看到結果,此時我們會建立另外一個 console app 專案當成 client,用來測試 class library 的結果。
Version
macOS High Sierra 10.13.3
.NET Core SDK 2.1.101
建立 Console App 專案
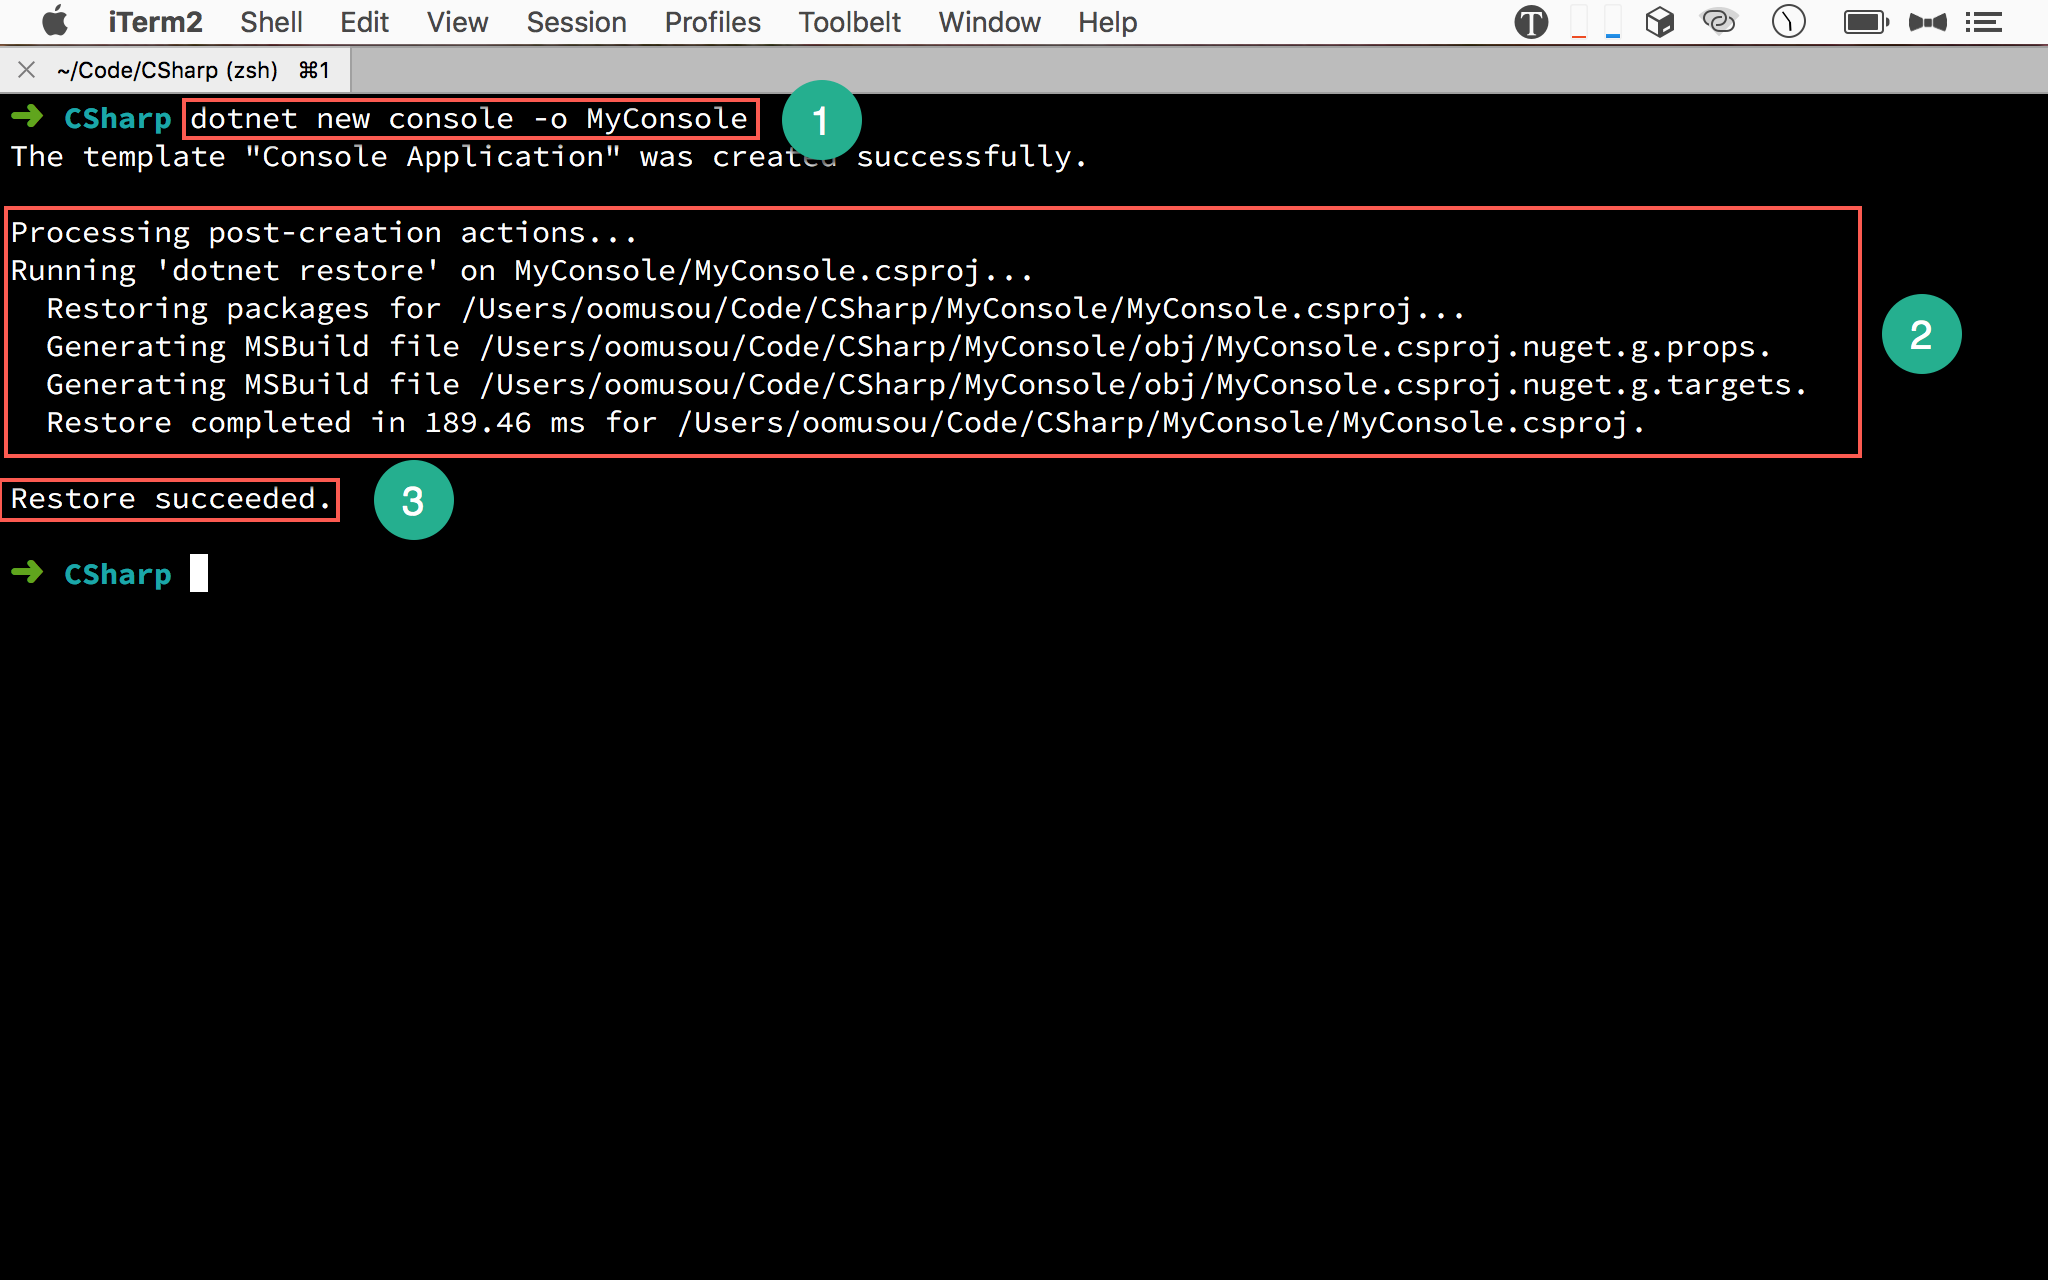
1 | $ dotnet new console -o MyConsole |
使用 dotnet new 建立 project。
- console : 建立 console 類型專案
- -o :
ooutput,建立在MyConsole目錄下
- 輸入
dotnet new console -o MyConsole將 console 類型專案建立在MyConsole目錄下 - .NET Core SDK 開始建立專案所需的檔案
- 自動 restore dependency
使用 VS Code 開啟專案
1 | $ code MyConsole |
使用 code 執行 VS Code,後面接開啟目錄名稱。
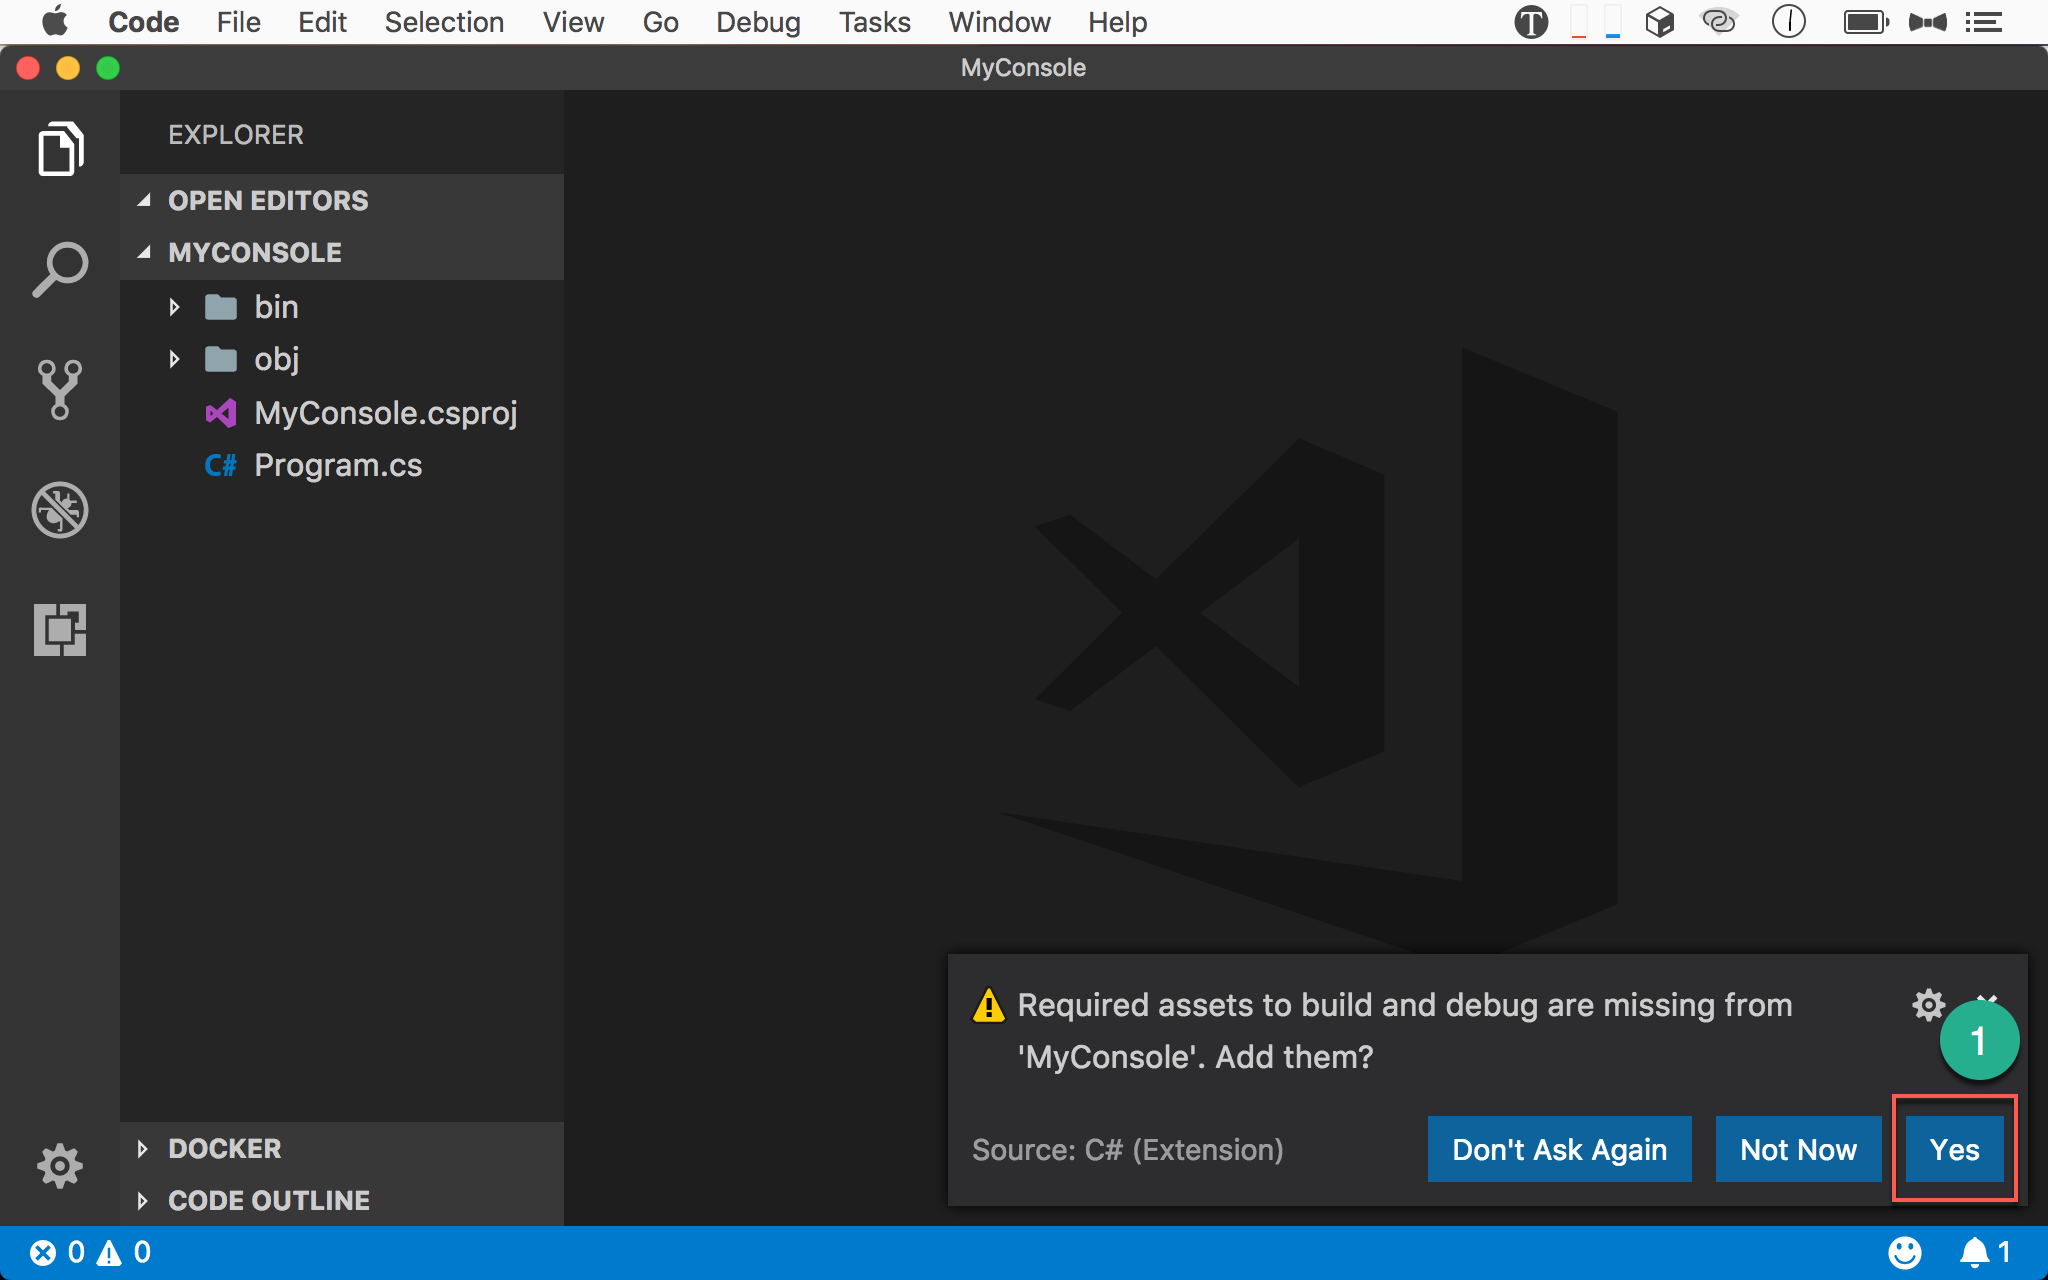
- 第一次使用 VS Code 開啟 .NET Core 專案,會要求建立
.vscode設定檔目錄,按Yes繼續
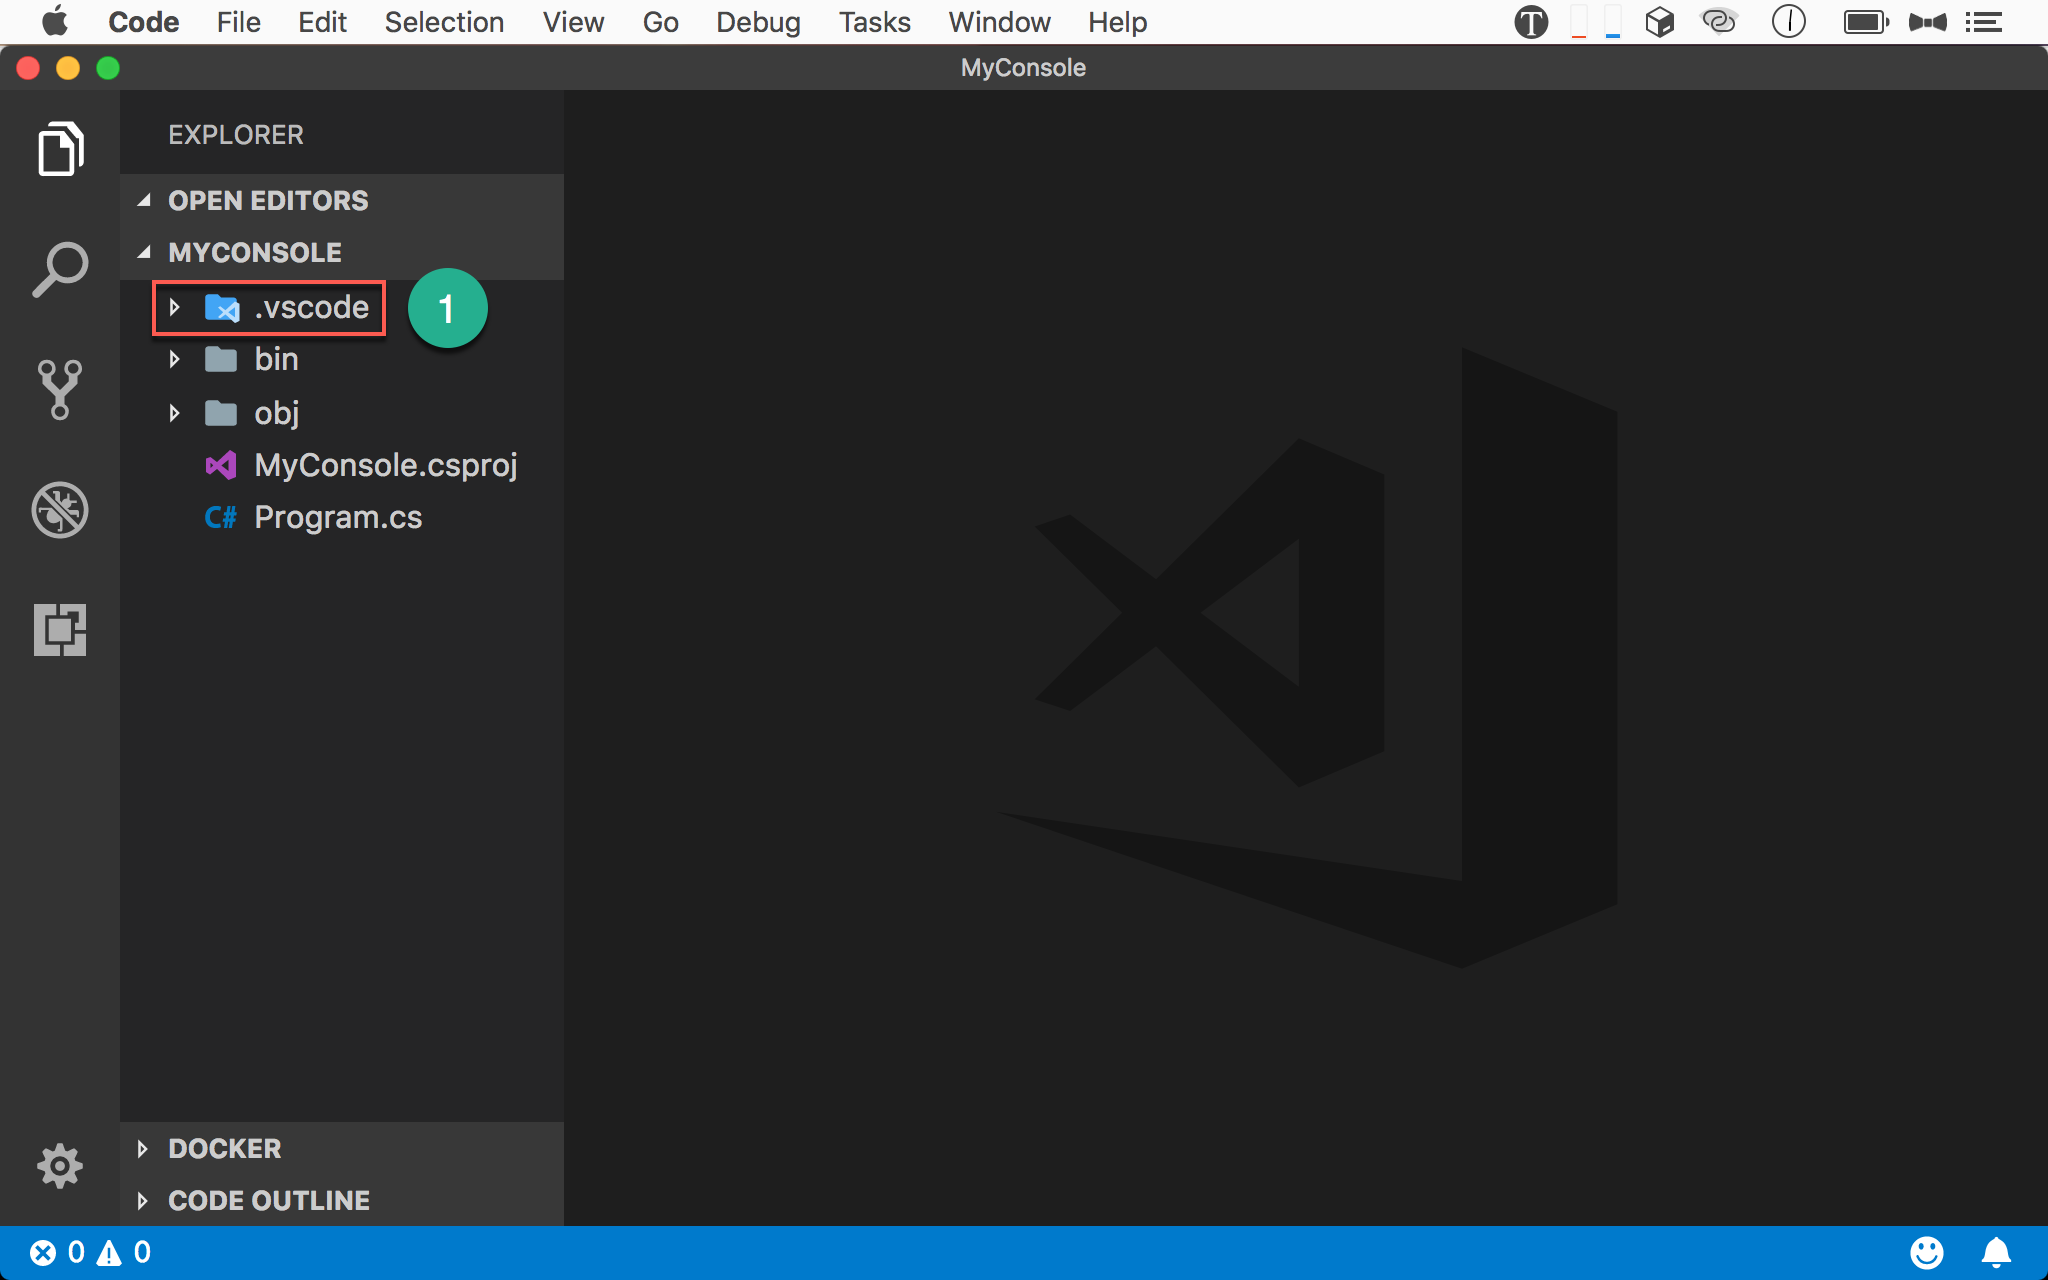
.vscode被 VS Code 自動建立
新增 Project Reference
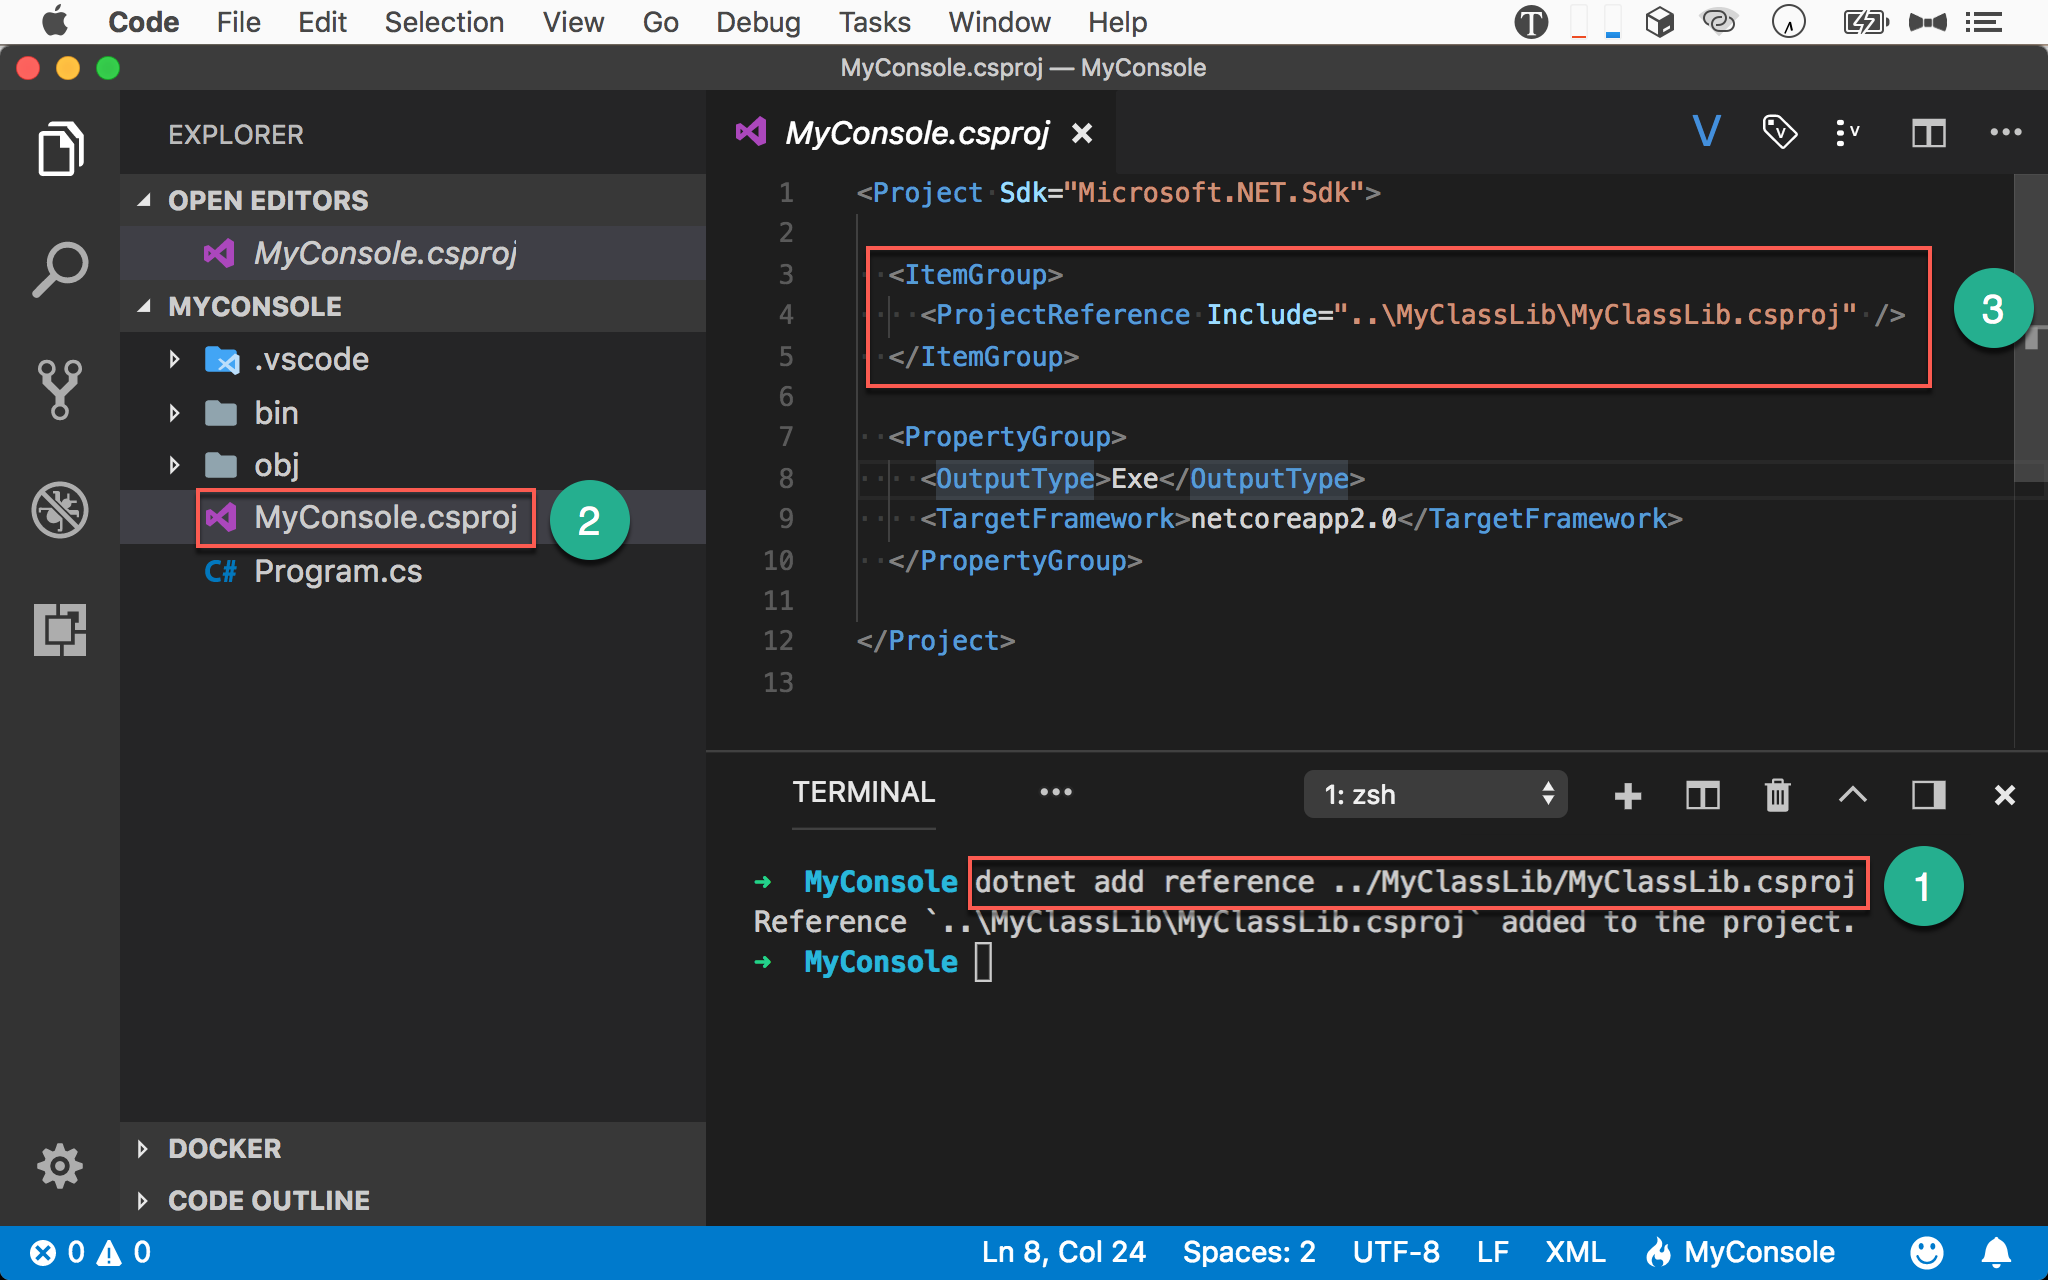
1 | ~/MyProject $ dotnet add reference ../MyClassLib/MyClassLib.csproj |
因為 MyConsole 需要使用 MyClassLib,所以使用 dotnet add reference 新增 project reference。
- 輸入
dotnet add reference ../MyClassLib/MyClassLib.csproj將MyClassLibproject 加入 reference - 觀察
MyConsole.csproj MyClassLib.csproj被加入在<ItemGroup>下的<ProjectReference>
若你不想下
dotnet add reference指令,也可以直接修改MyConsole.csproj檔案
編輯 Program.cs
Program.cs
1 | using System; |
建立 CalculatorService 物件,並執行 Sum()。
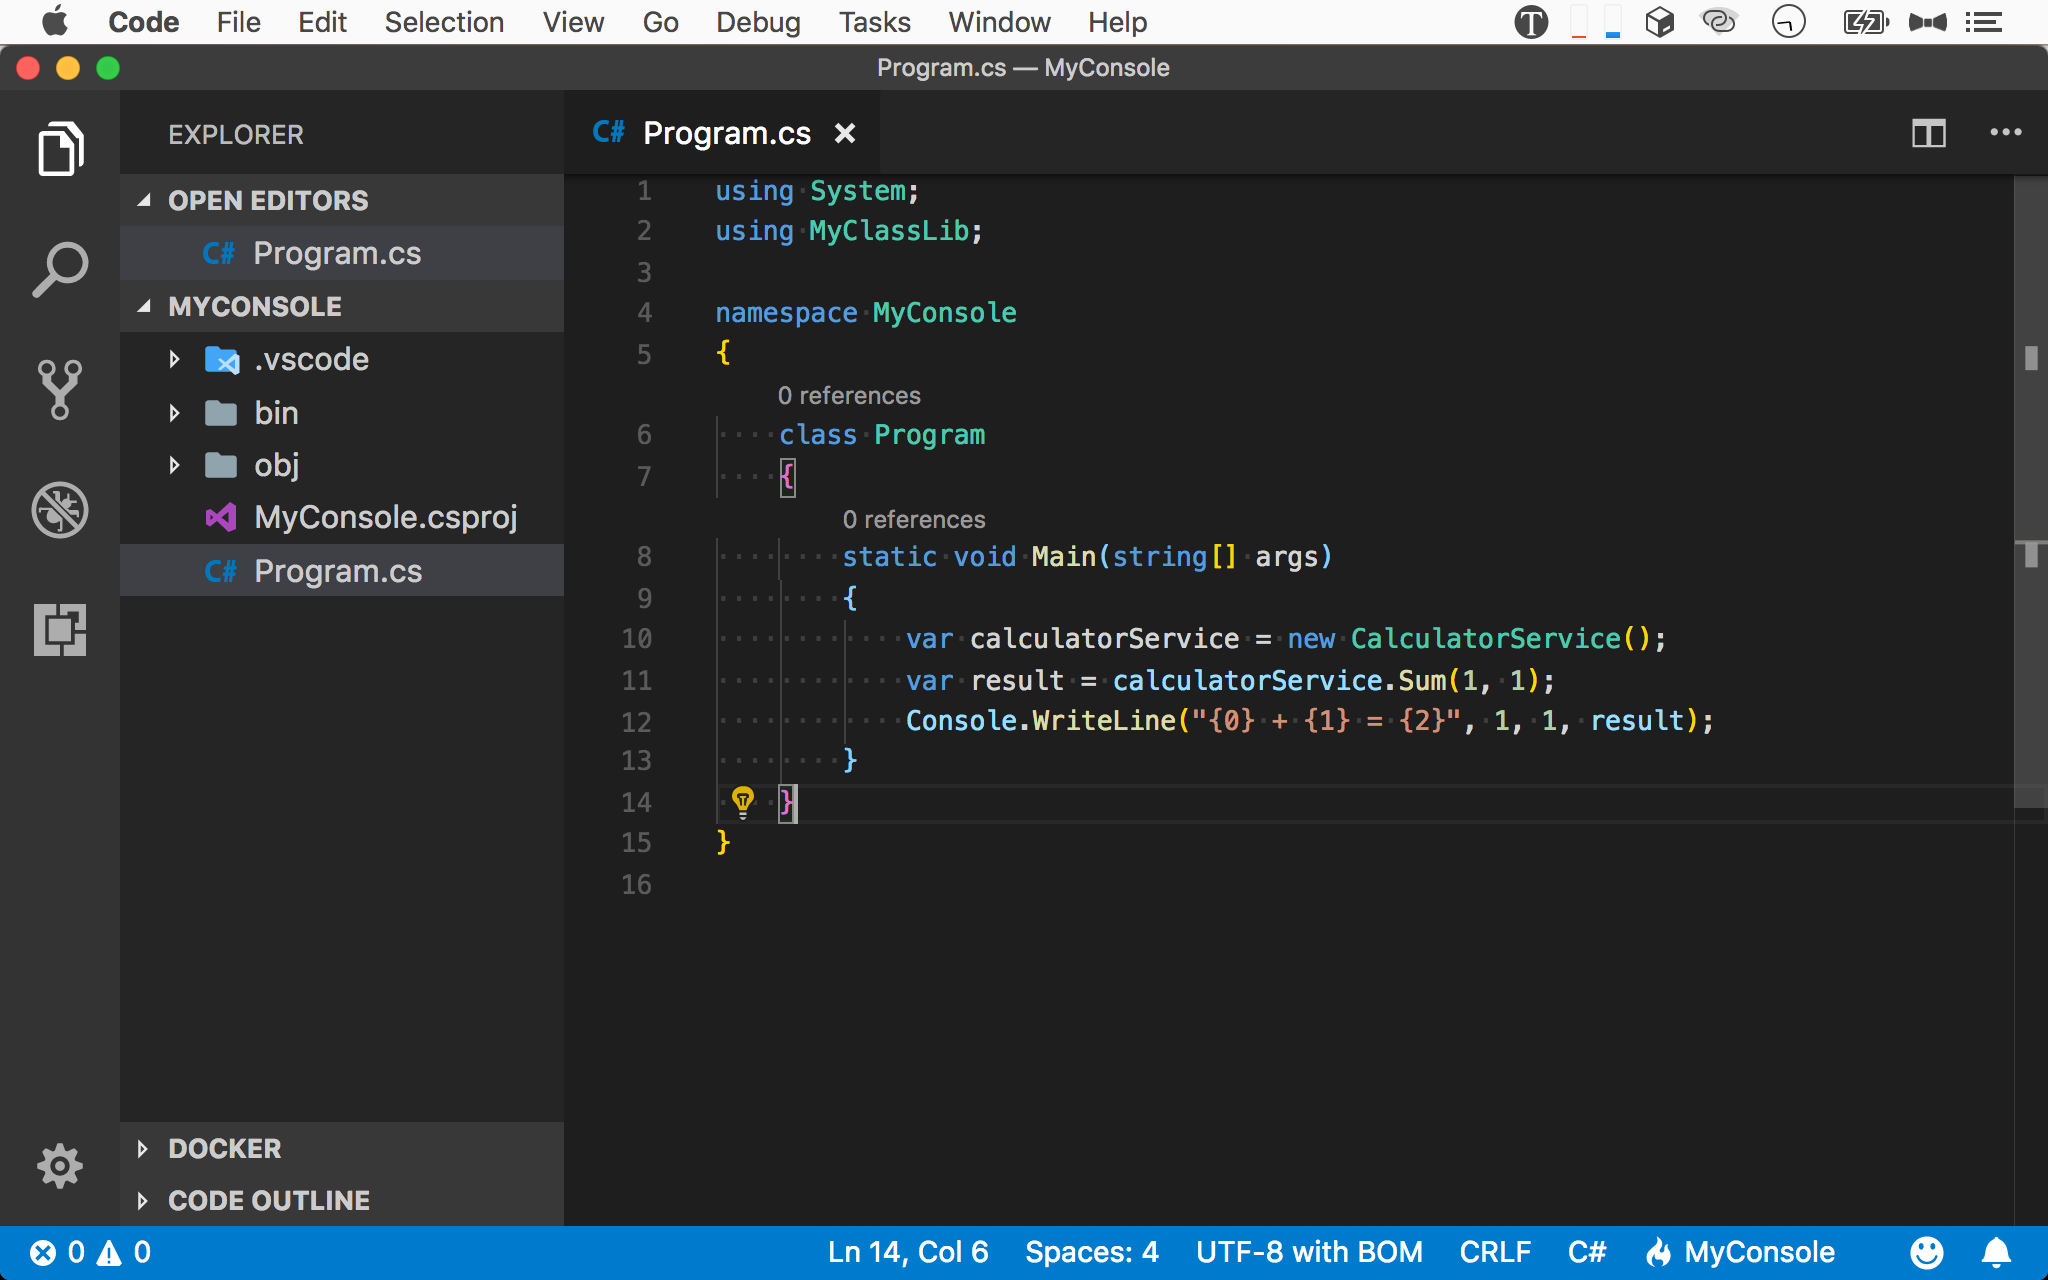
- 開啟
Program.cs - 建立
CalculatorService物件並執行
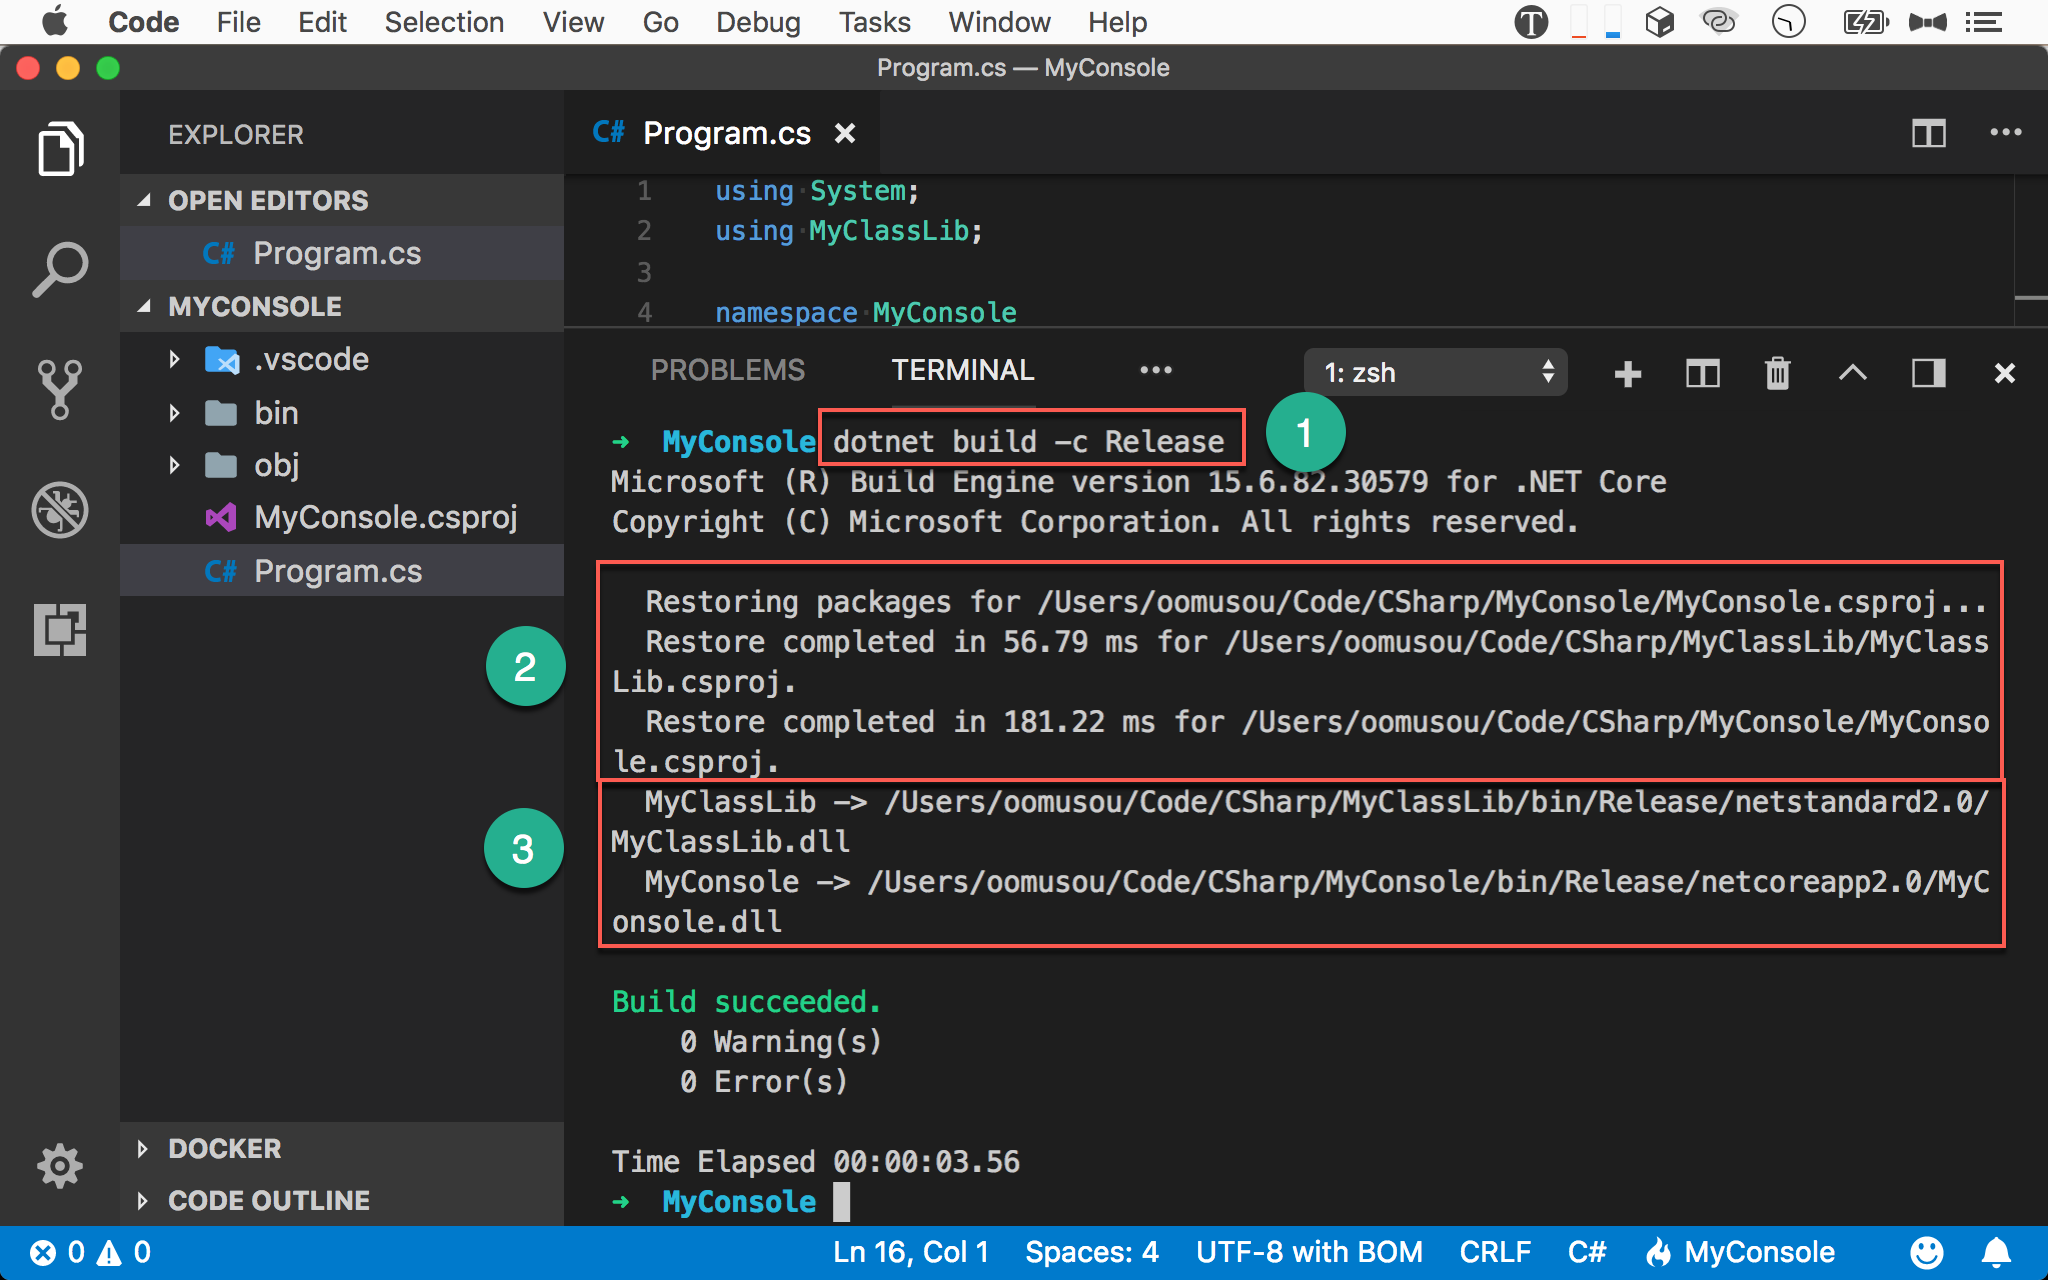
編譯 Console App
1 | ~/MyConsole $ dotnet build -c Release |
使用 dotnet build 編譯專案。
- -c :
configuration,預設dotnet build是以Debug模式編譯,若要以Release編譯,需要配合-c參數
- 輸入
dotnet build -c Release以Release模式編譯 - 自動執行
dotnet restore - 最後 build 出
MyConsole.dll
注意
dotnet restore與dotnet build時,MyClassLib與MyConsole兩個專案都會重新 build 與 restore
執行 Console App
1 | ~/MyConsole $ dotnet run |
使用 dotnet run 執行專案。
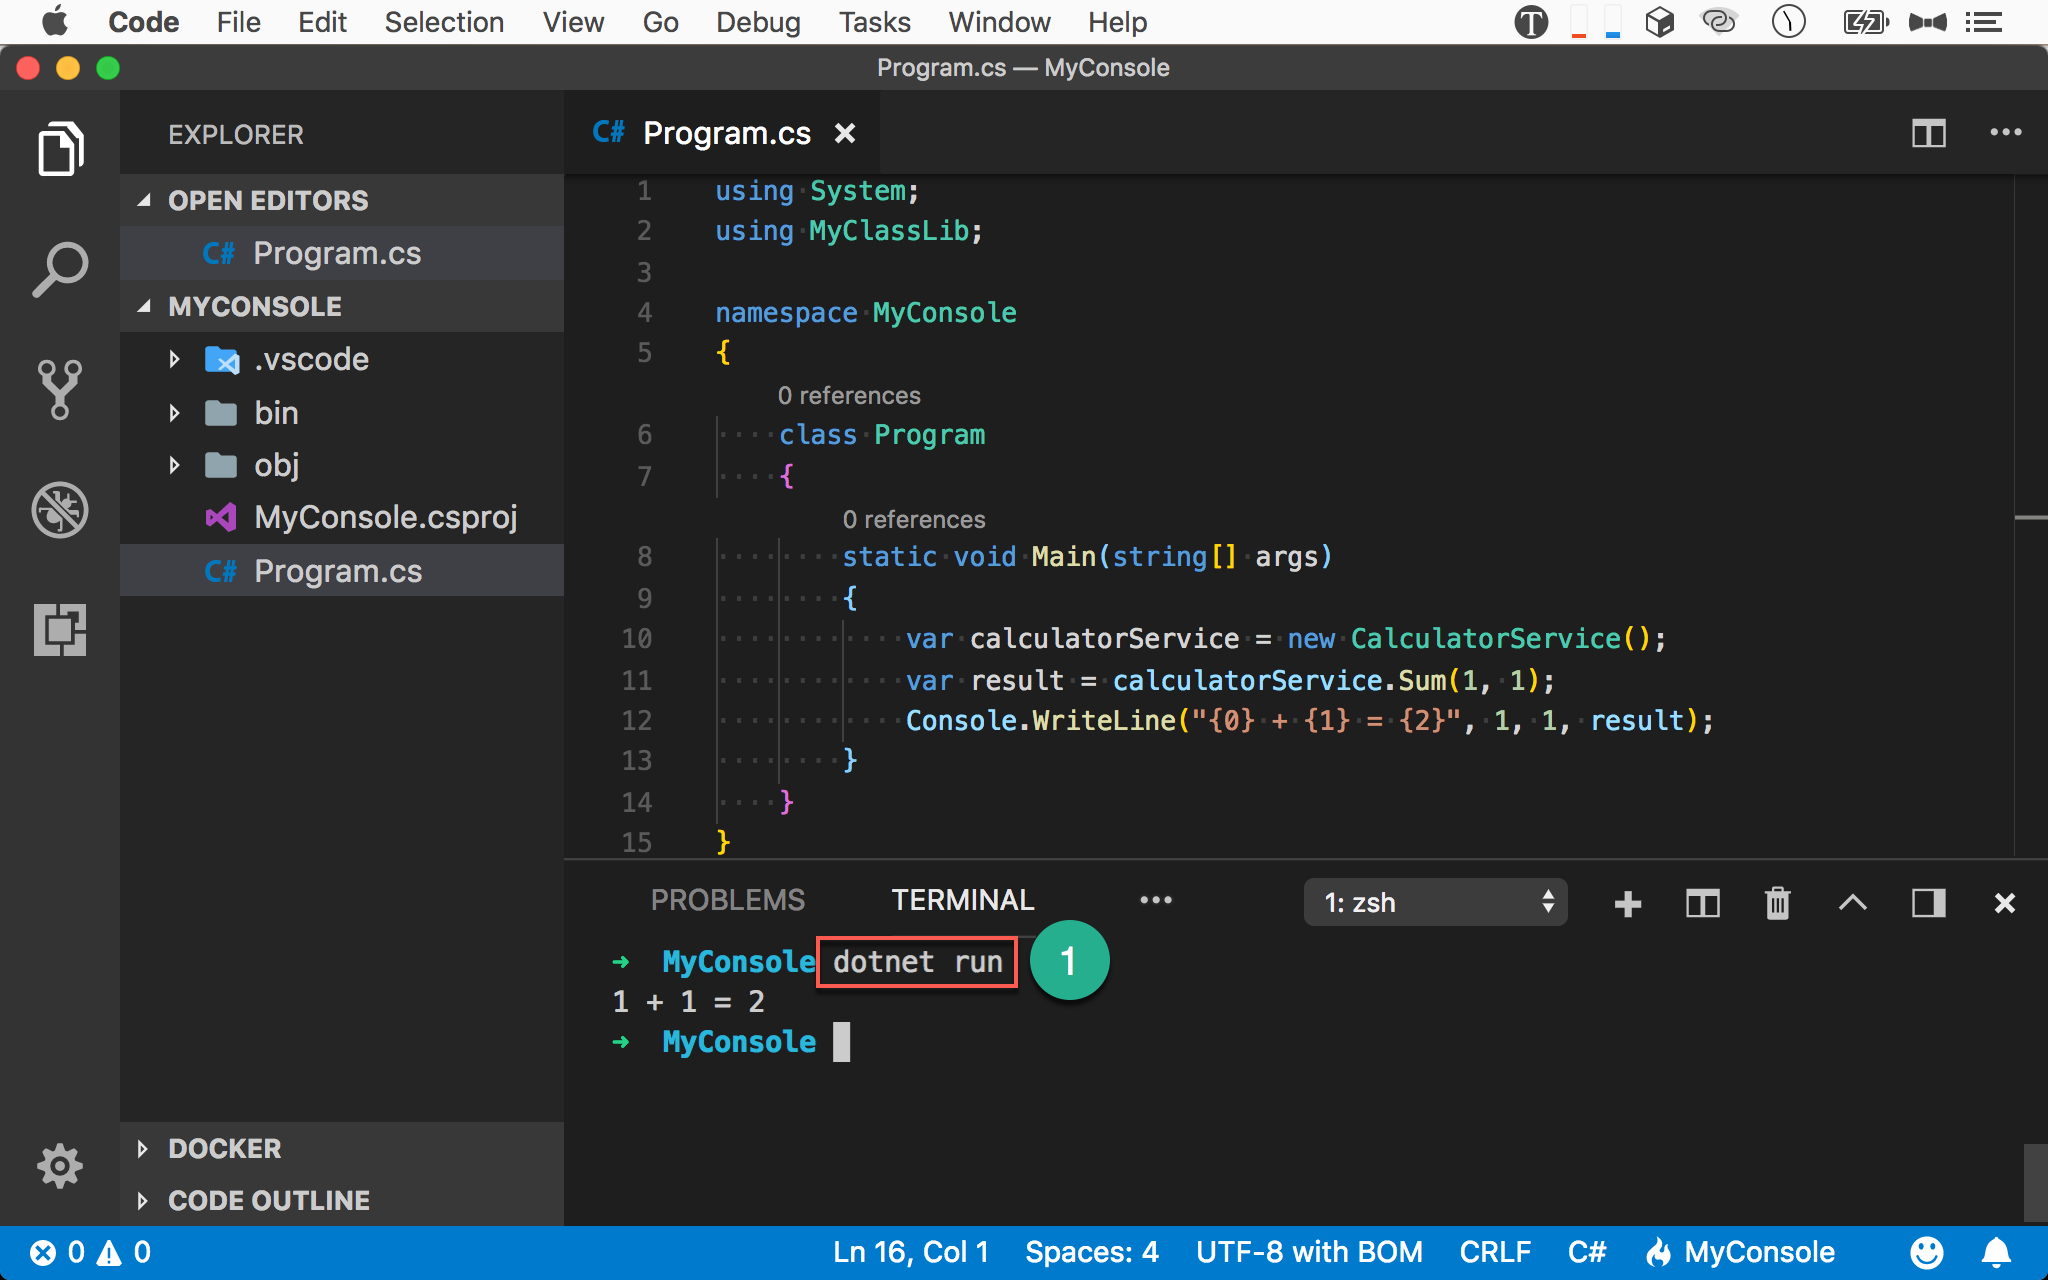
- 輸入
dotnet run顯示執行結果
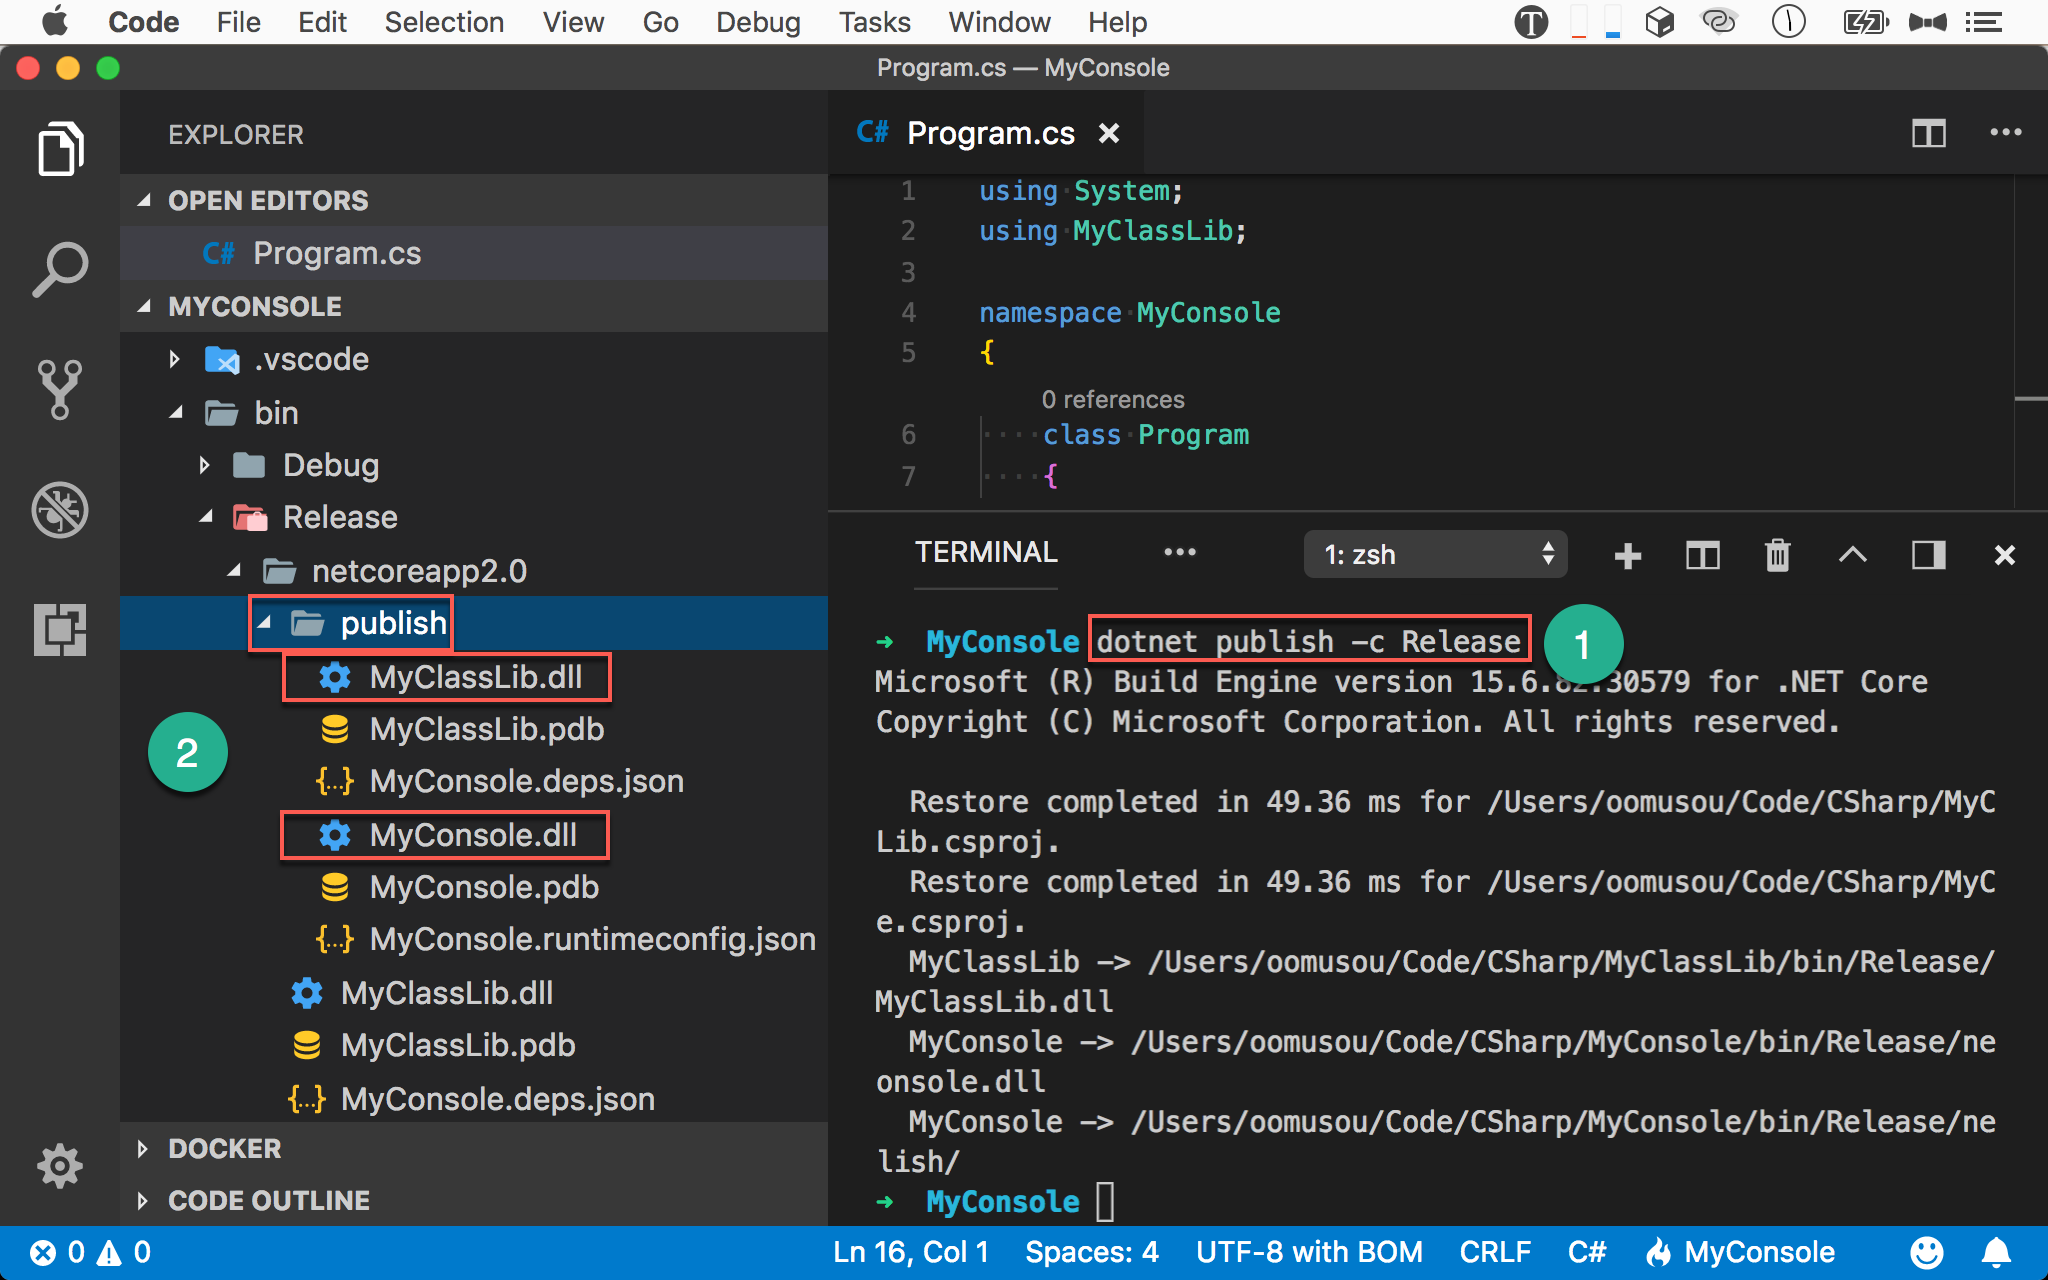
發佈 Console App
1 | ~/MyConsole $ dotnet publish -c Release |
使用 dotnet publish 將編譯後的 dll 與其 dependency 整理到 publish 目錄,將來只要將此目錄 deploy 到 server 即可。
- -c :
configuration,預設dotnet publish是將Debug模式的 dll 整理至publish目錄,若要整理Release模式的的 dll,需要配合-c參數
- 輸入
dotnet publish -c Release將欲 deploy 的檔案整理到bin/Release/netcoreapp2.0/publish目錄 - 在
publish目錄下,我們發現除了有MyConsole.dll外,還有 reference 的MyClassLib.dll,dotnet publish也一並幫我們整理到publish目錄了
執行 Console App
1 | ~/MyProject $ dotnet run bin/Release/netcoreapp2.0/publish/MyConsole.dll |
使用 dotnet 執行 publish 後的 dll。
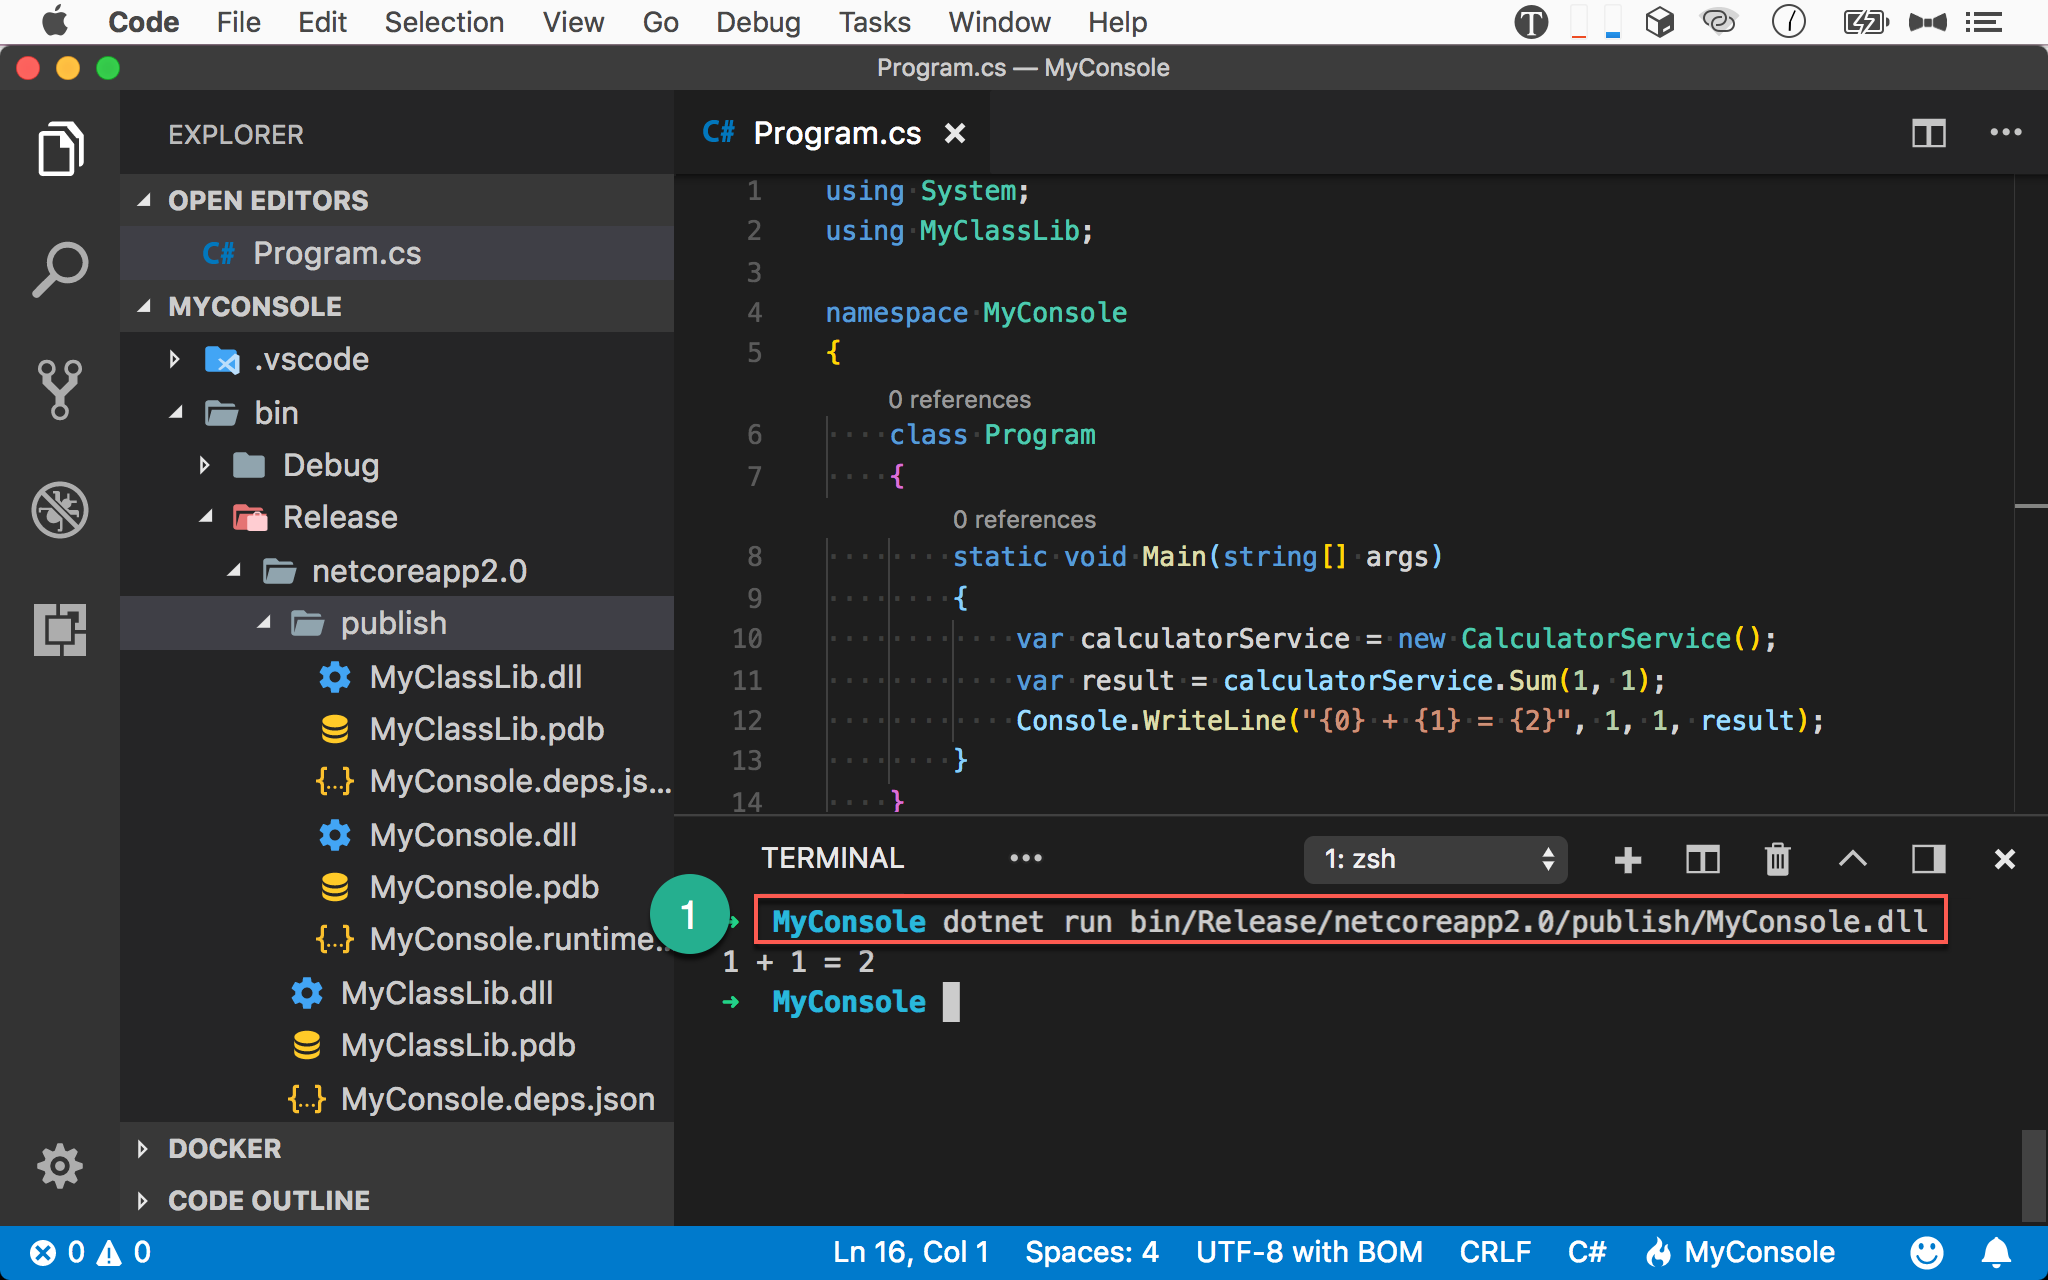
- 輸入
dotnet直接執行 publish 過的MyConsole.dll - 馬上出現
1 + 1 = 2,不用等待
其他相關指令
1 | $ dotnet remove reference *.csproj |
移除 project reference。
1 | $ dotnet list reference |
列出所有 project reference。
Conclusion
- Console app 適合用來測試 class library
- 使用
dotnet add reference新增 project reference dotnet publish時,會一併將 class library 的 dll 也整理到publish目錄