如何使用 SonarQube 檢查 Java 專案 ?
SonarQube 是一套 程式碼品質檢查工具,可以幫我們檢查 code 的 bugs、 vulenrability、code smell 與 duplication,也屬於 持續整合 重要的一環。
SonarQube 已經內建 SonarJava,可以直接對 Java 進行檢查,本文將以 Java + Gradle 為例,並在 Eclipse 中使用 SonarLint 對 Java 專案進行檢查。
Version
macOS High Sierra 10.13.4
SonarQube 7.1
SonarQube Scanner 3.1.0.1141
Eclipse Oxygen.3a (4.7 3a)
Java SE 1.8.0_171
GitHub
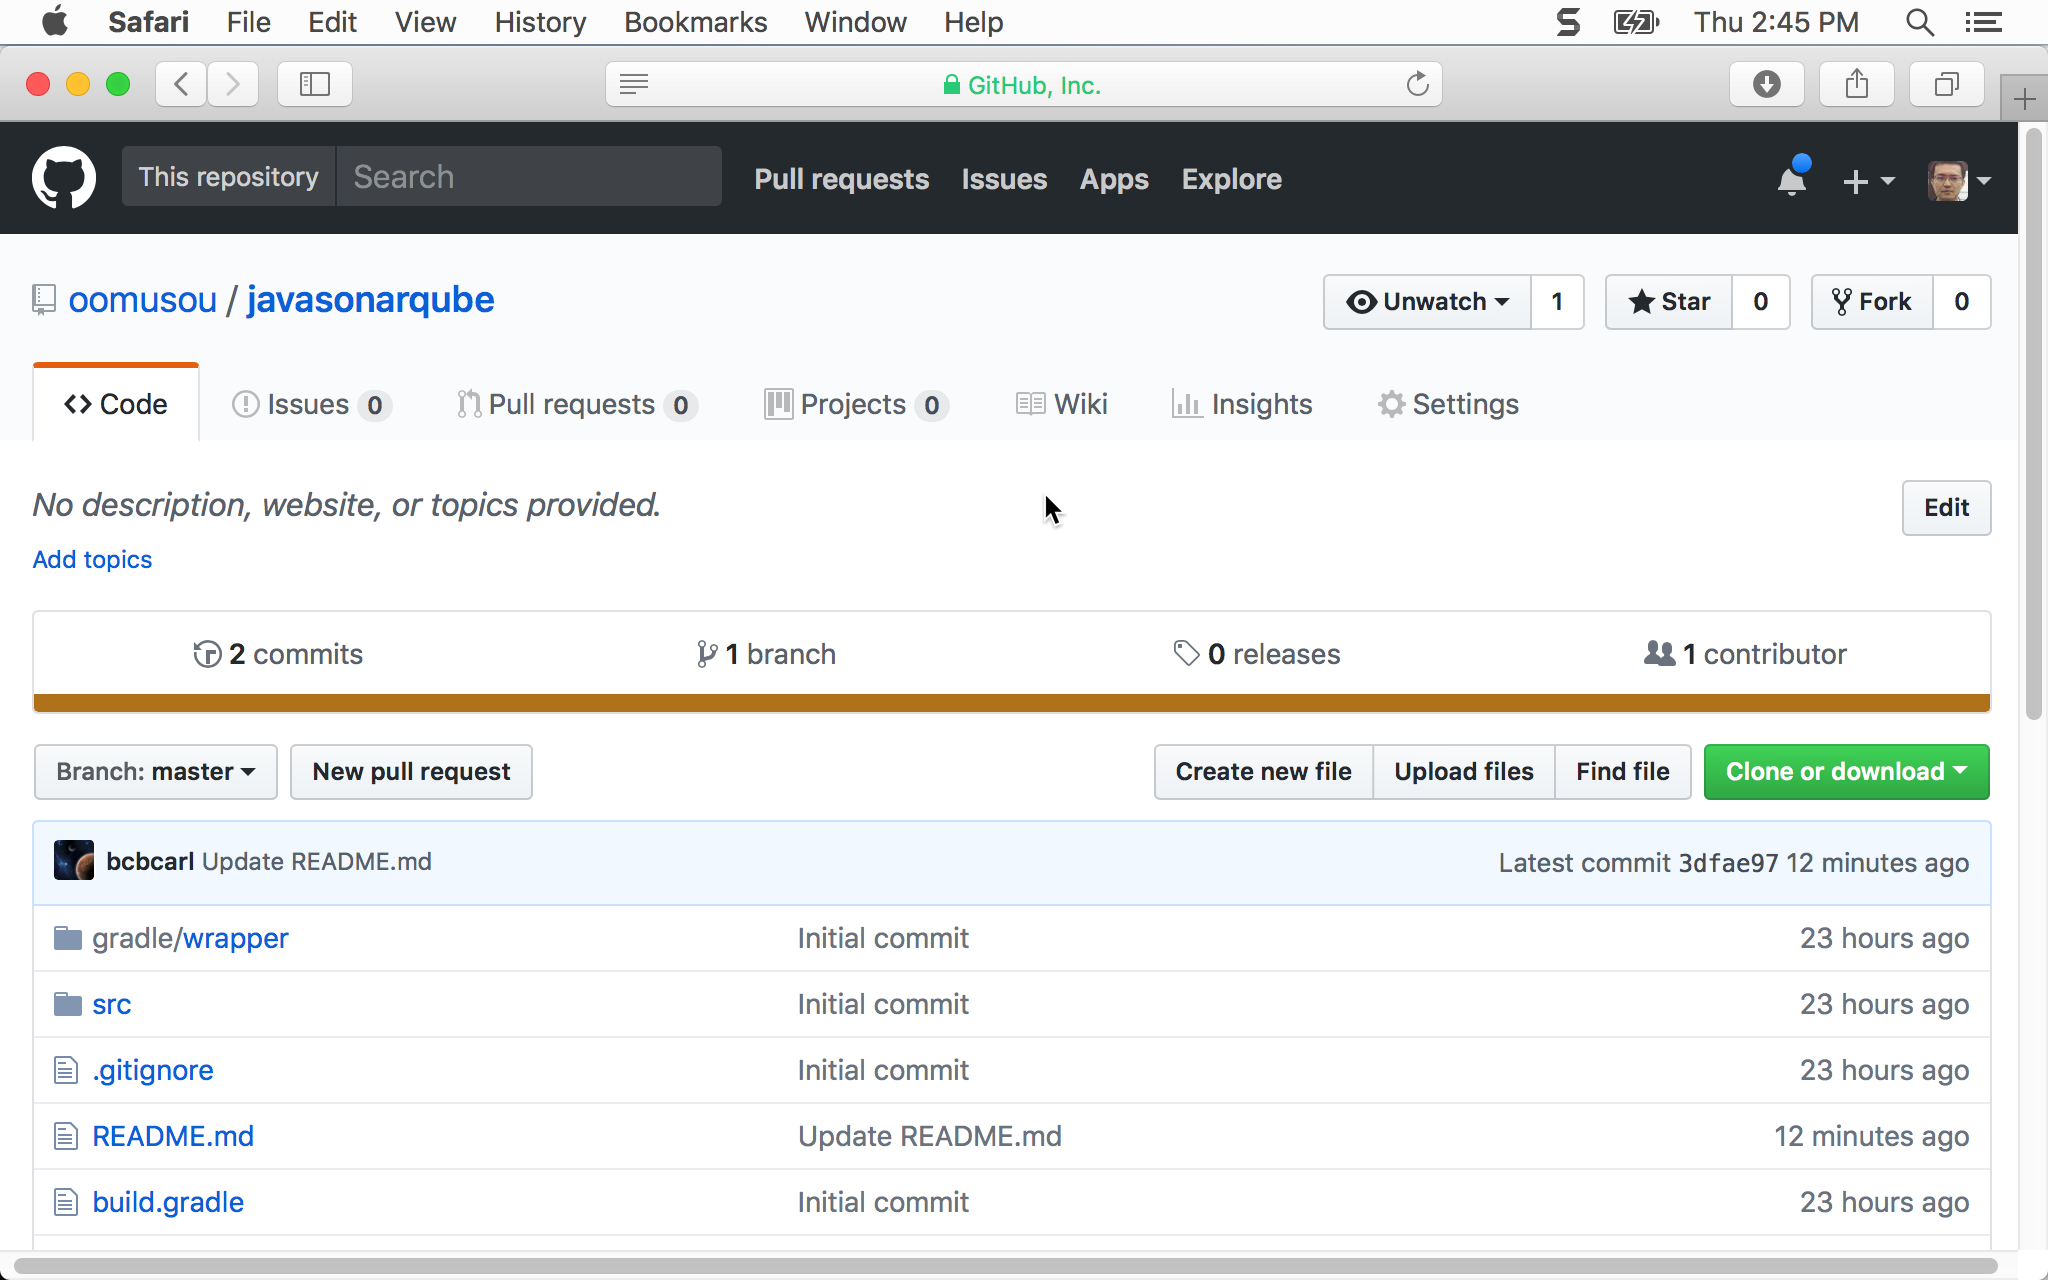
- 本文將 Java 專案放在
https://github.com/oomusou/javasonarqube
Gradle
安裝 Gradle1
$ brew install gradle
Gradle 類似 JavaScript 世界的 Webpack,負責整個專案的編譯管理,使用 Homebrew 安裝。
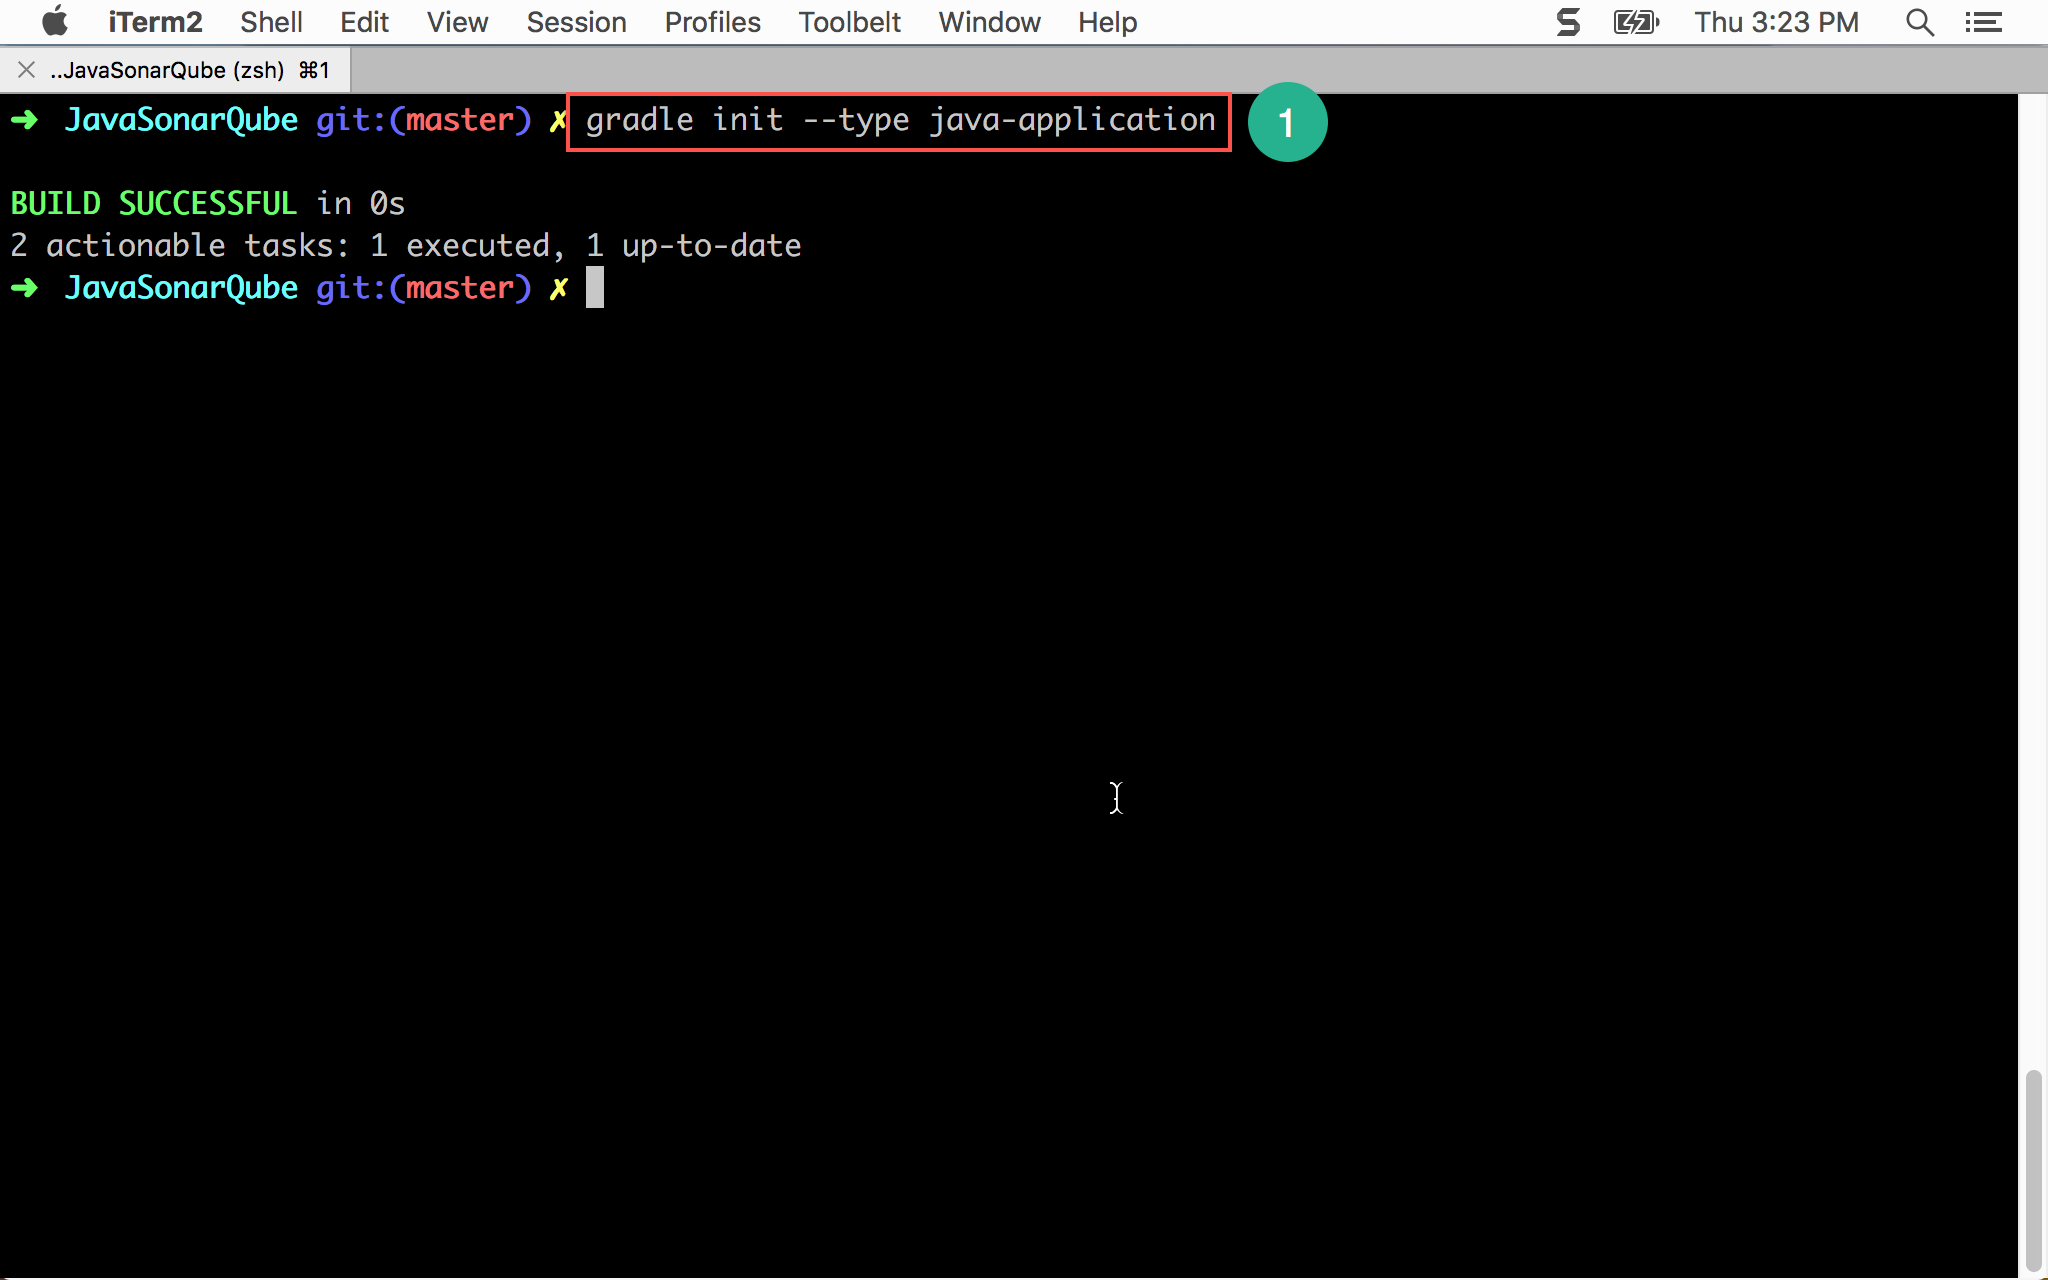
專案初始化1
~/MyProject $gradle init --type java-application
下載範例後,進入專案目錄,使用 Gradle 對專案初始化。
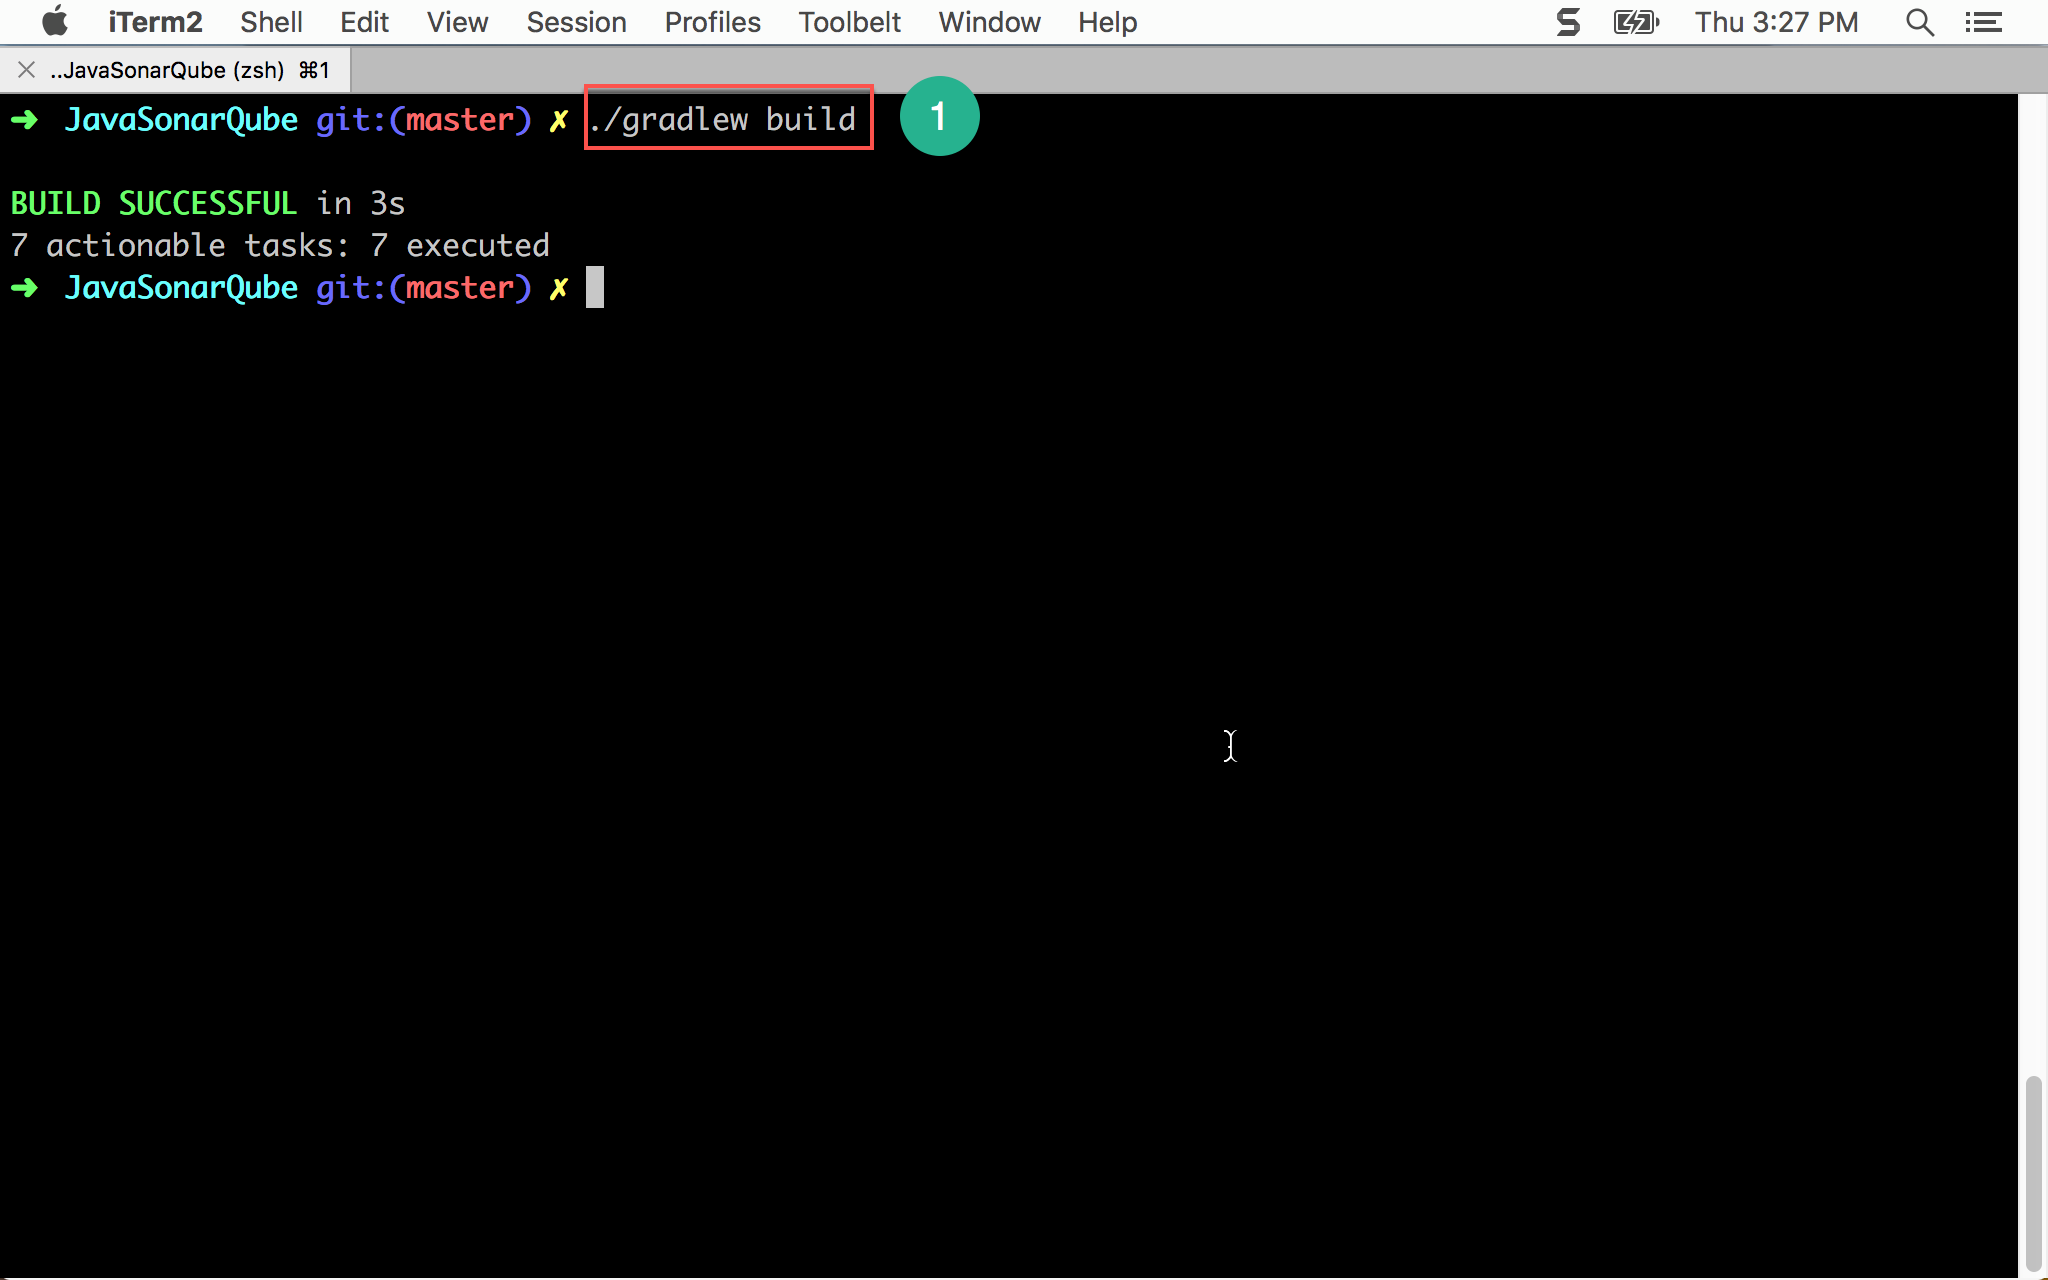
建置專案1
~/MyProject $ ./gradlew build
使用 Gradle 第一次 build 專案。
Eclipse
安裝 Plugin
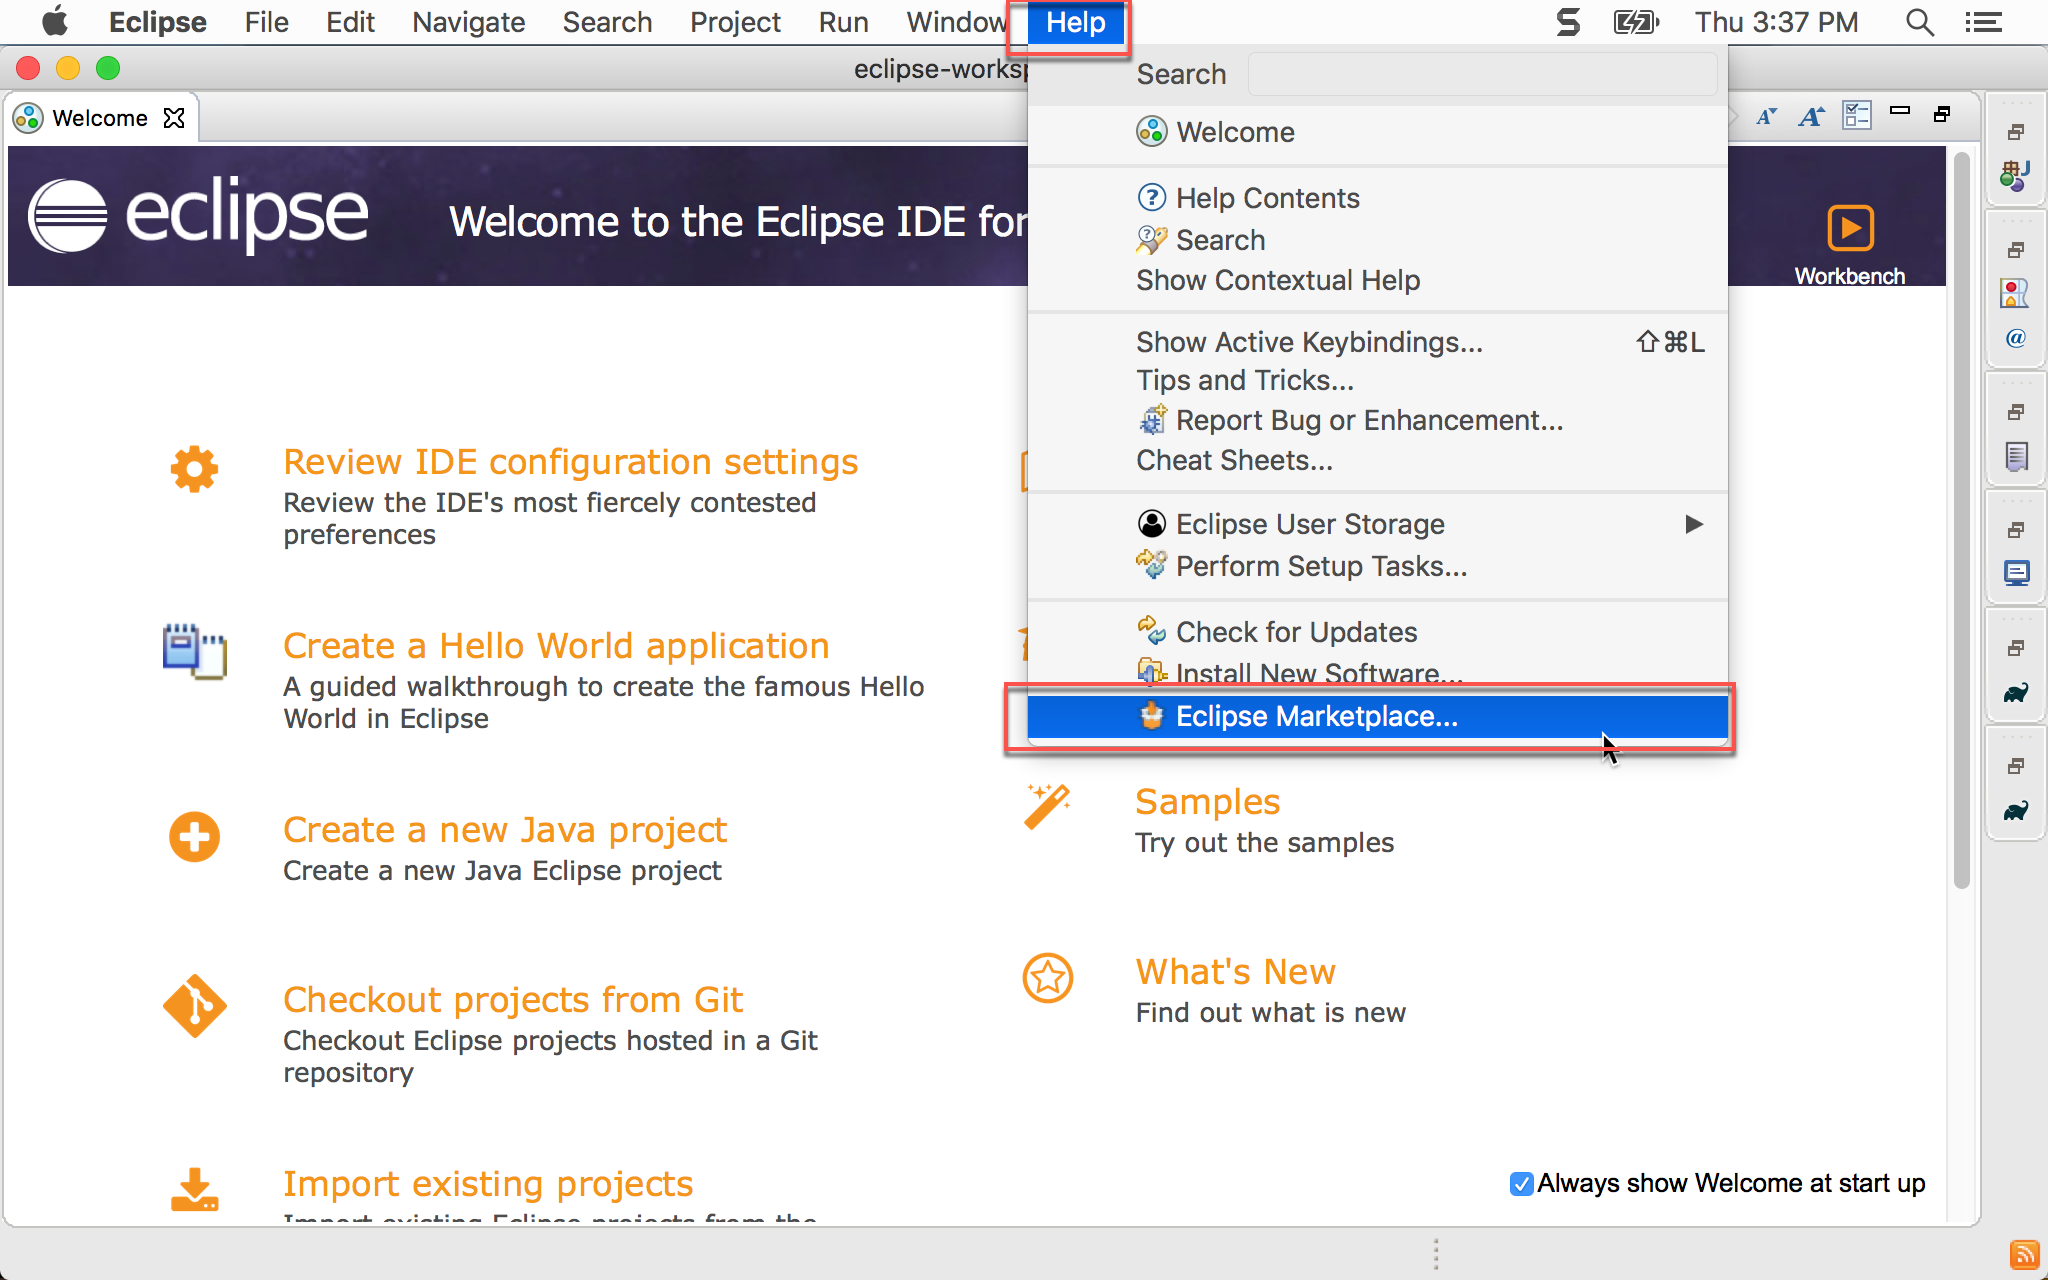
Help -> Eclipse Marketplace…
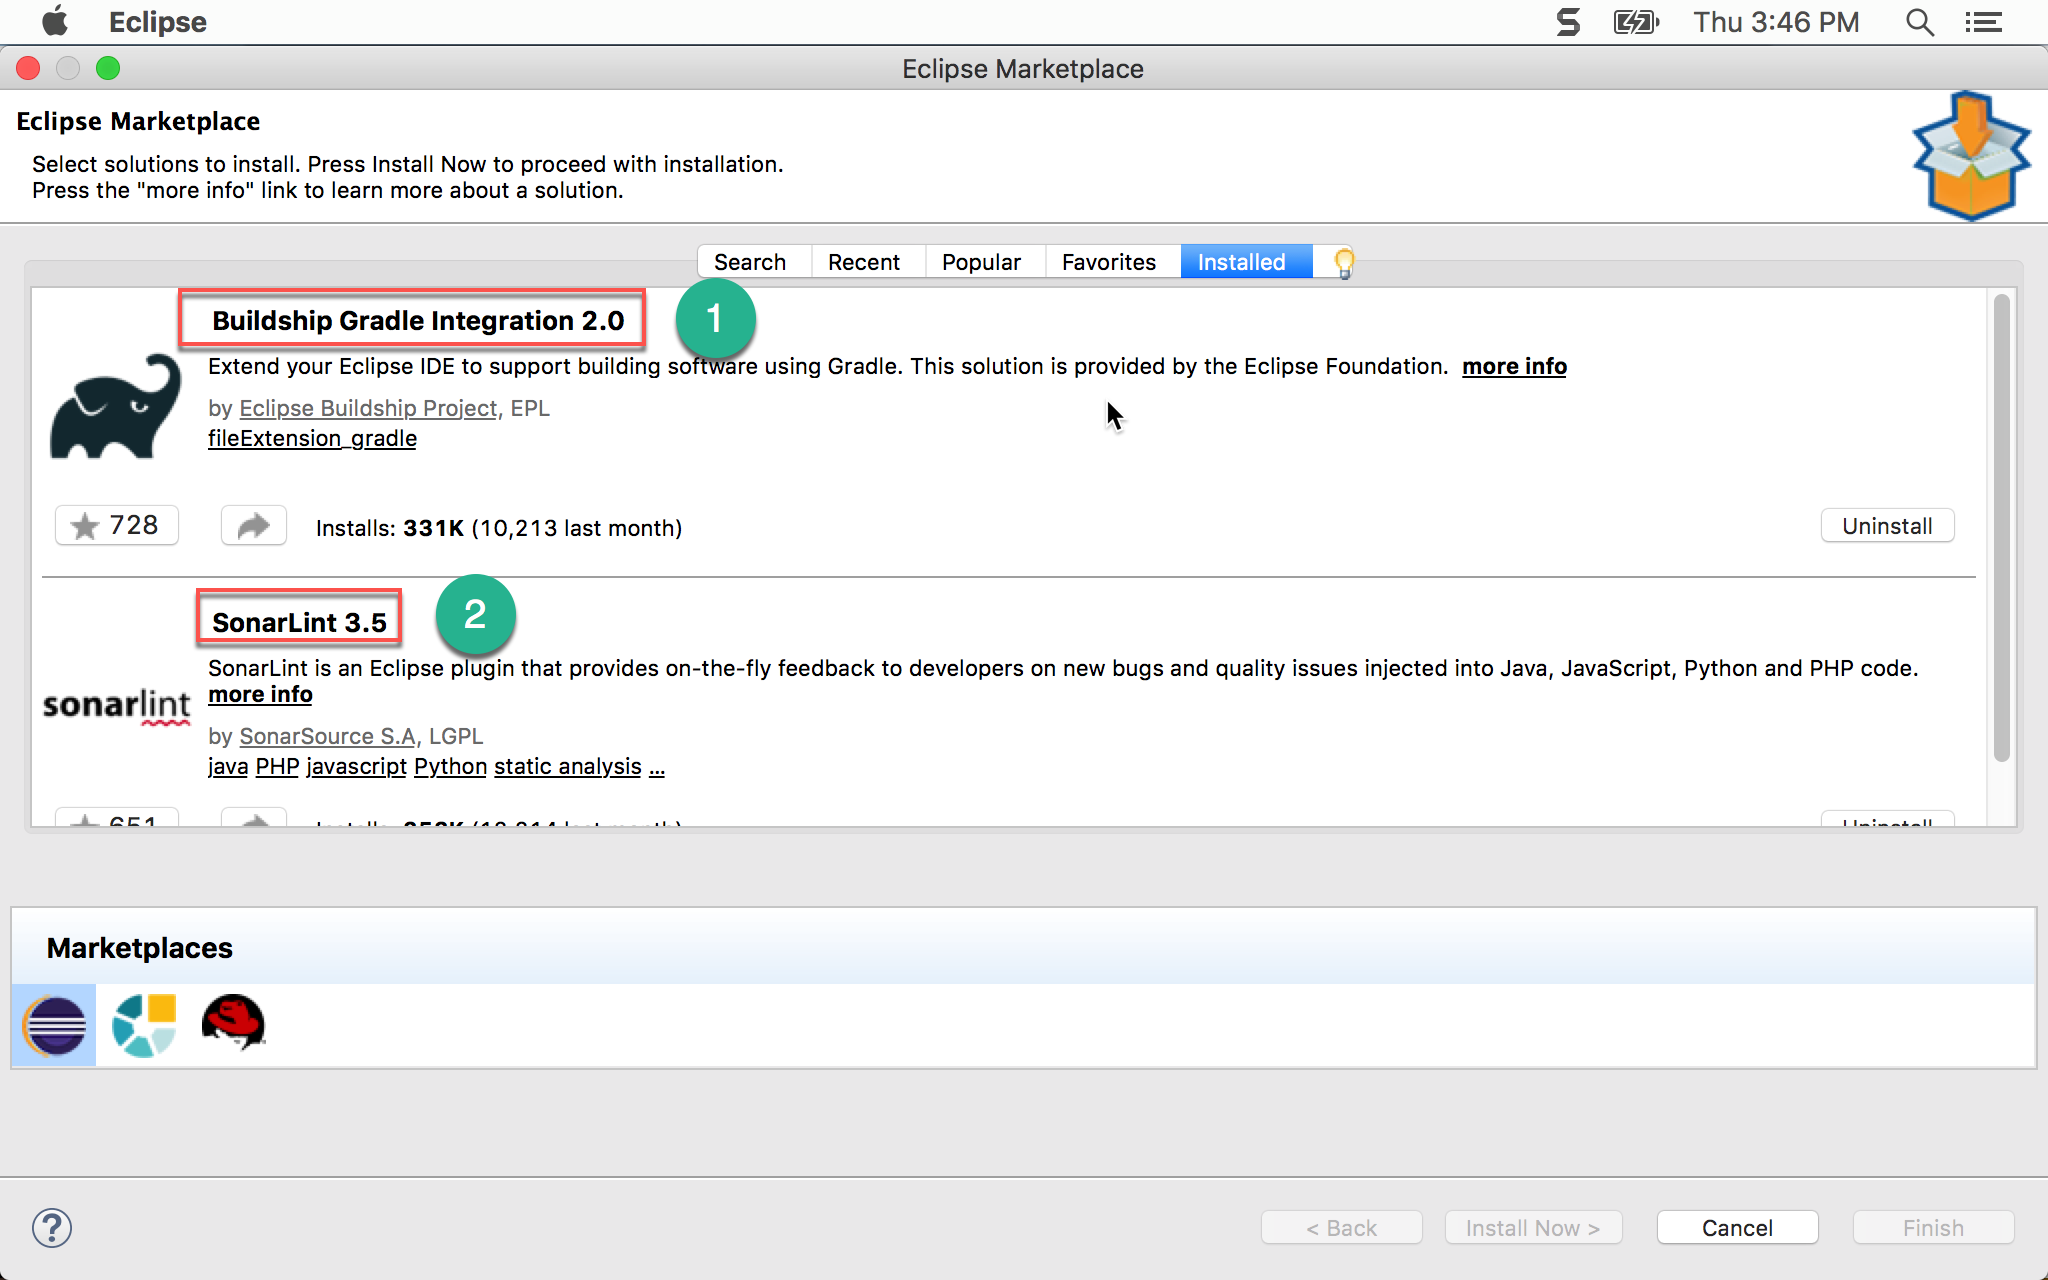
請安裝以下兩個套件:
- Buildship Gradle Integration 2.0:在 Eclipse 使用 Gradle 建置專案
- SonarLint 3.5:讓 Eclipse 能即時執行 SonarQube 檢查
匯入專案
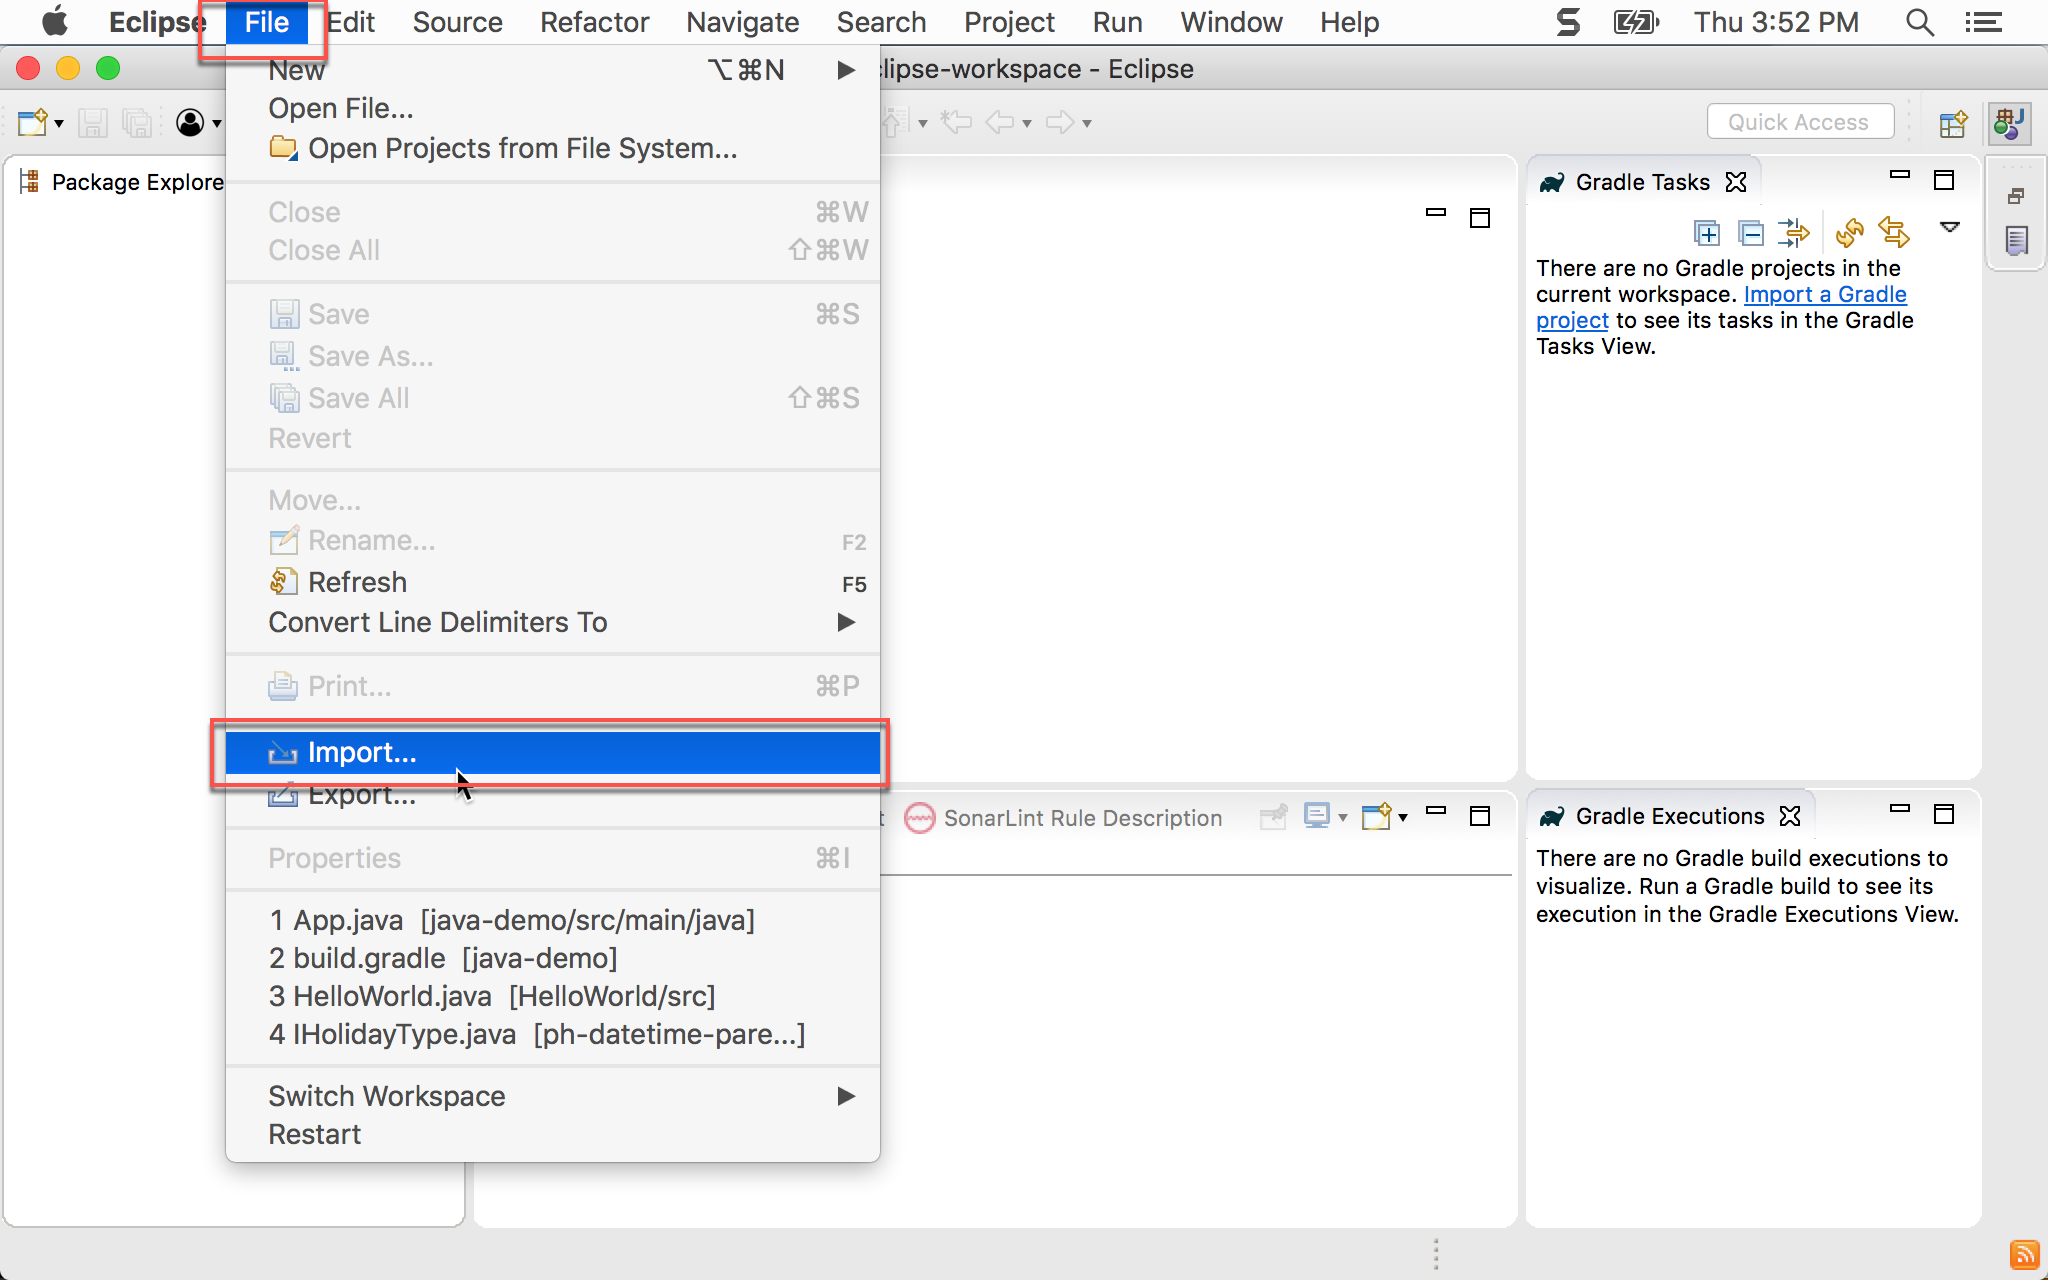
File -> Import
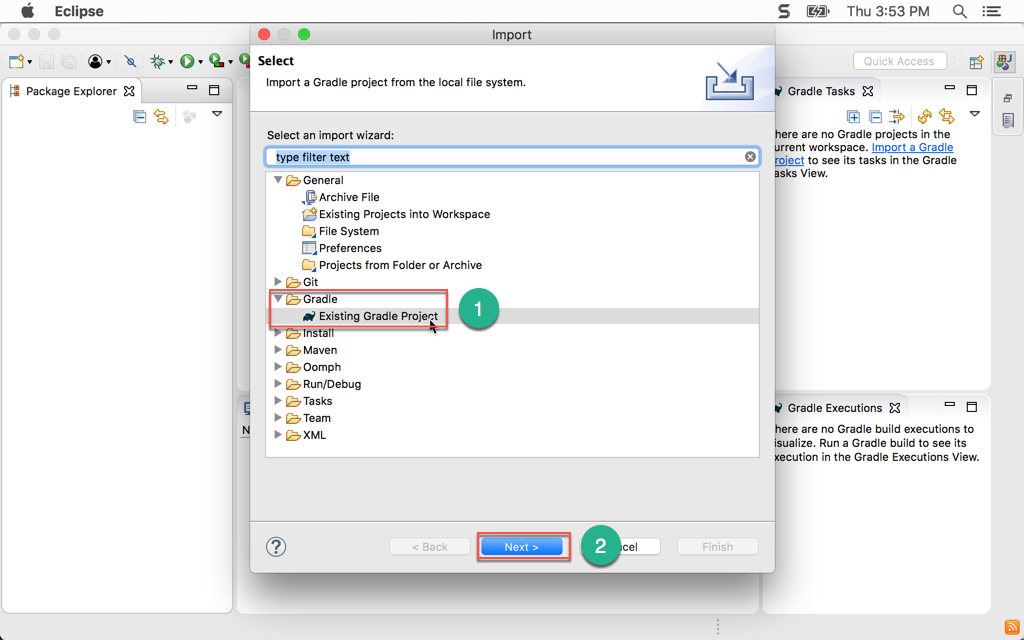
- 選擇 Gradle -> Existing Gradle Project
- 按
Next繼續
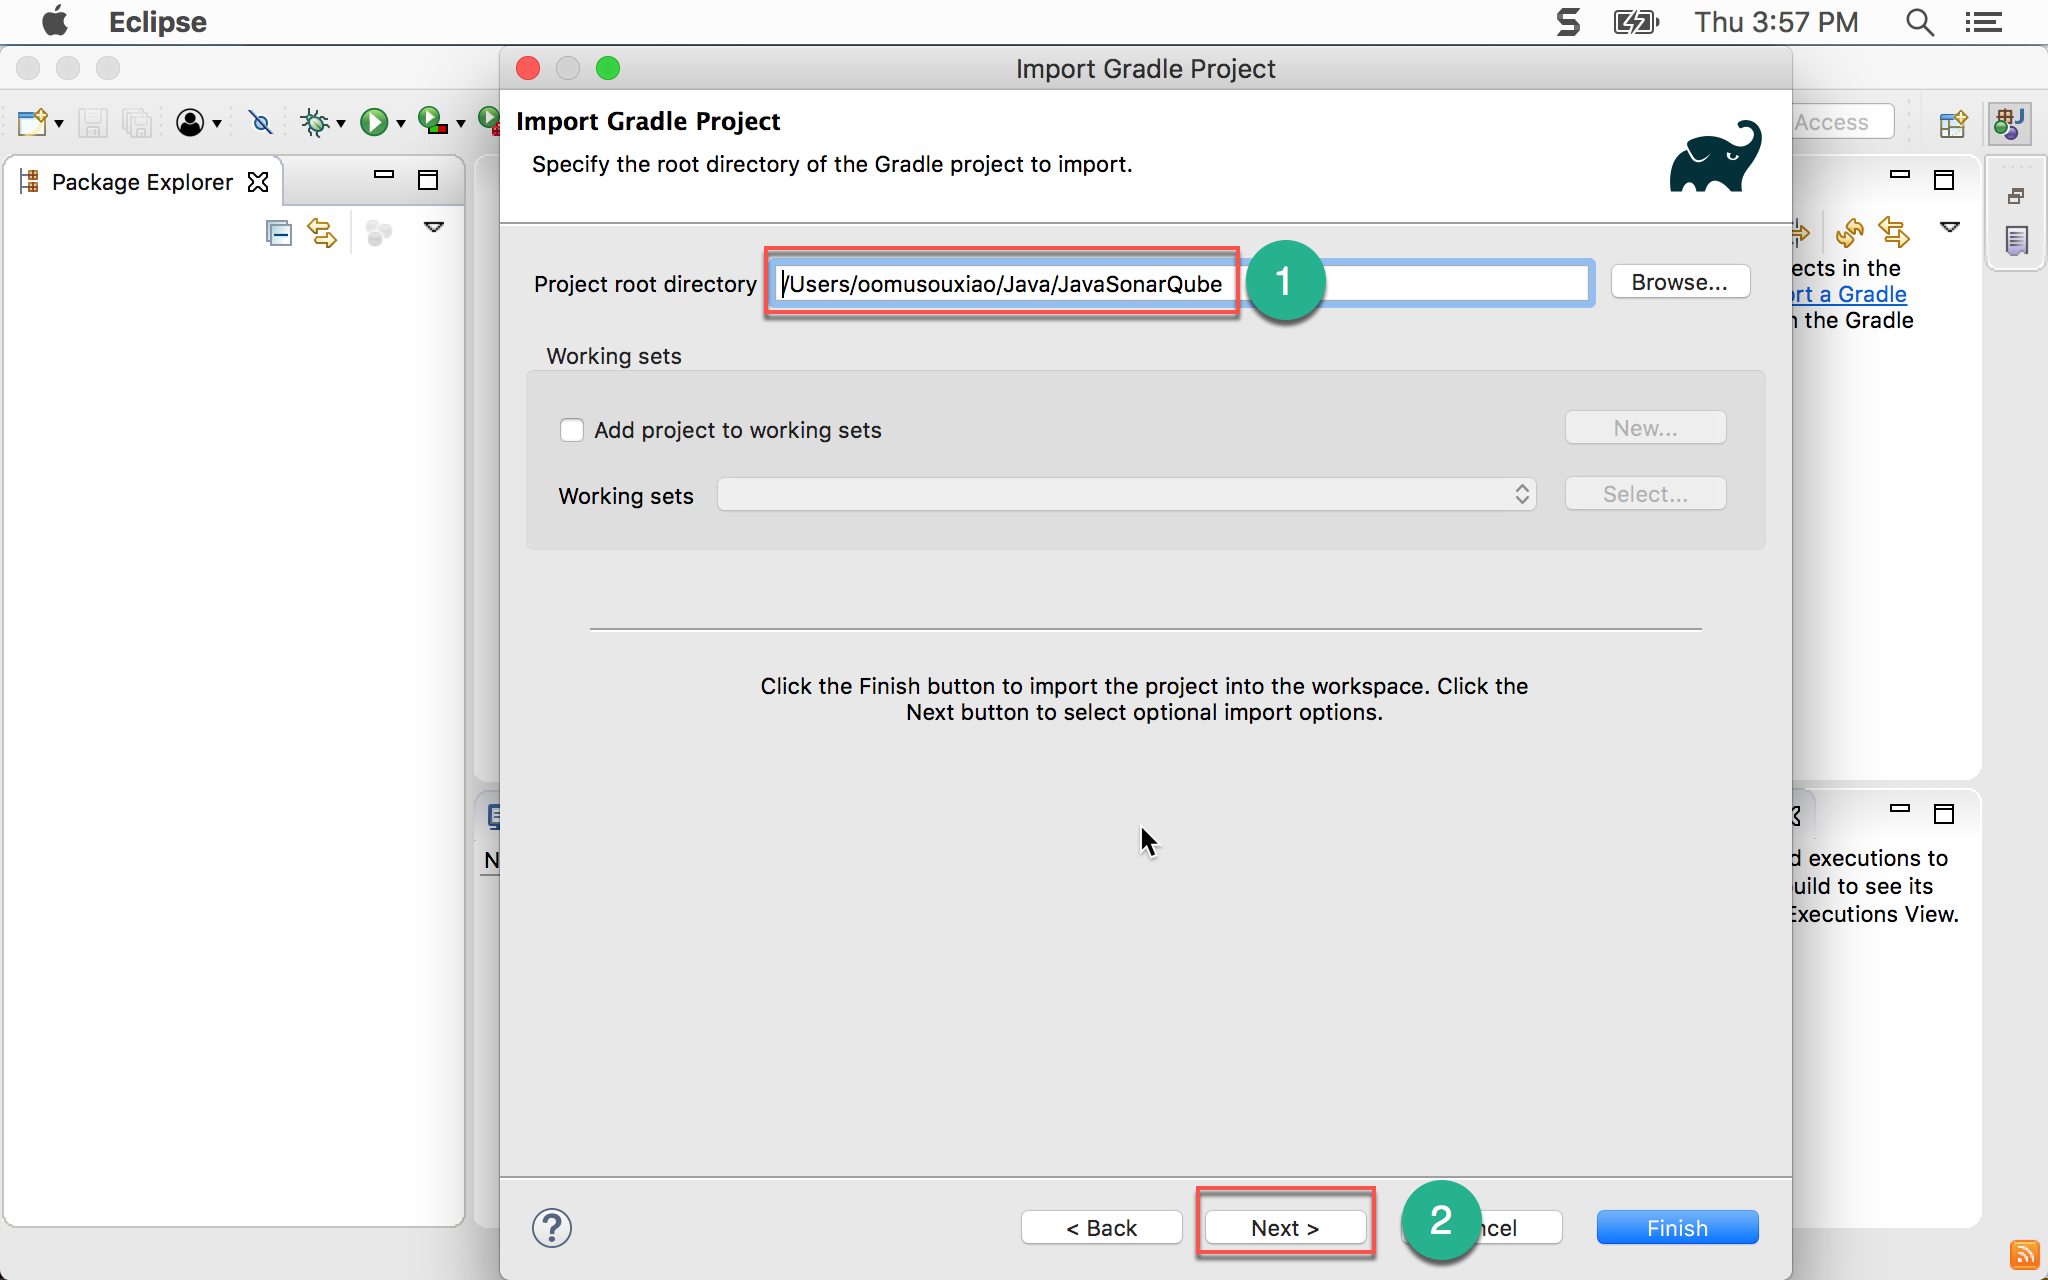
- 選擇專案目錄
- 按
Next繼續
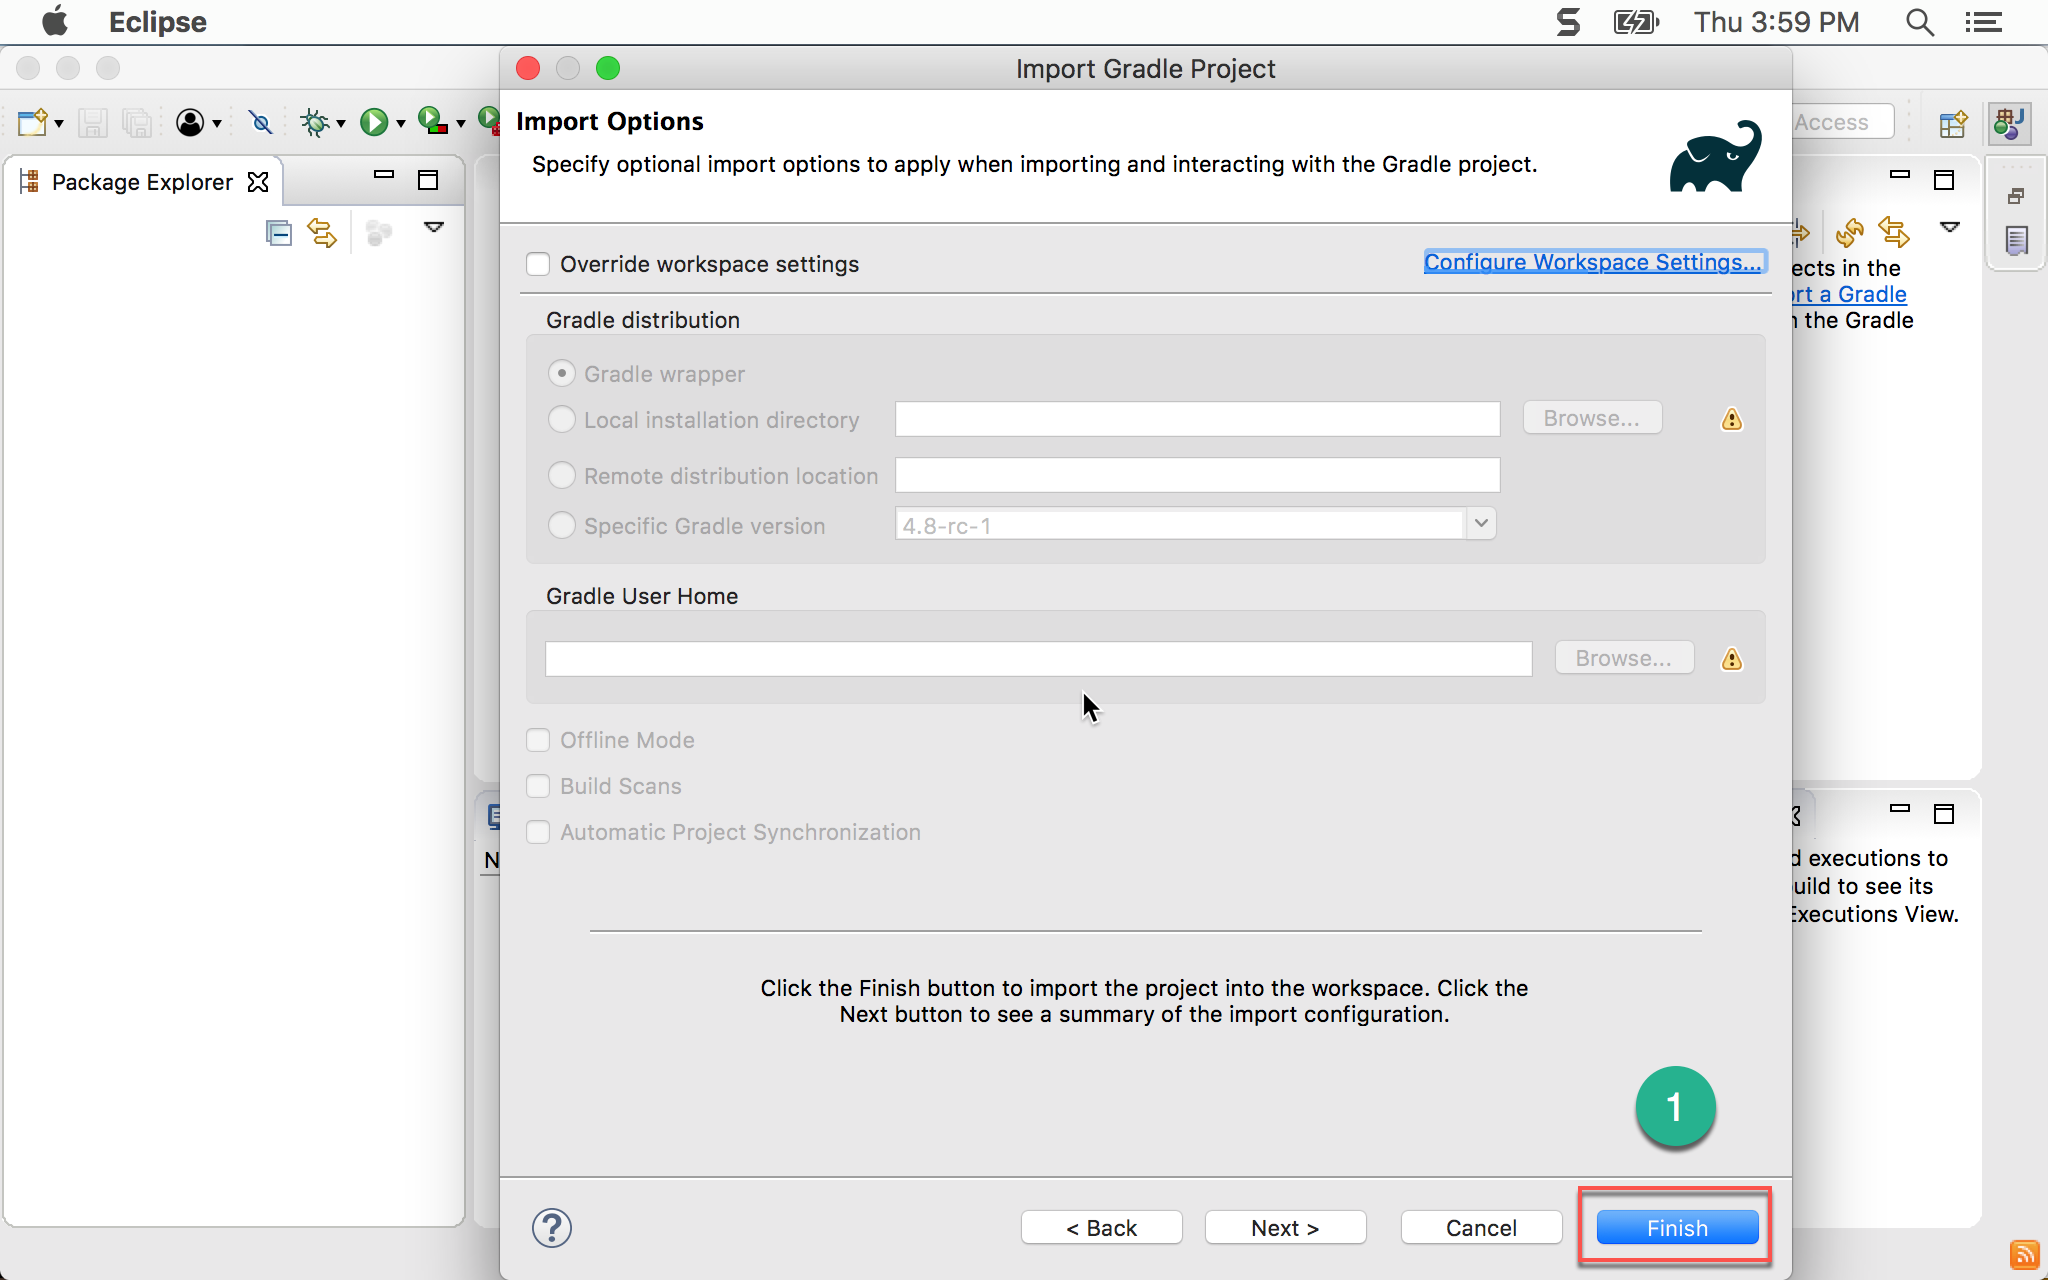
- 按
Finish結束
新增 SonarQube Plugin
build.gradle
1 | /* |
13 行
1 | // Gradle plugin to help analyzing projects with SonarQube |
在 Gradle 新增 SonarQube plugin,將來可透過 Gradle 執行 SonarQube。
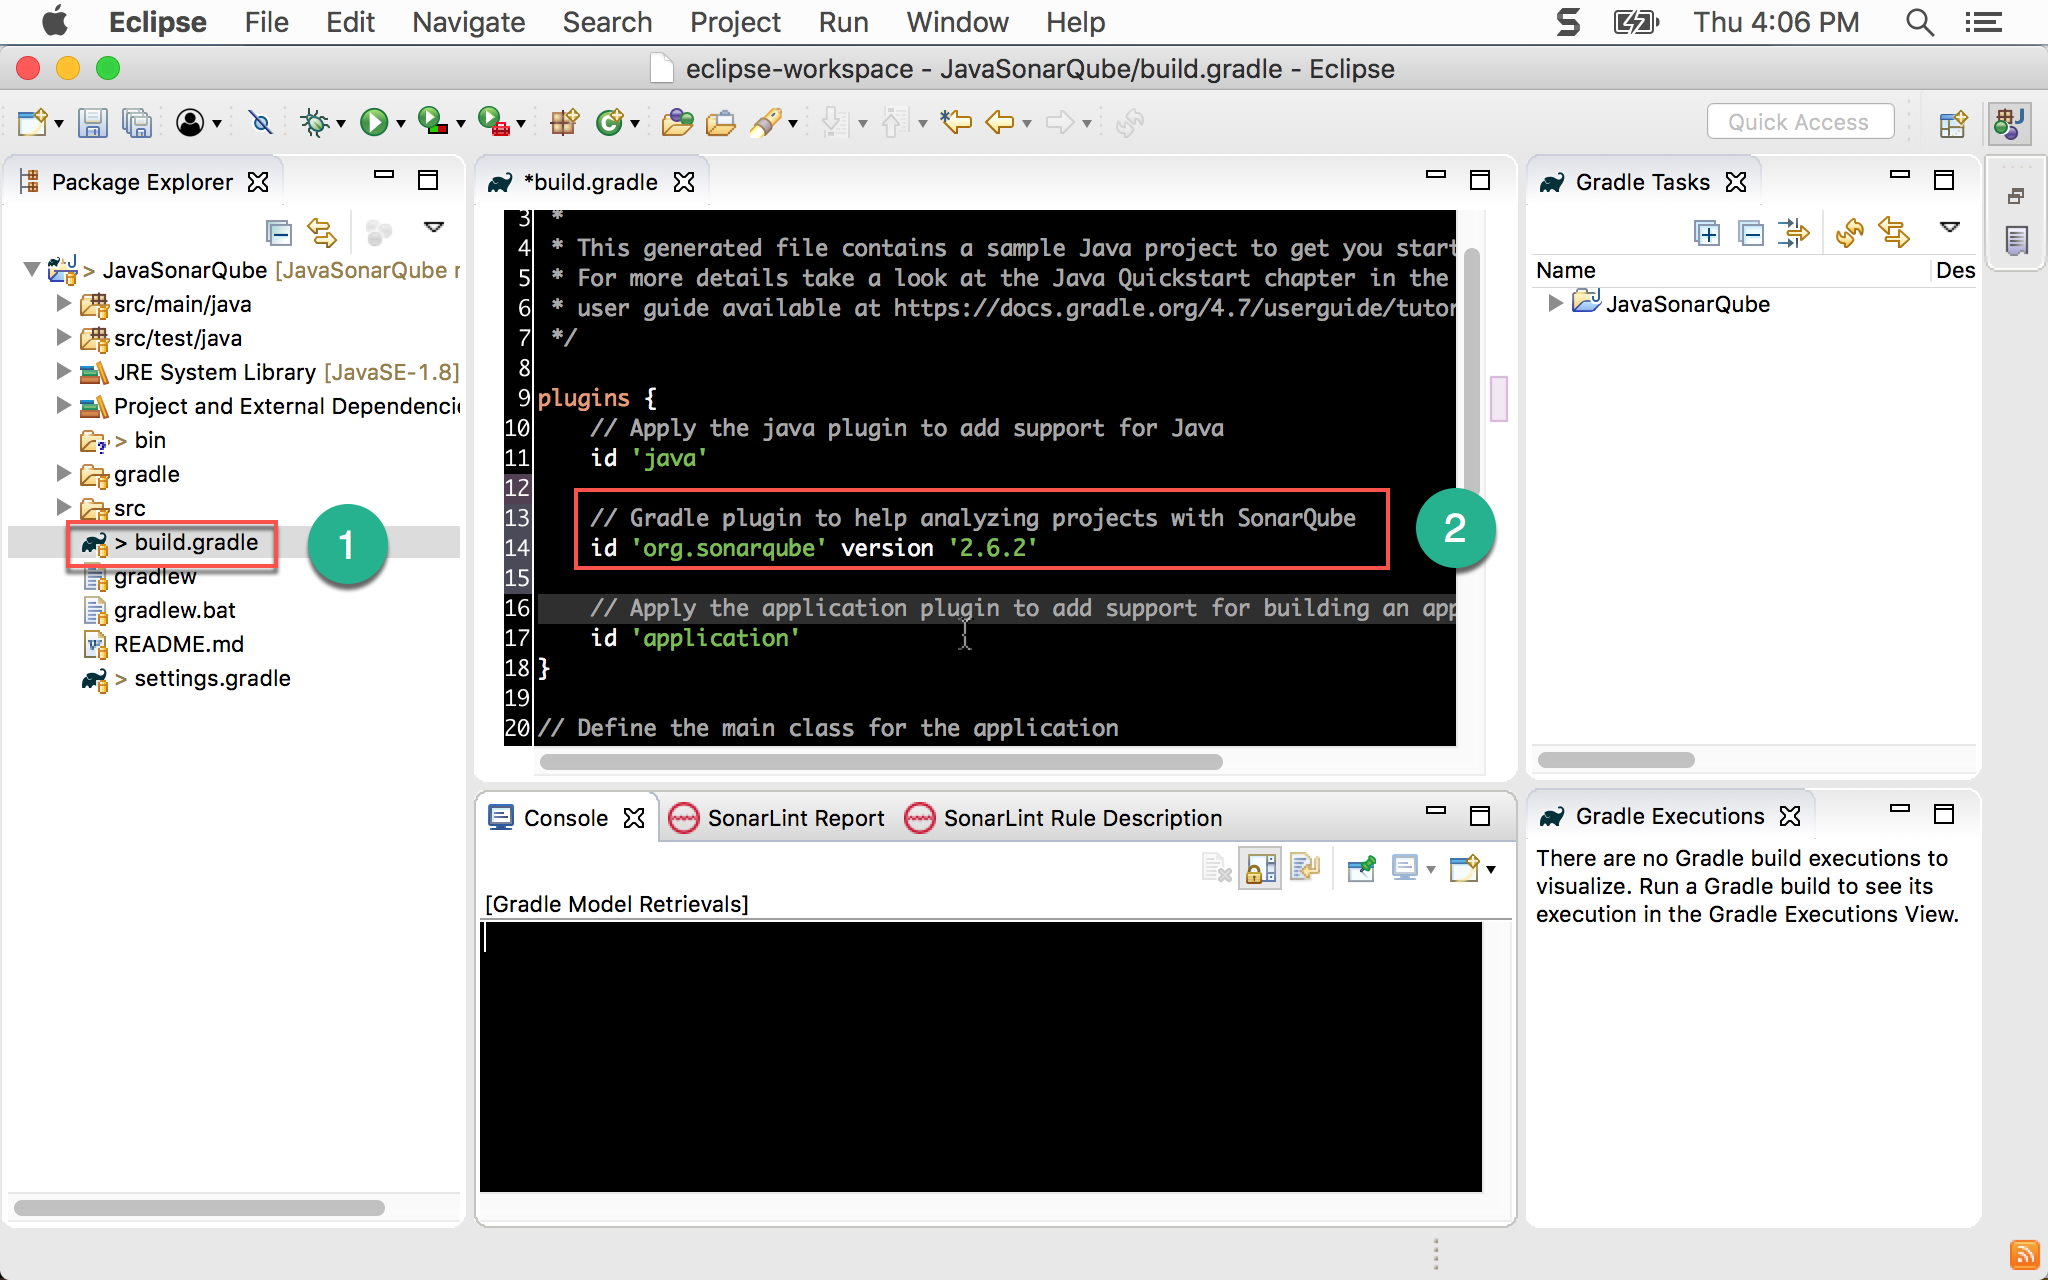
- 開啟
build.gradle檔案 - 新增 SonarQube plugin
建置專案
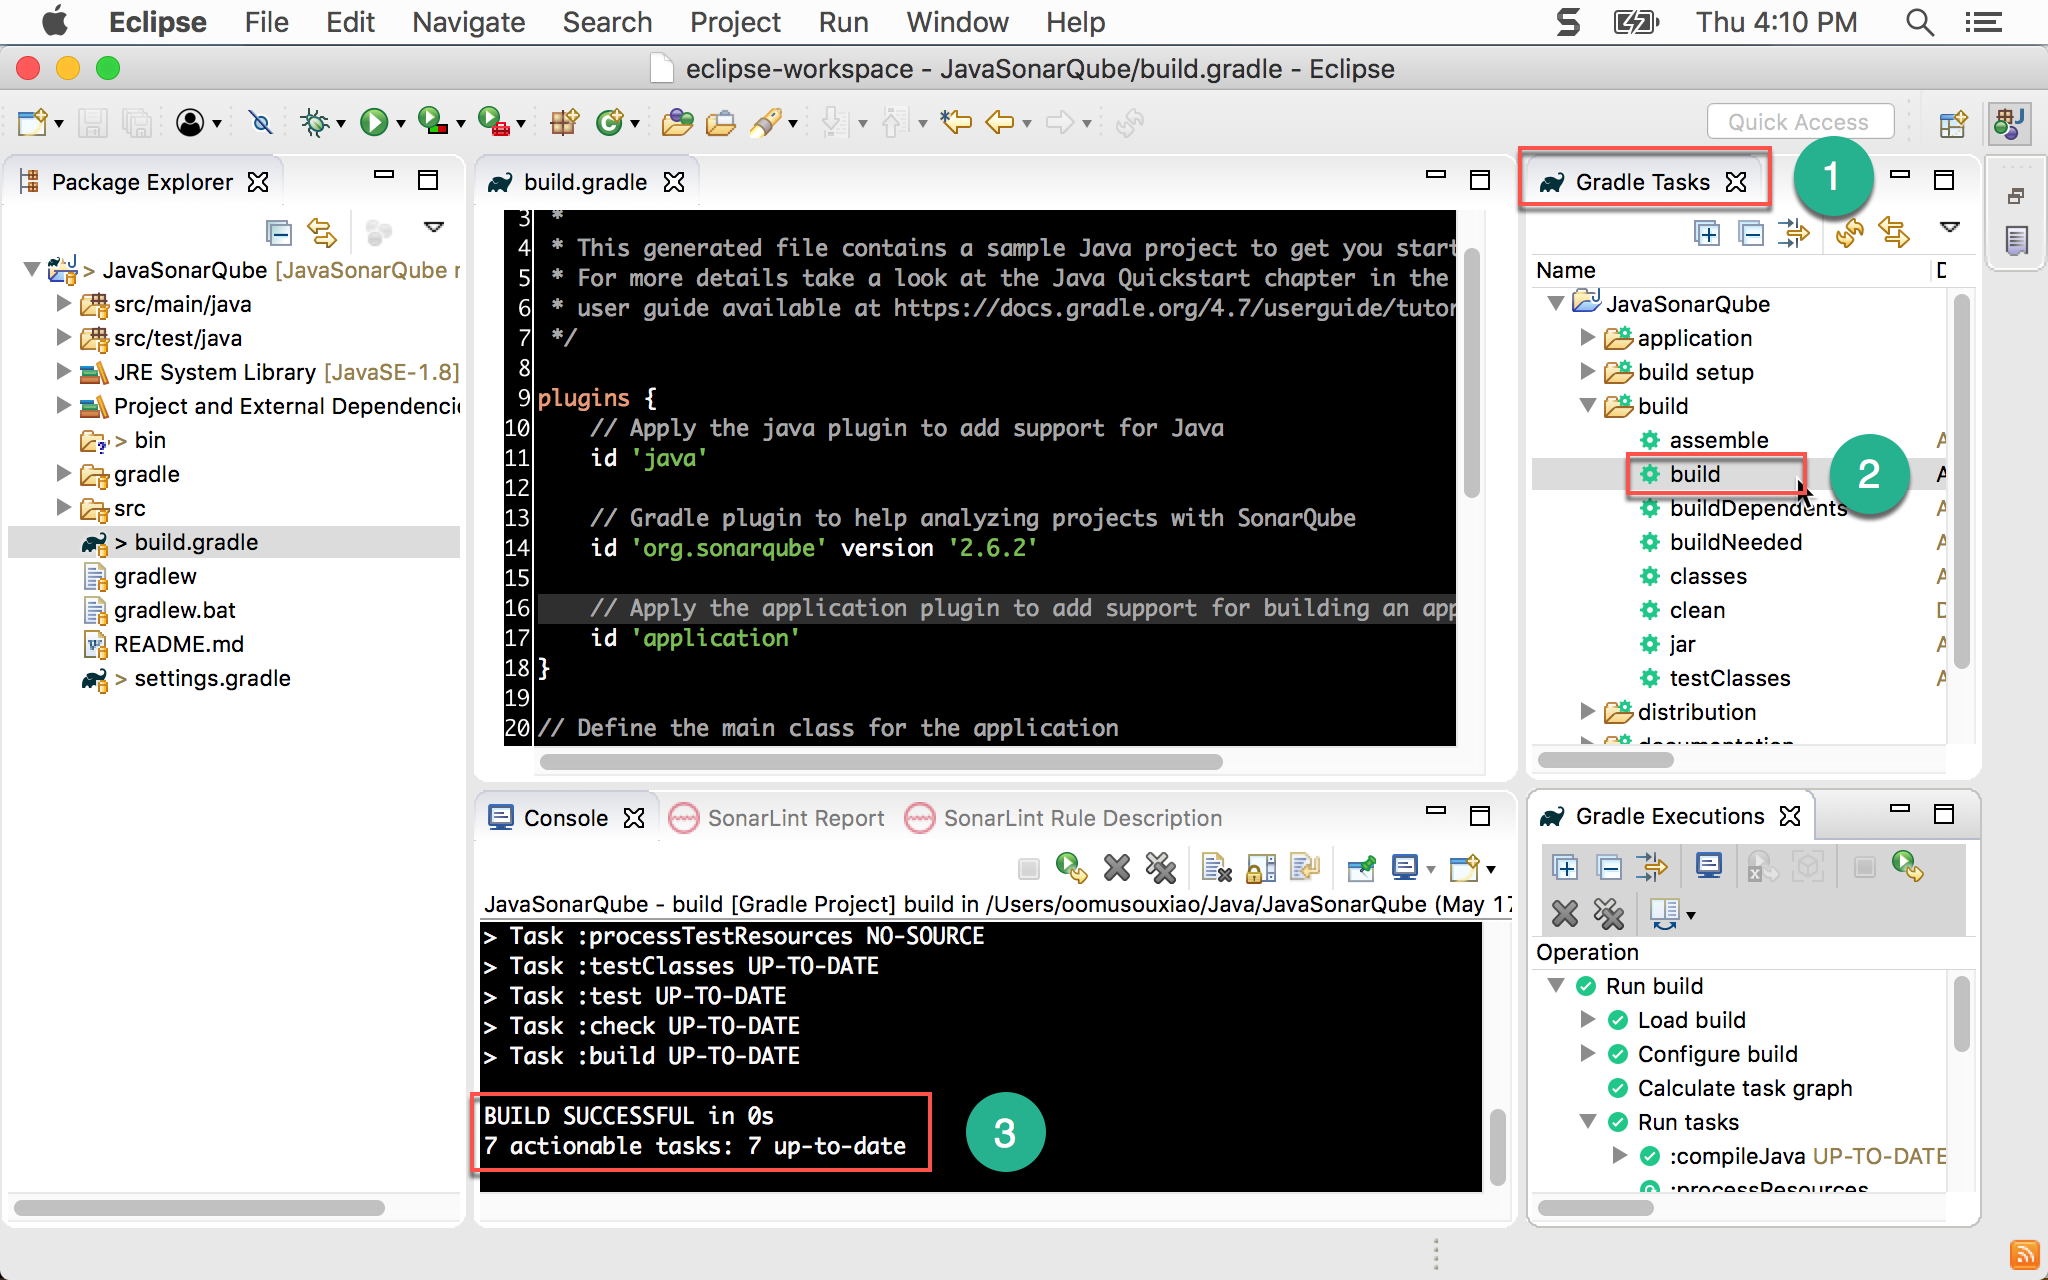
- 右側
Gradle Tasks - 將
build展開,執行build - 在 Console 出現
BUILD SUCCESSFUL表示建置成功
目前為止,Gradle 在 Eclipse 已經正常執行,接下來要設定 SonarQube
SonarQube
安裝 SonarQube1
$ brew install sonarqube
使用 Homebrew 安裝 SonarQube。
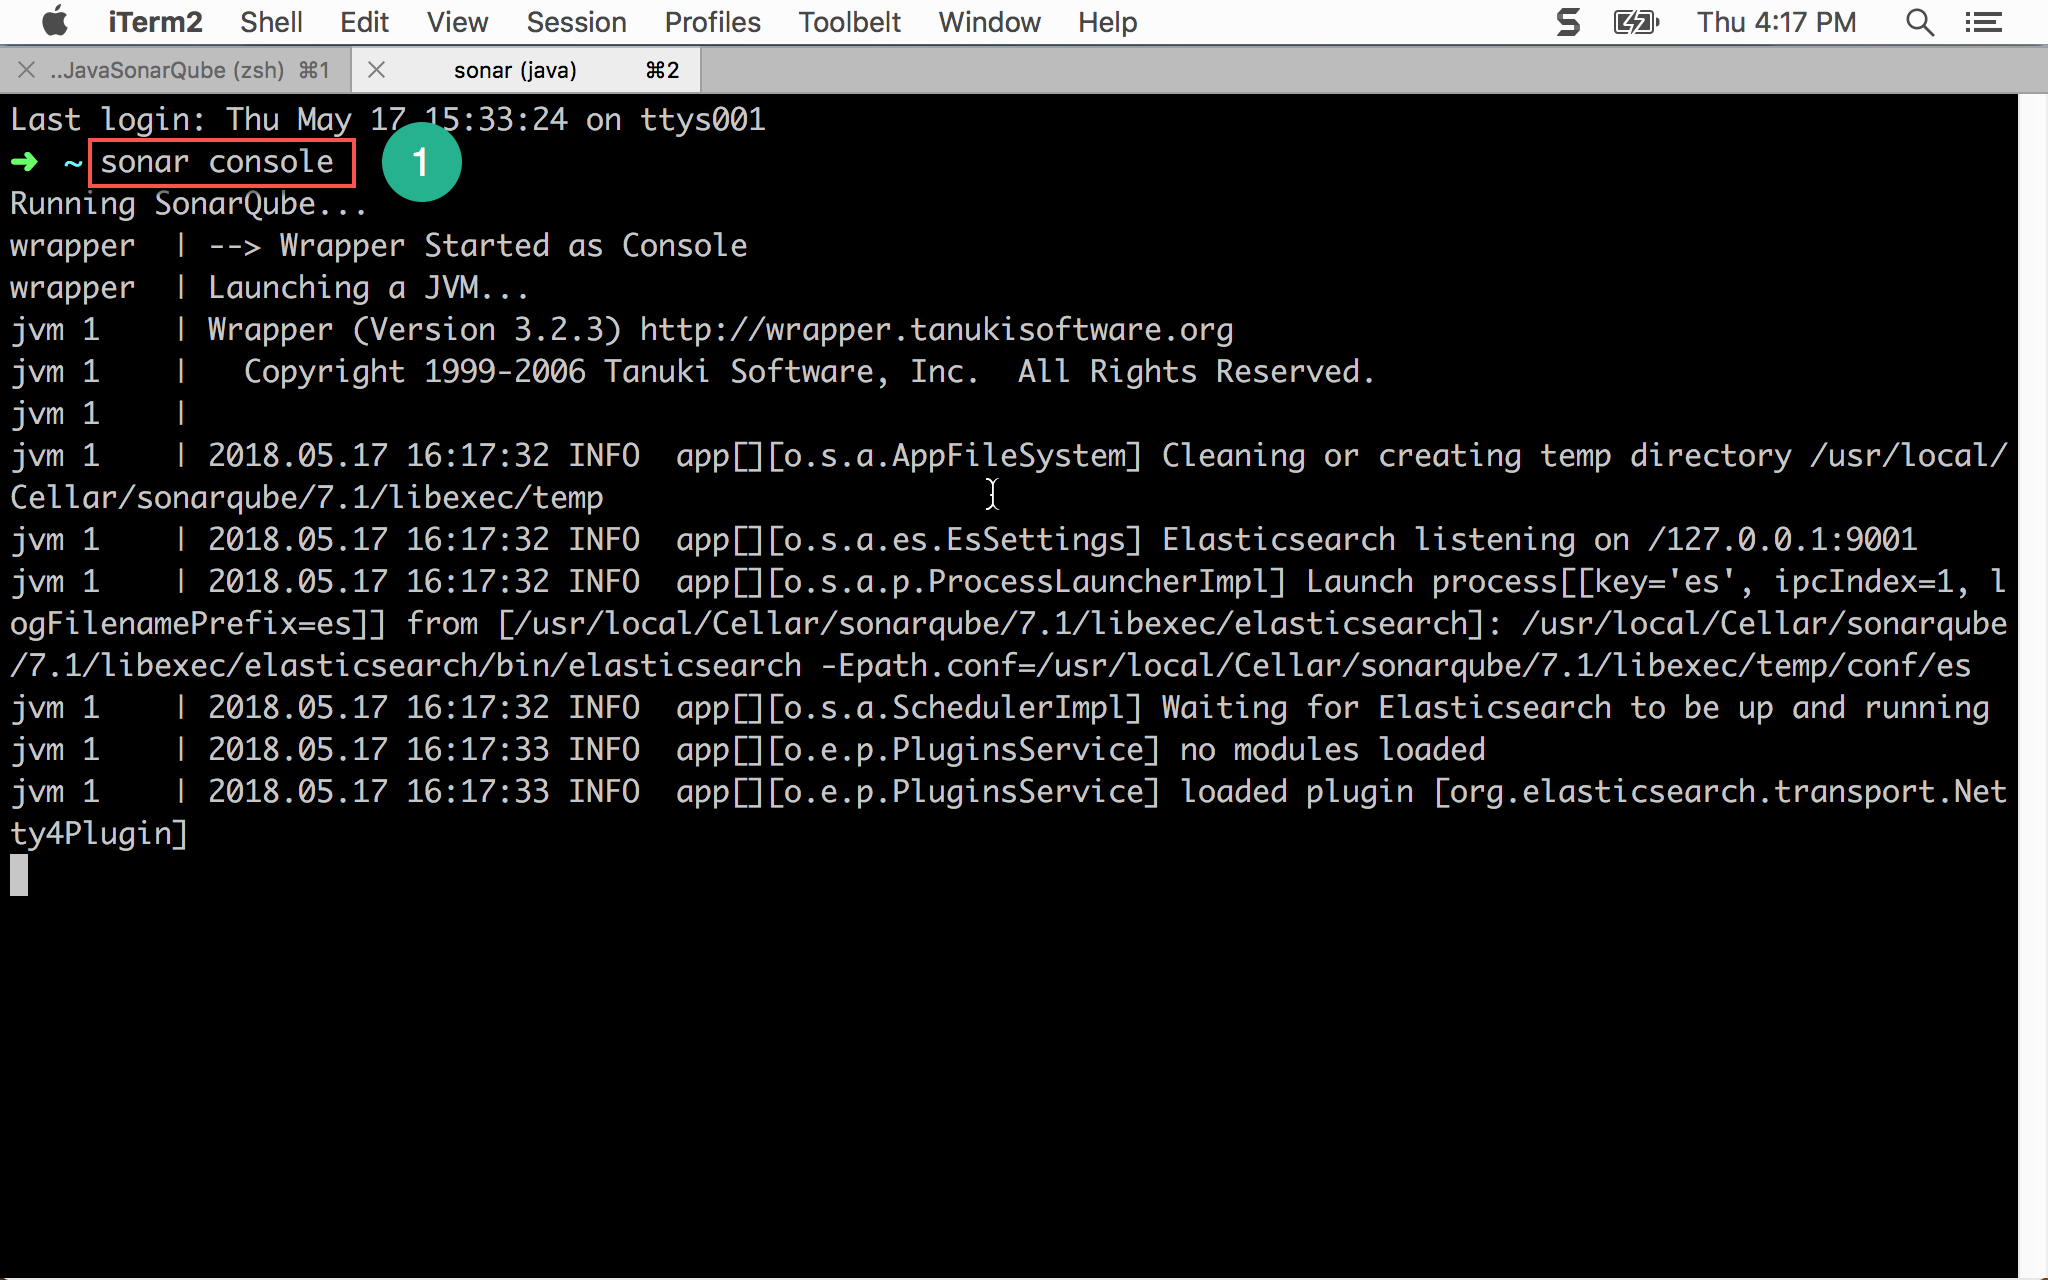
啟動 SonarQube1
$ sonar console
使用 sonar console 自行啟動 SonarQube。
測試 SonarQube
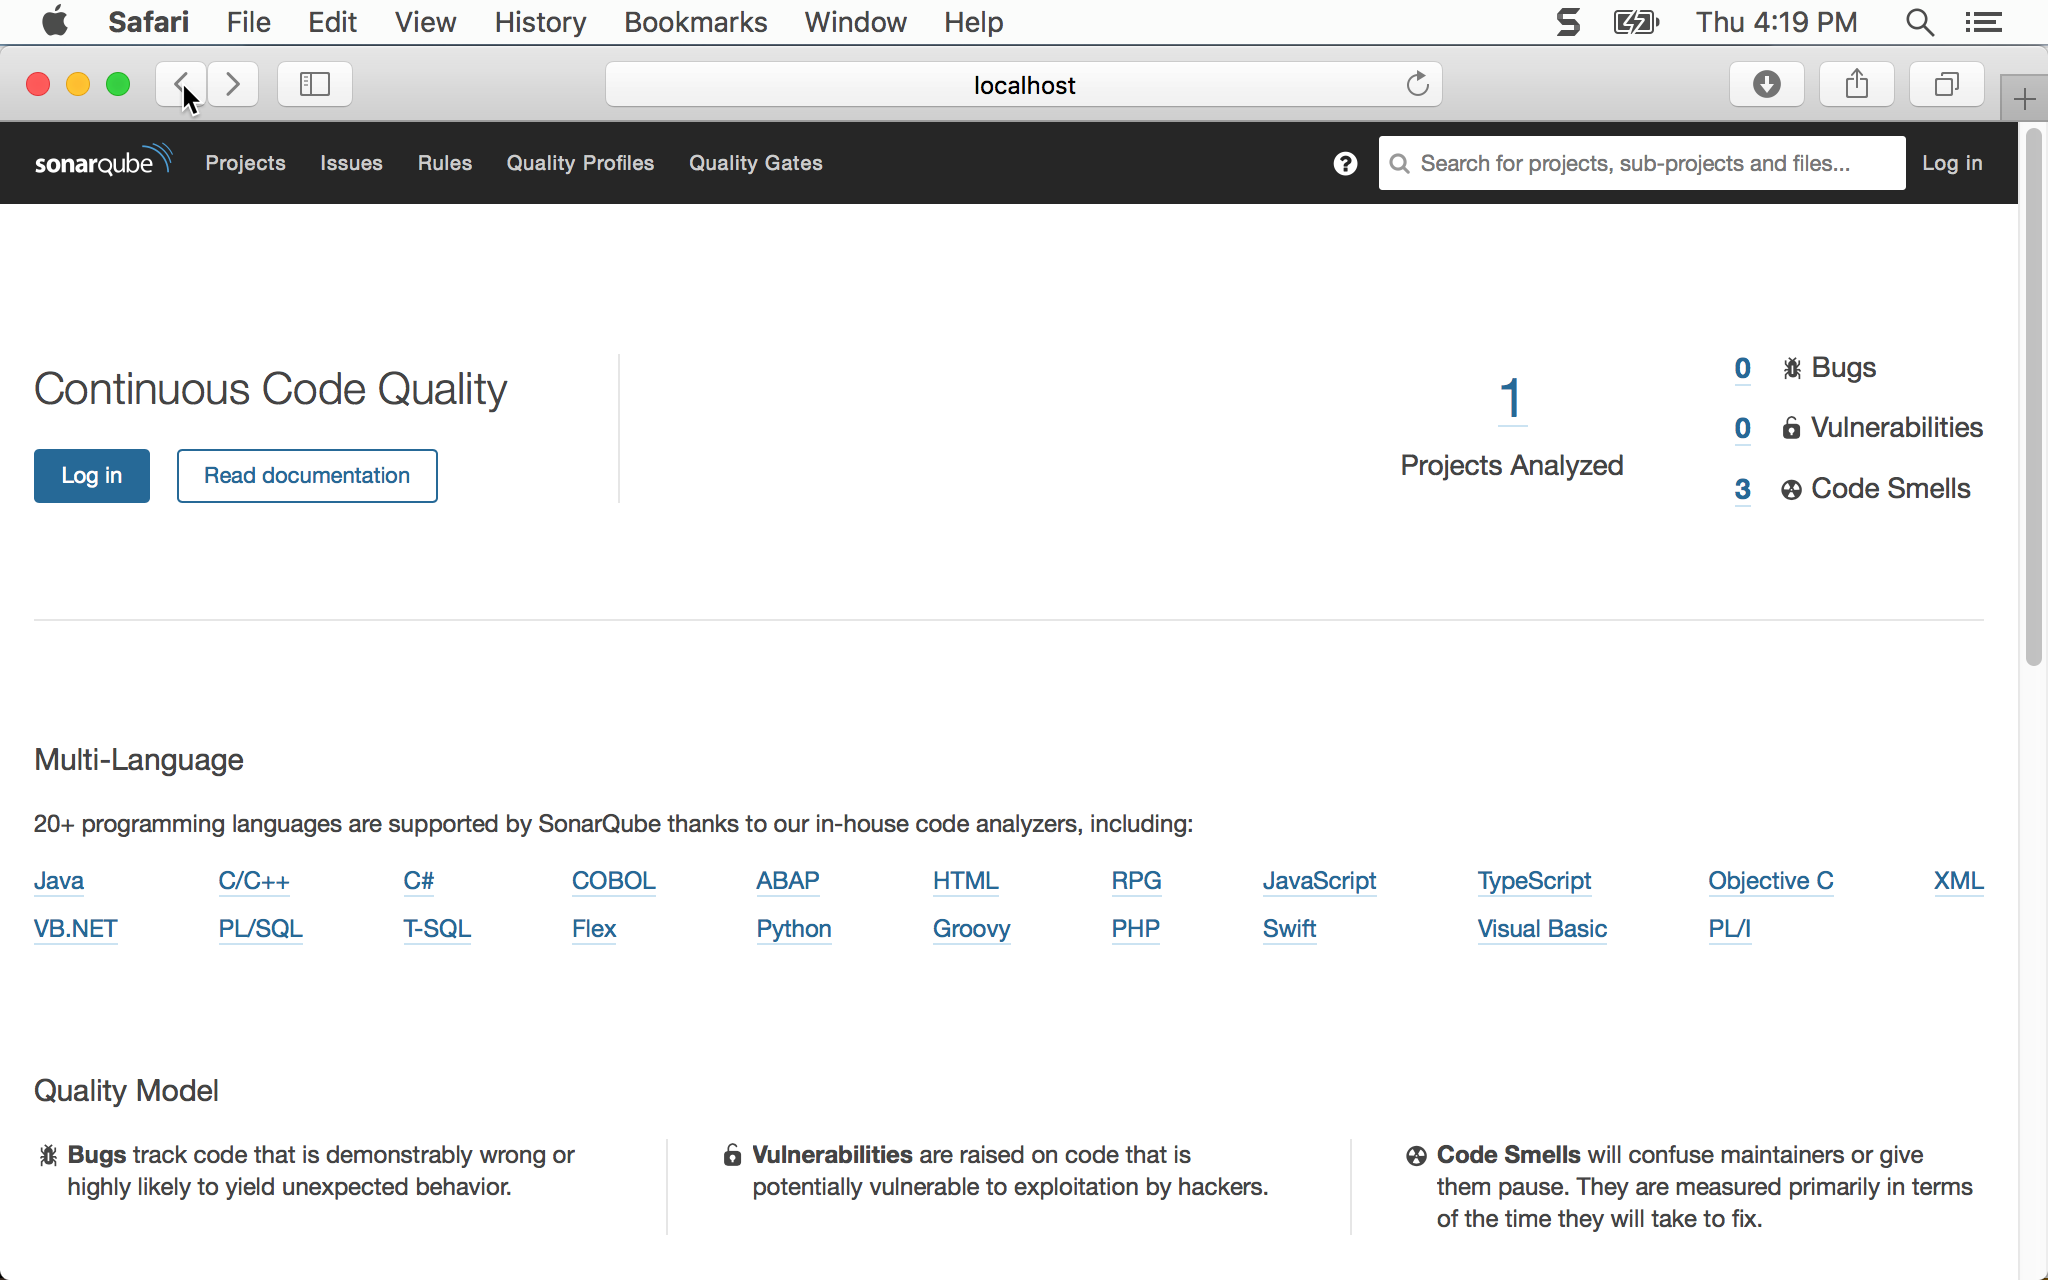
- 輸入
localhost:9000,若看到 SonarQube 首頁,則表示安裝成功 - 右上角
Log in可登入管理設定 SonarQube,預設為admin/admin
SonarQube Scanner
SonarQube 雖然已經包含 SonarJava,但必須靠 SonarQube Scanner 才能執行,預設 SonarQube 並沒有包含 Scanner,必須自行安裝。
安裝 SonarQube Scanner
1 | $ brew install sonar-scanner |
設定 SonarQube Server
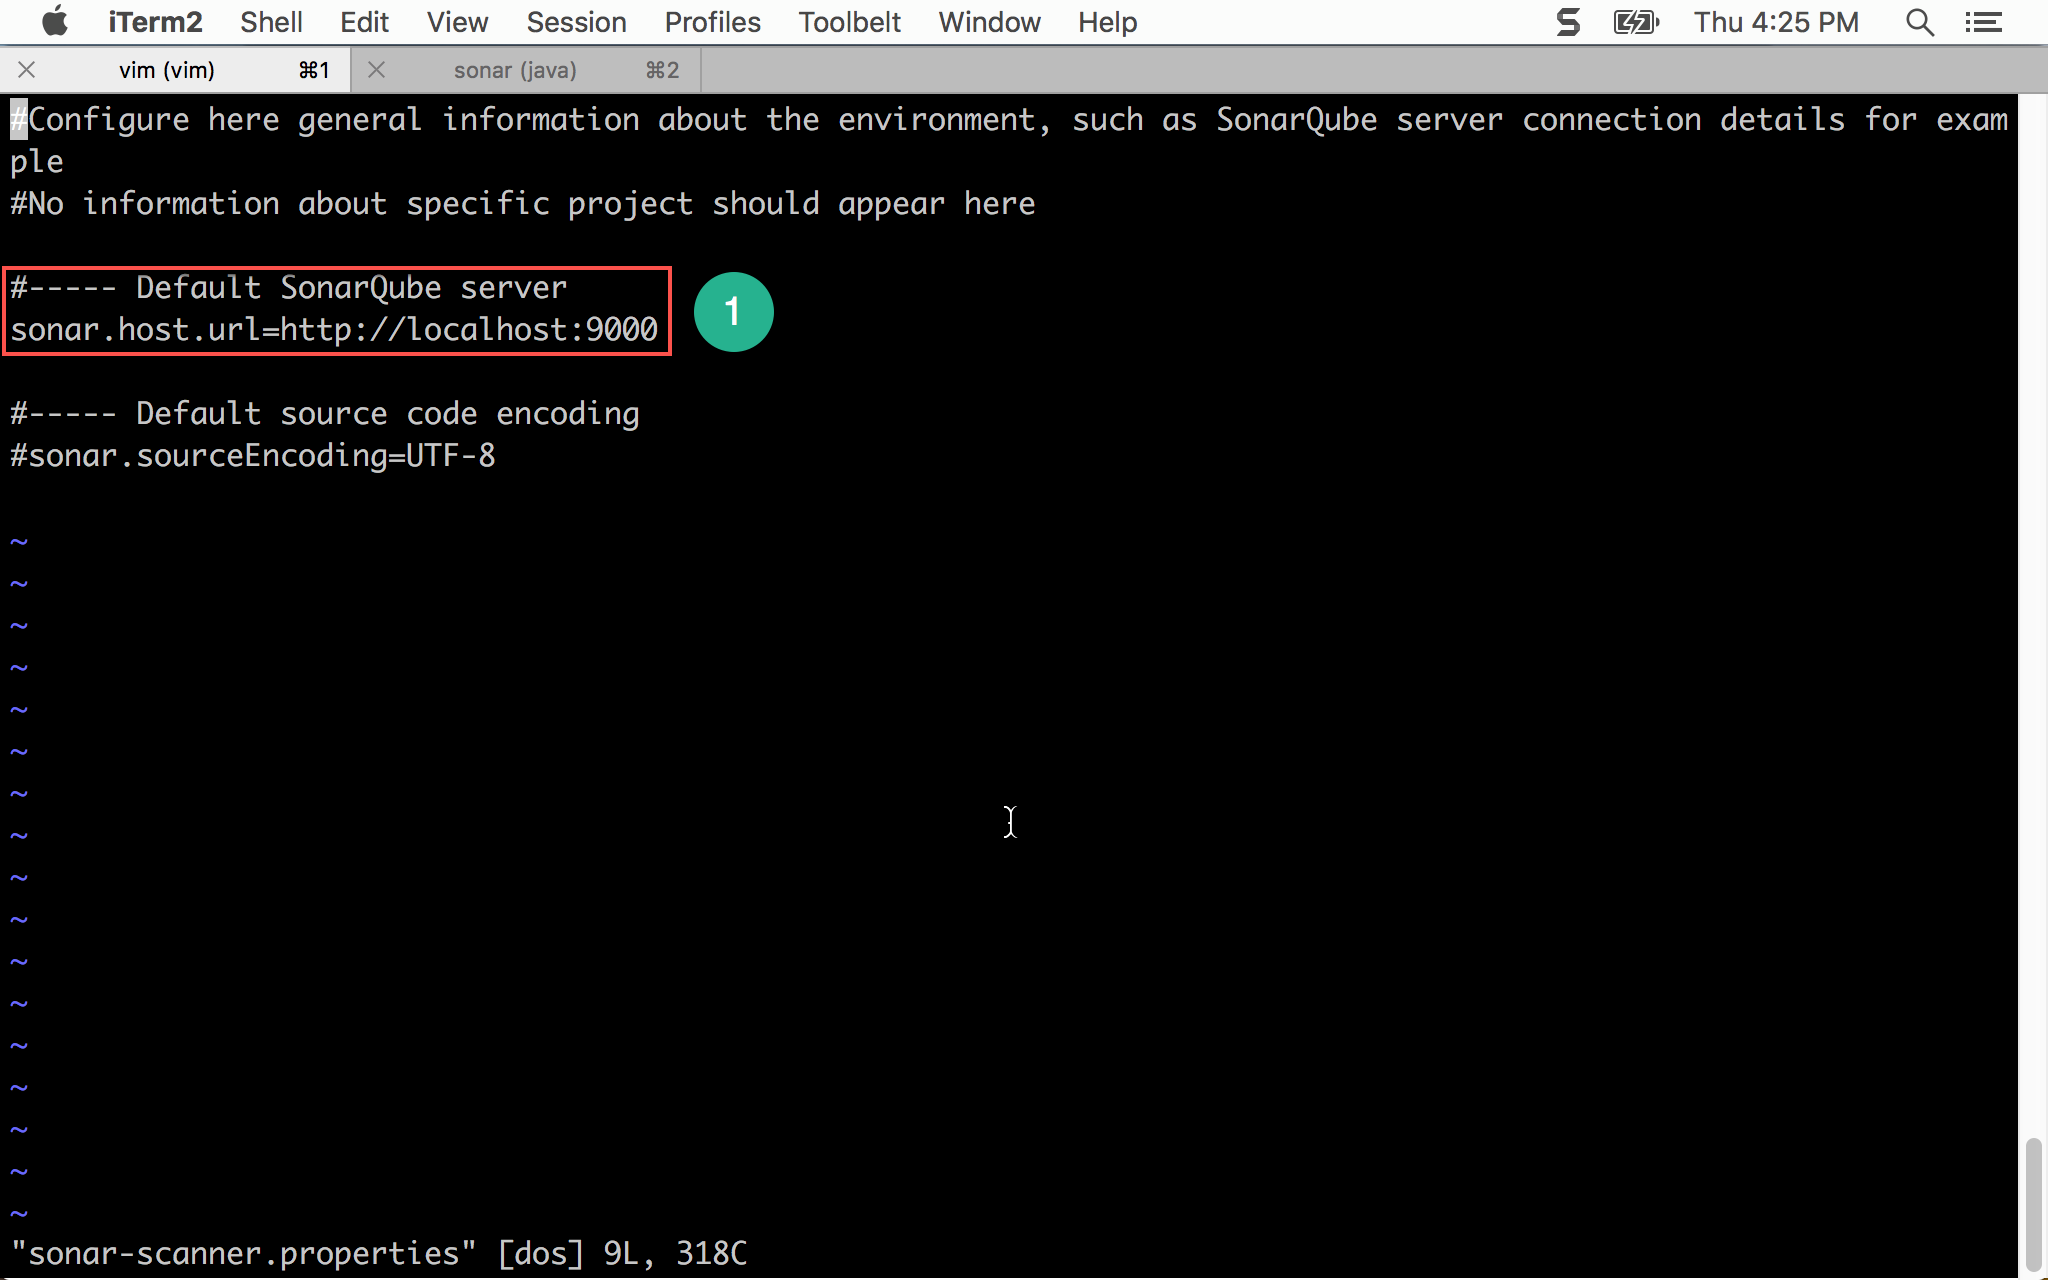
sonar-scanner.properties
1 | #Configure here general information about the environment, such as SonarQube server connection details for example |
將第 5 行的 # 拿掉,設定 SonarQube server 的 URL 位址。
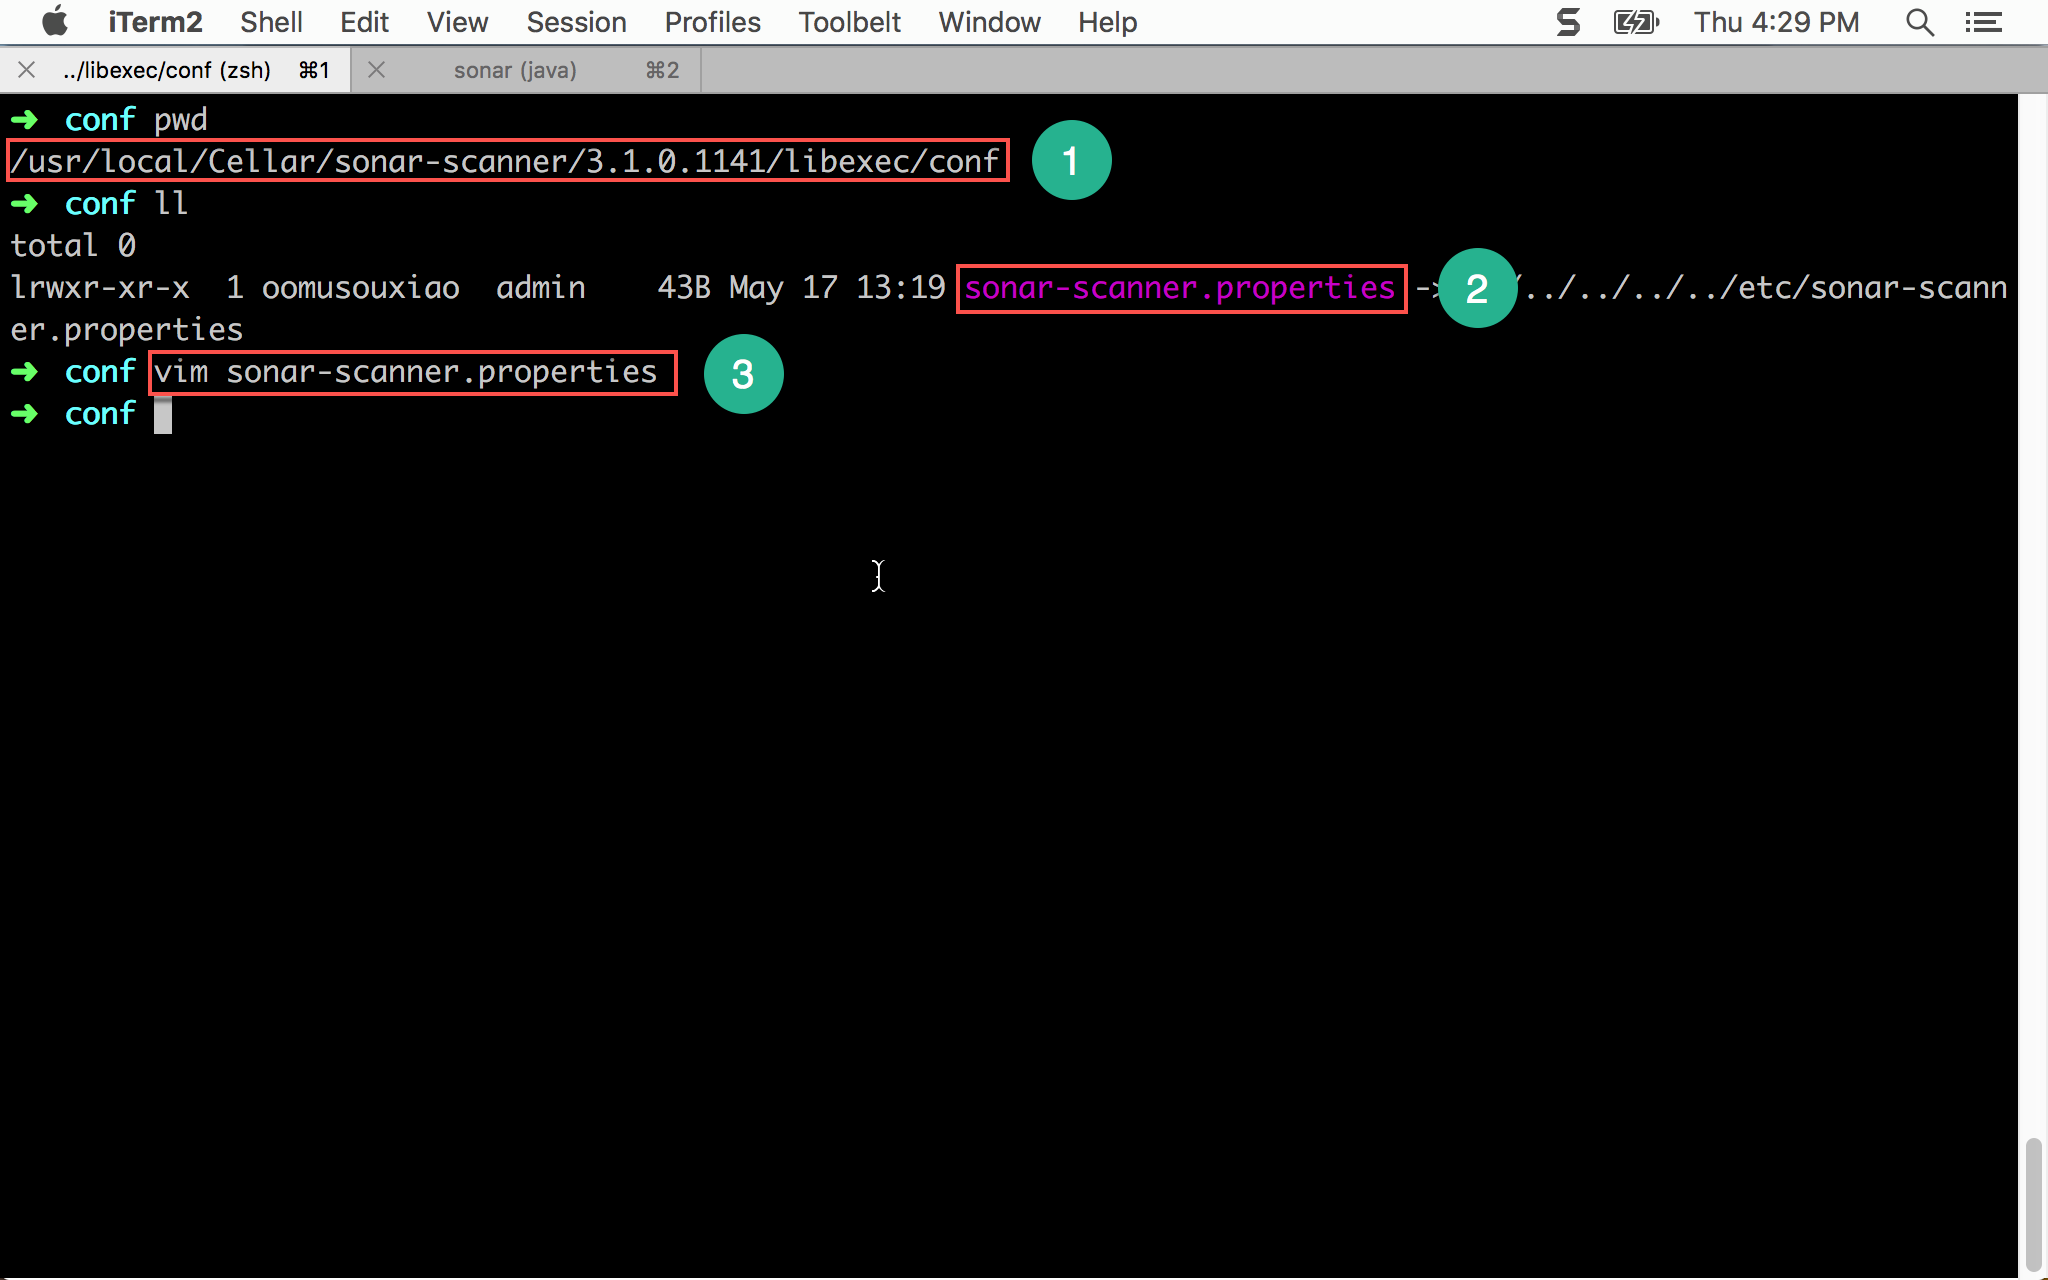
- 將目錄移到
/usr/local/Cellar/sonar-scanner/3.1.0.1141/libexec/conf - 開啟
sonar-scanner.properties - 使用
vim開啟sonar-scanner.properties
- 設定 SonarQube server
測試 SonarQube Scanner
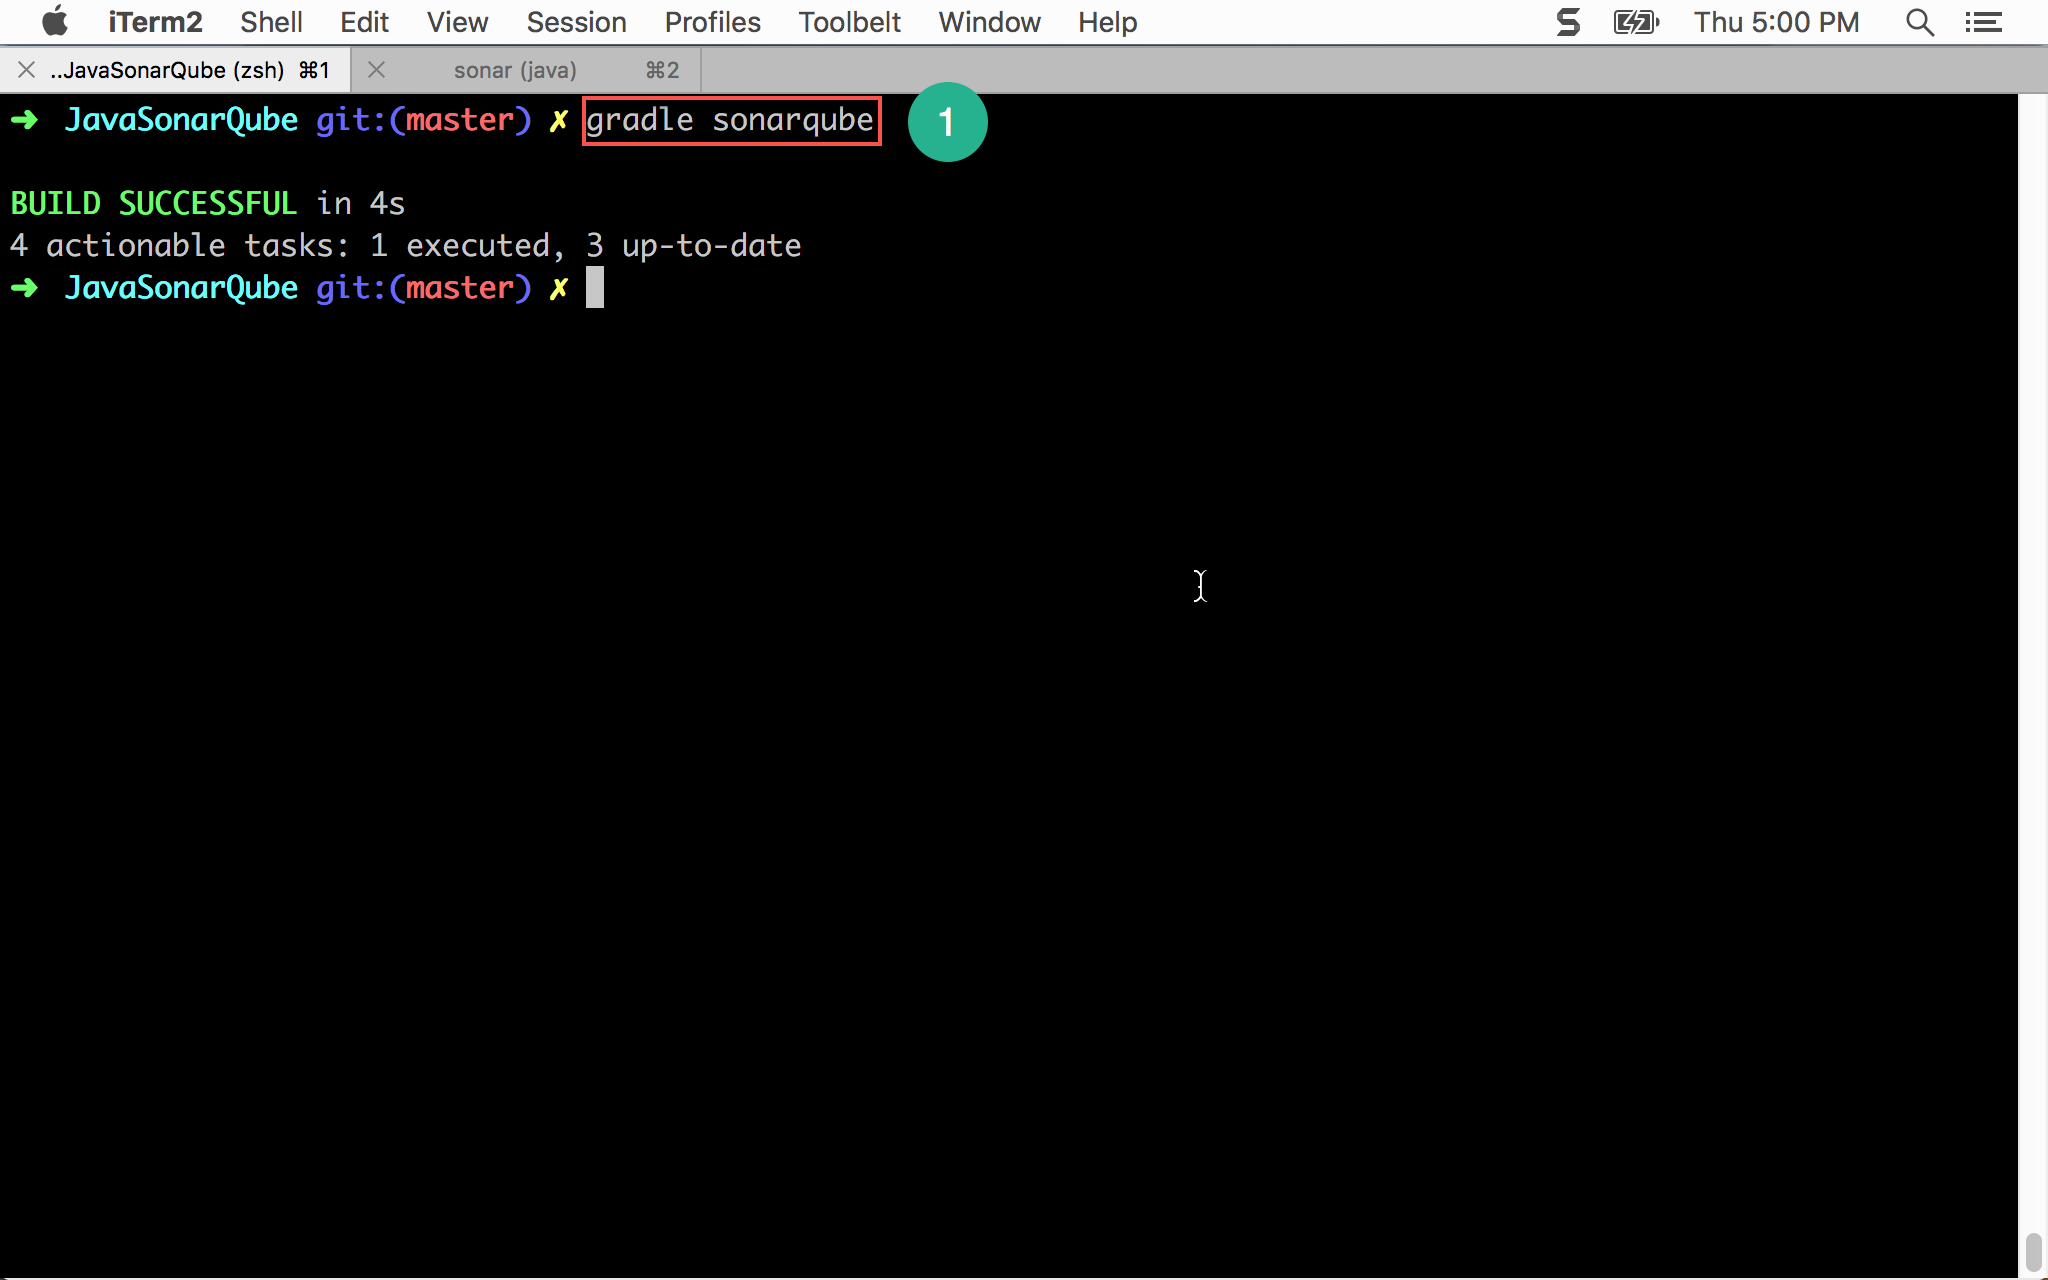
1 | ~/MyProject $ gradle sonarqube |
使用 Gradle 執行 SonarQube 檢查。
SonarQube 顯示結果
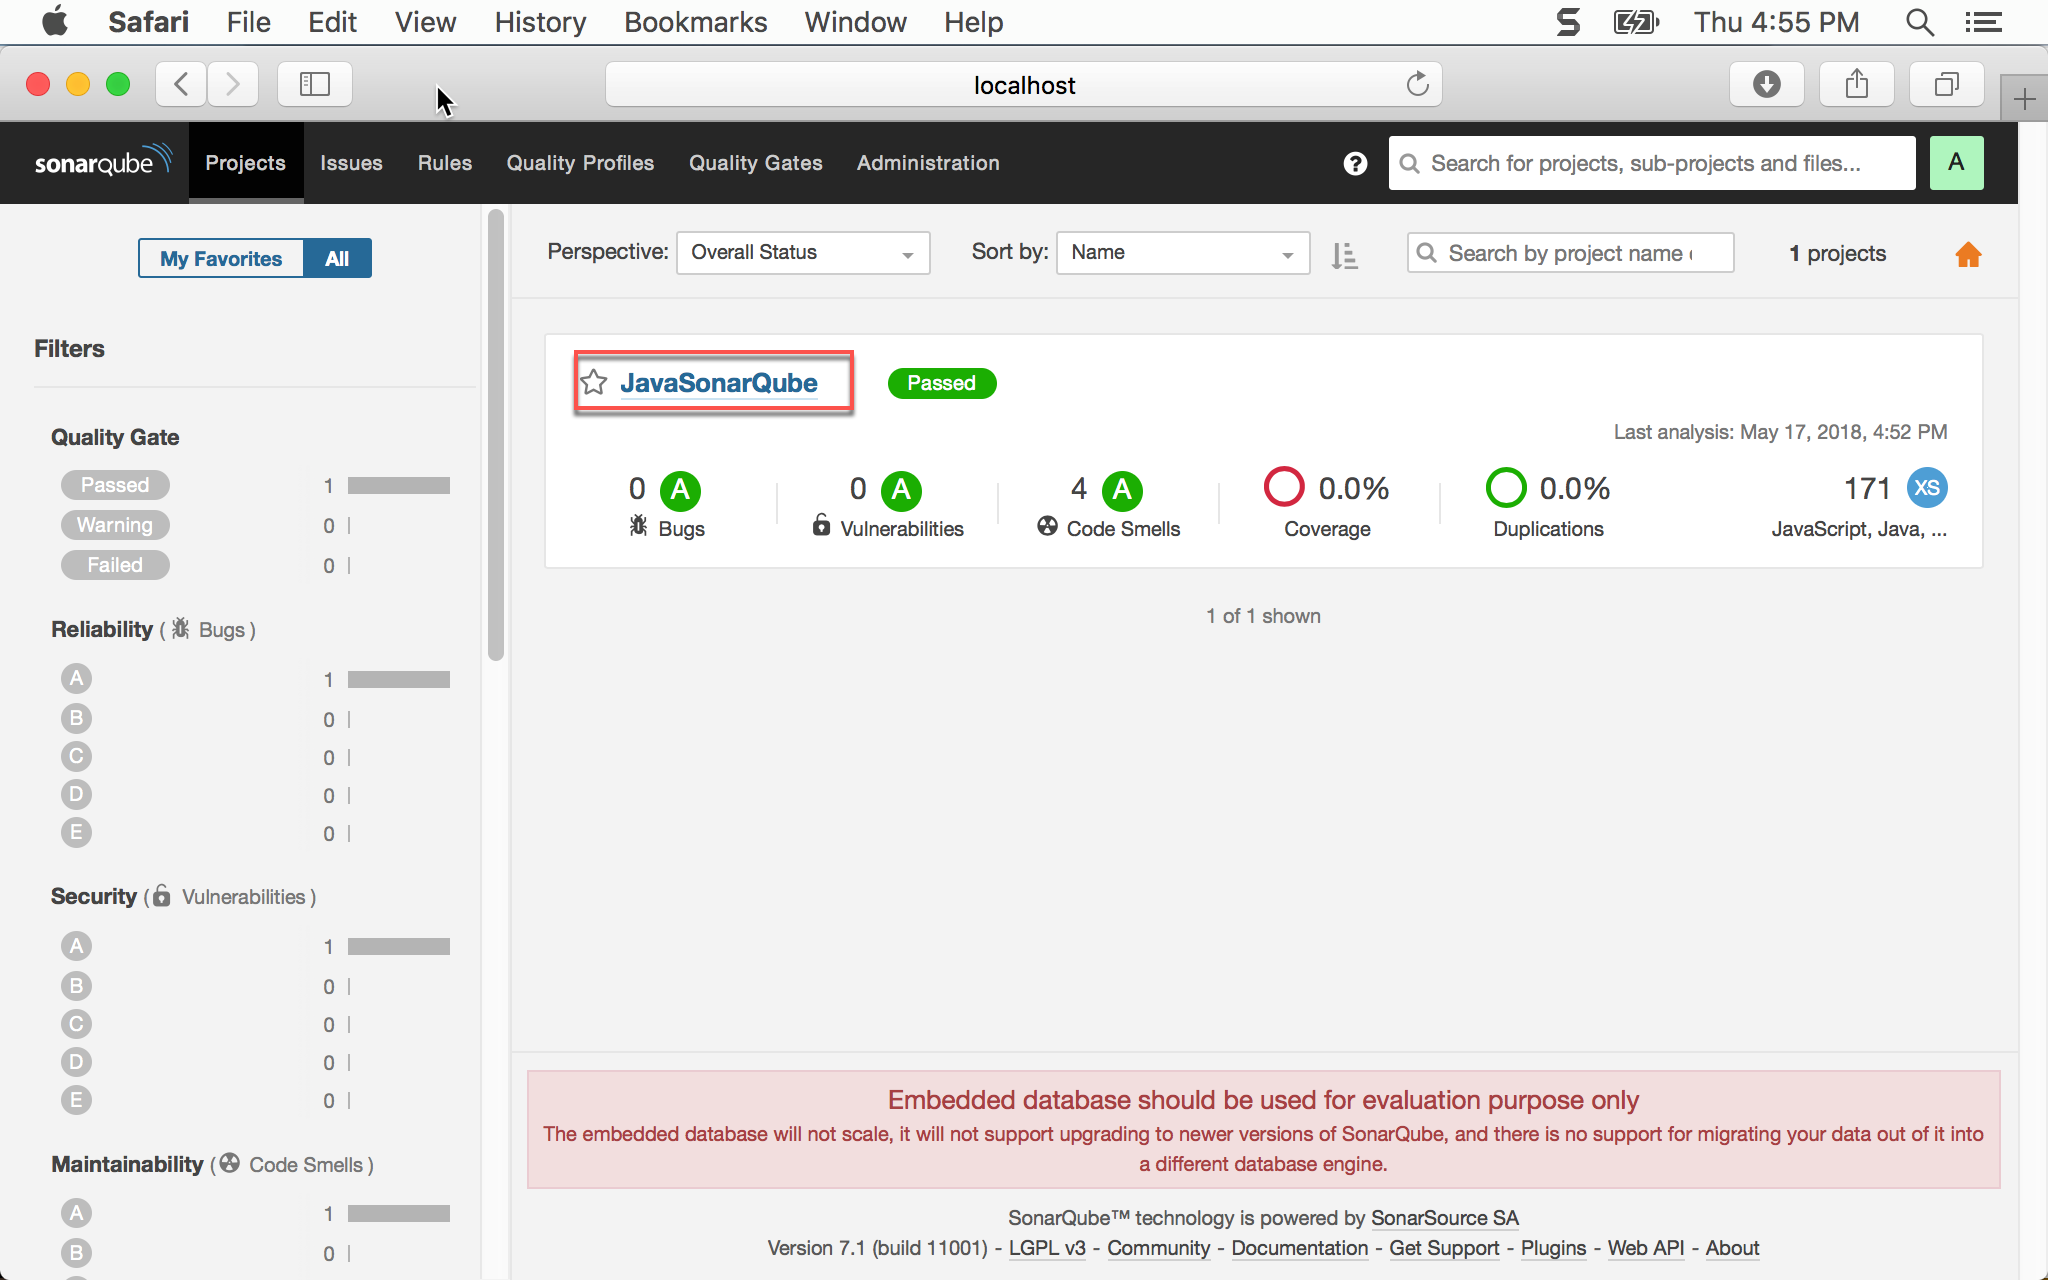
進入 SonarQube 網頁,就可看到 JavaSonarQube 專案已經出現 SonarQube。
目前為止,SonarQube 已經可以正常透過 Gradle 執行,實務上可以透過 Jenkins 執行 Gradle,就可透過 CI 自動執行 SonarQube,但這種方式較被動,若發現有任何 issue,還要開 ticket 要求修改,一來一回可能好幾天,若能在開發階段就即時 SonarQube 檢查,就能「及早發現,及早治療」。
SonarLint
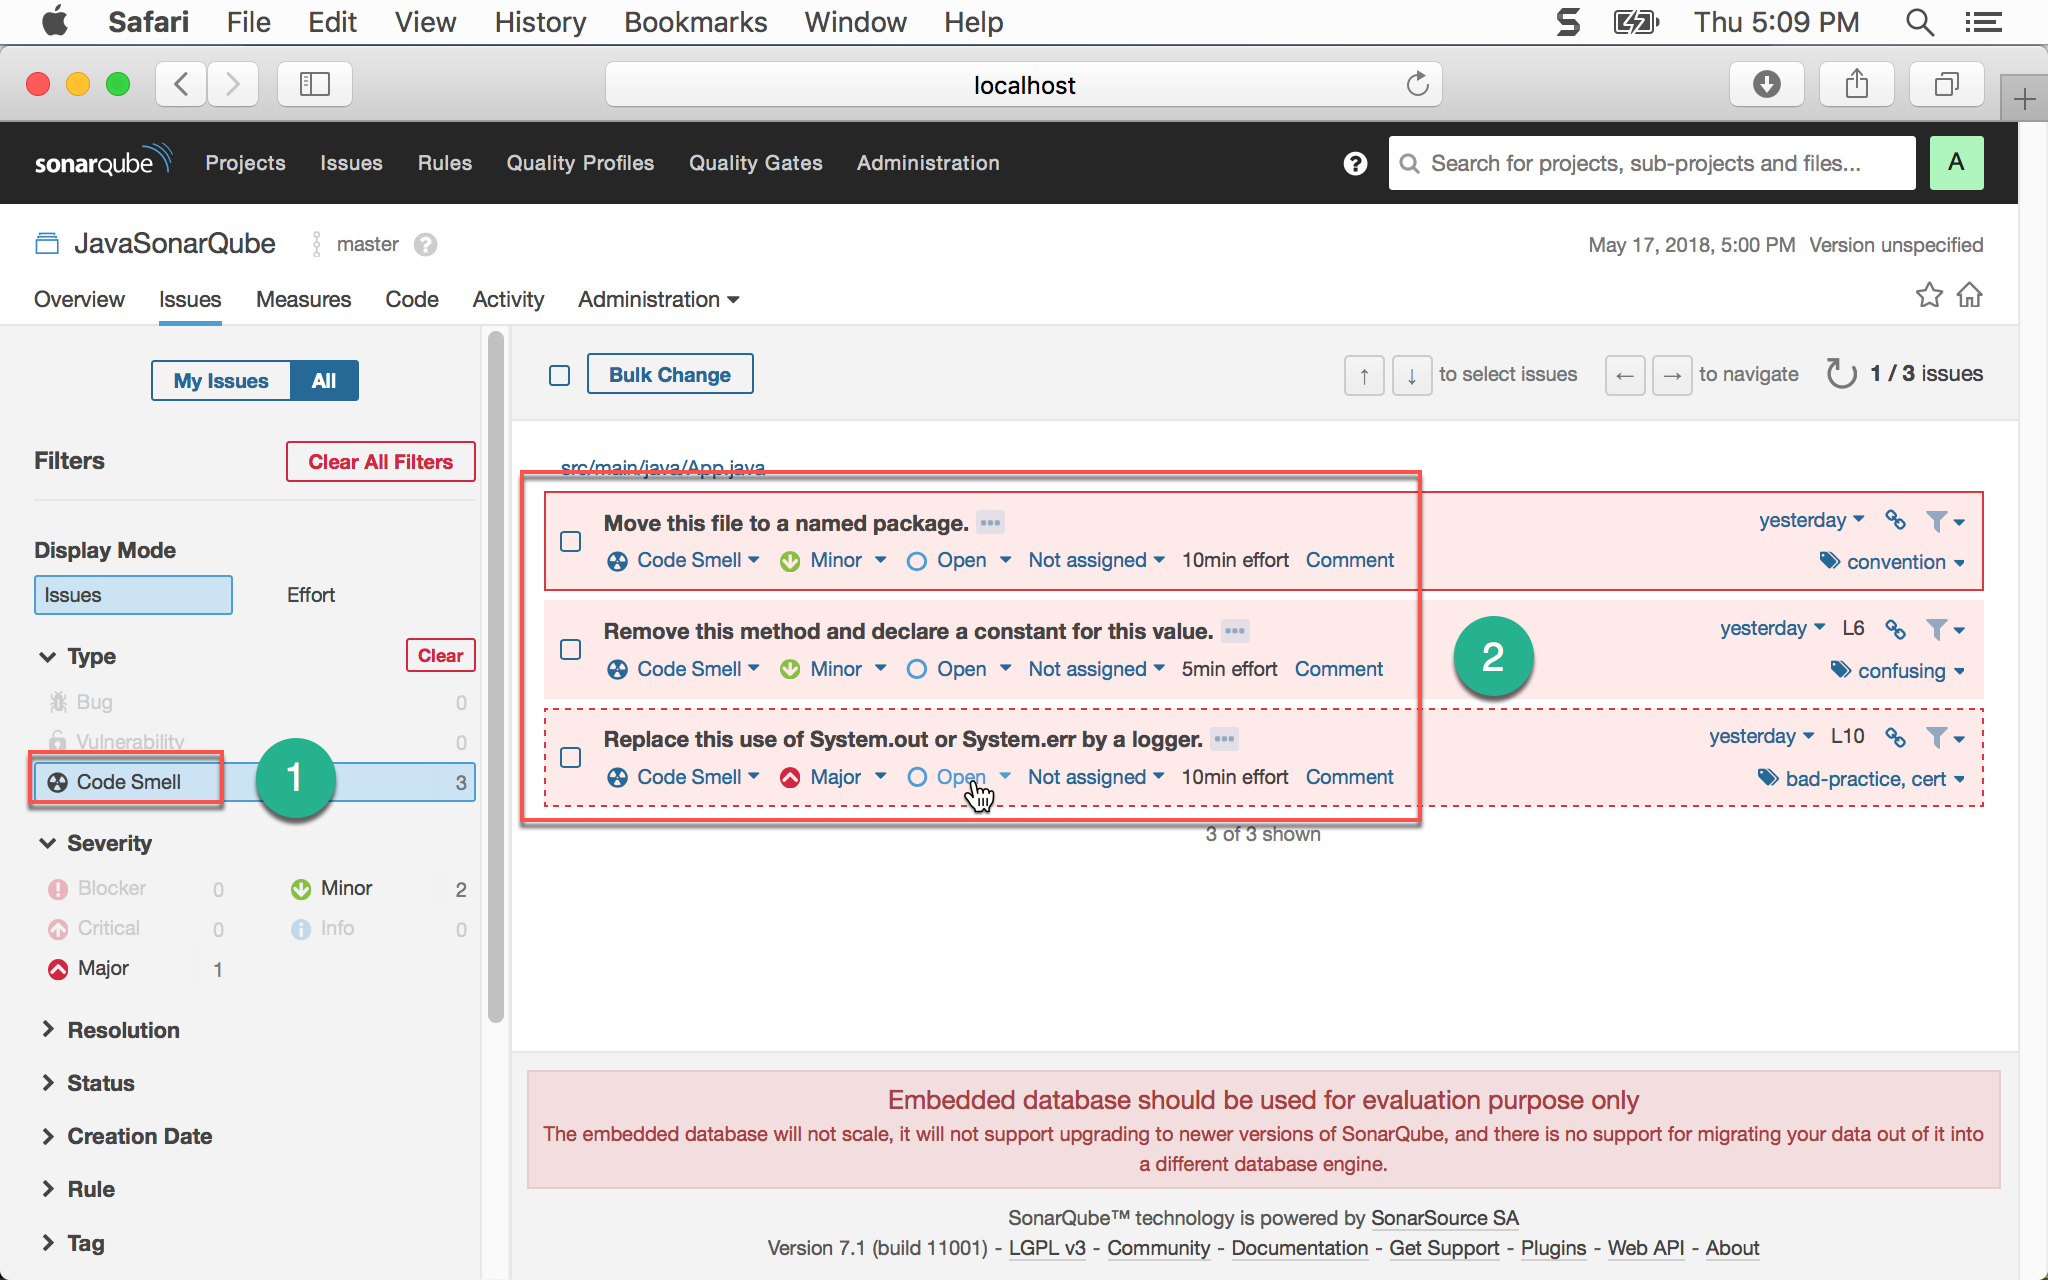
在 Code Smell 部分,SonarQube 已經檢查出:
- Move this file to a named package
- Remove this method and declare a constant for this variable
- Replace this use of System.out or System.err by a logger
若能在 Eclipse 也能顯示這些警告訊息,那就太好了。
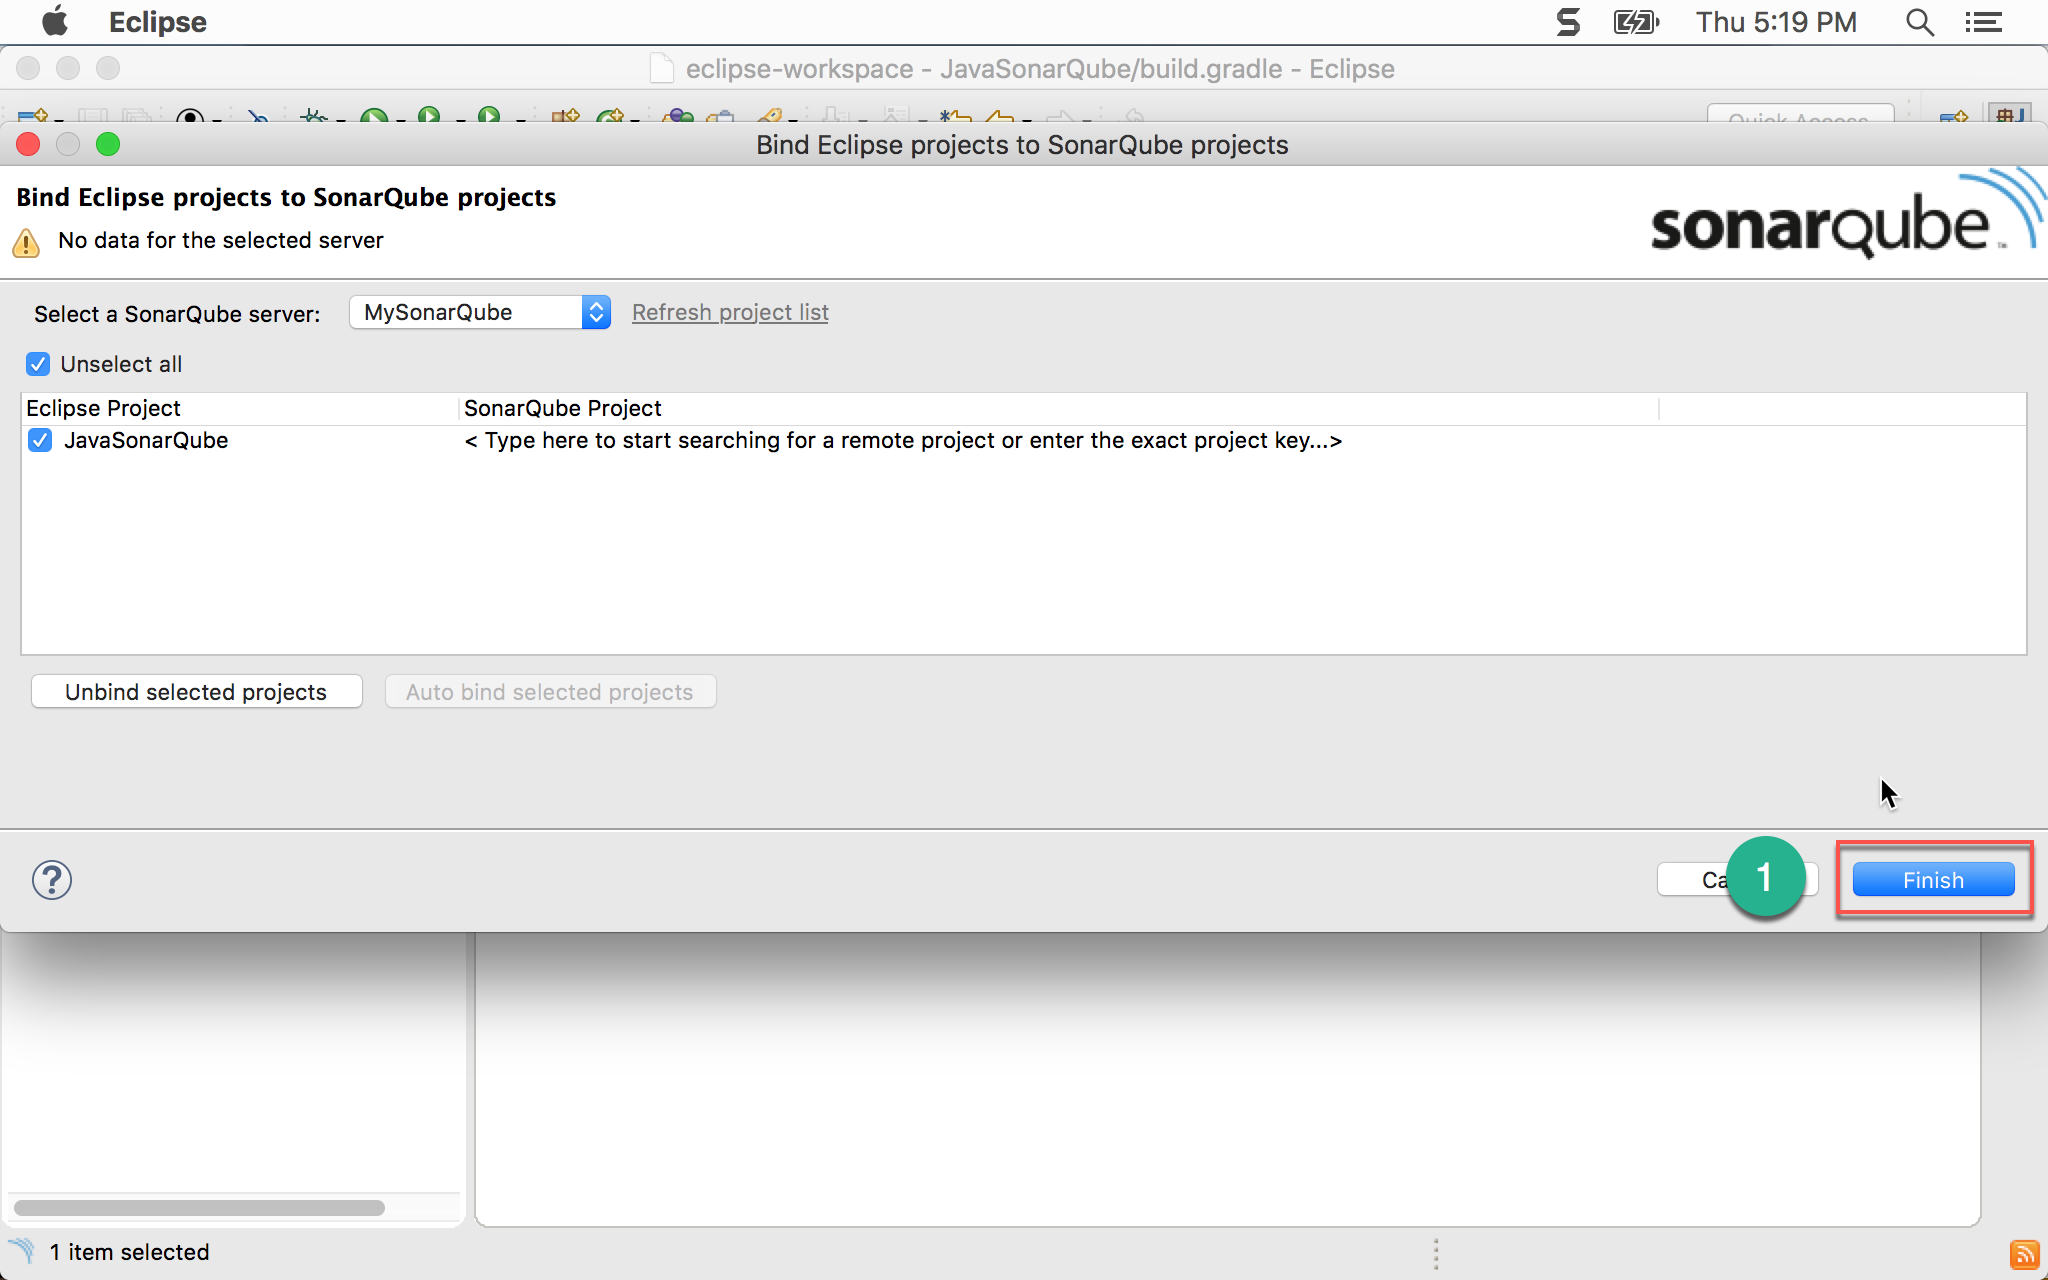
連接 SonarQube Server
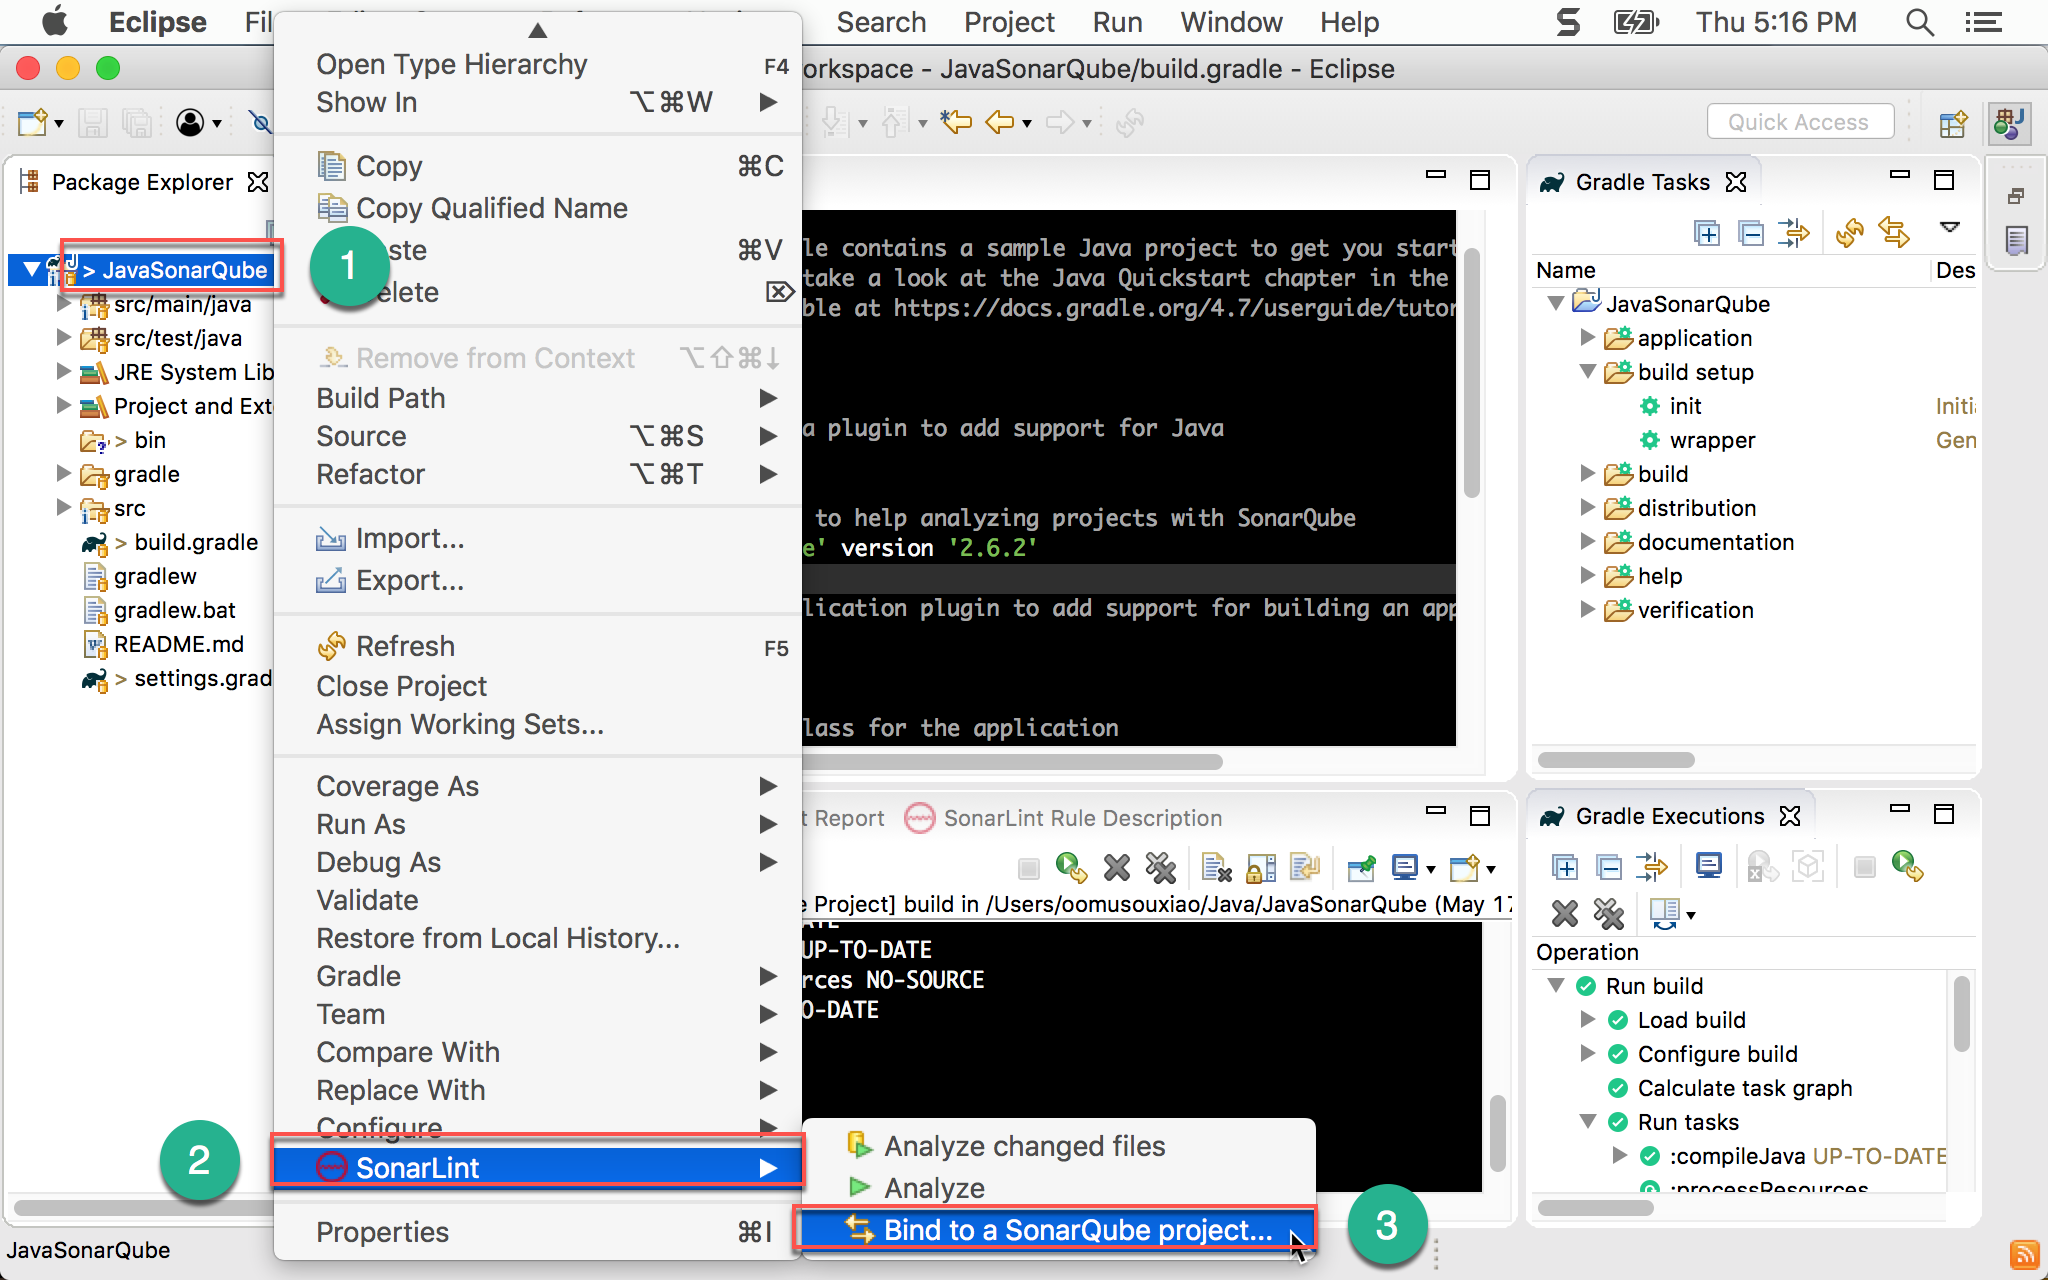
- 選擇專案按滑鼠右鍵
- 選擇
SonarLint - 選擇
Bind to a SonarQube project…
- 按
Connect to a SonarQube server…
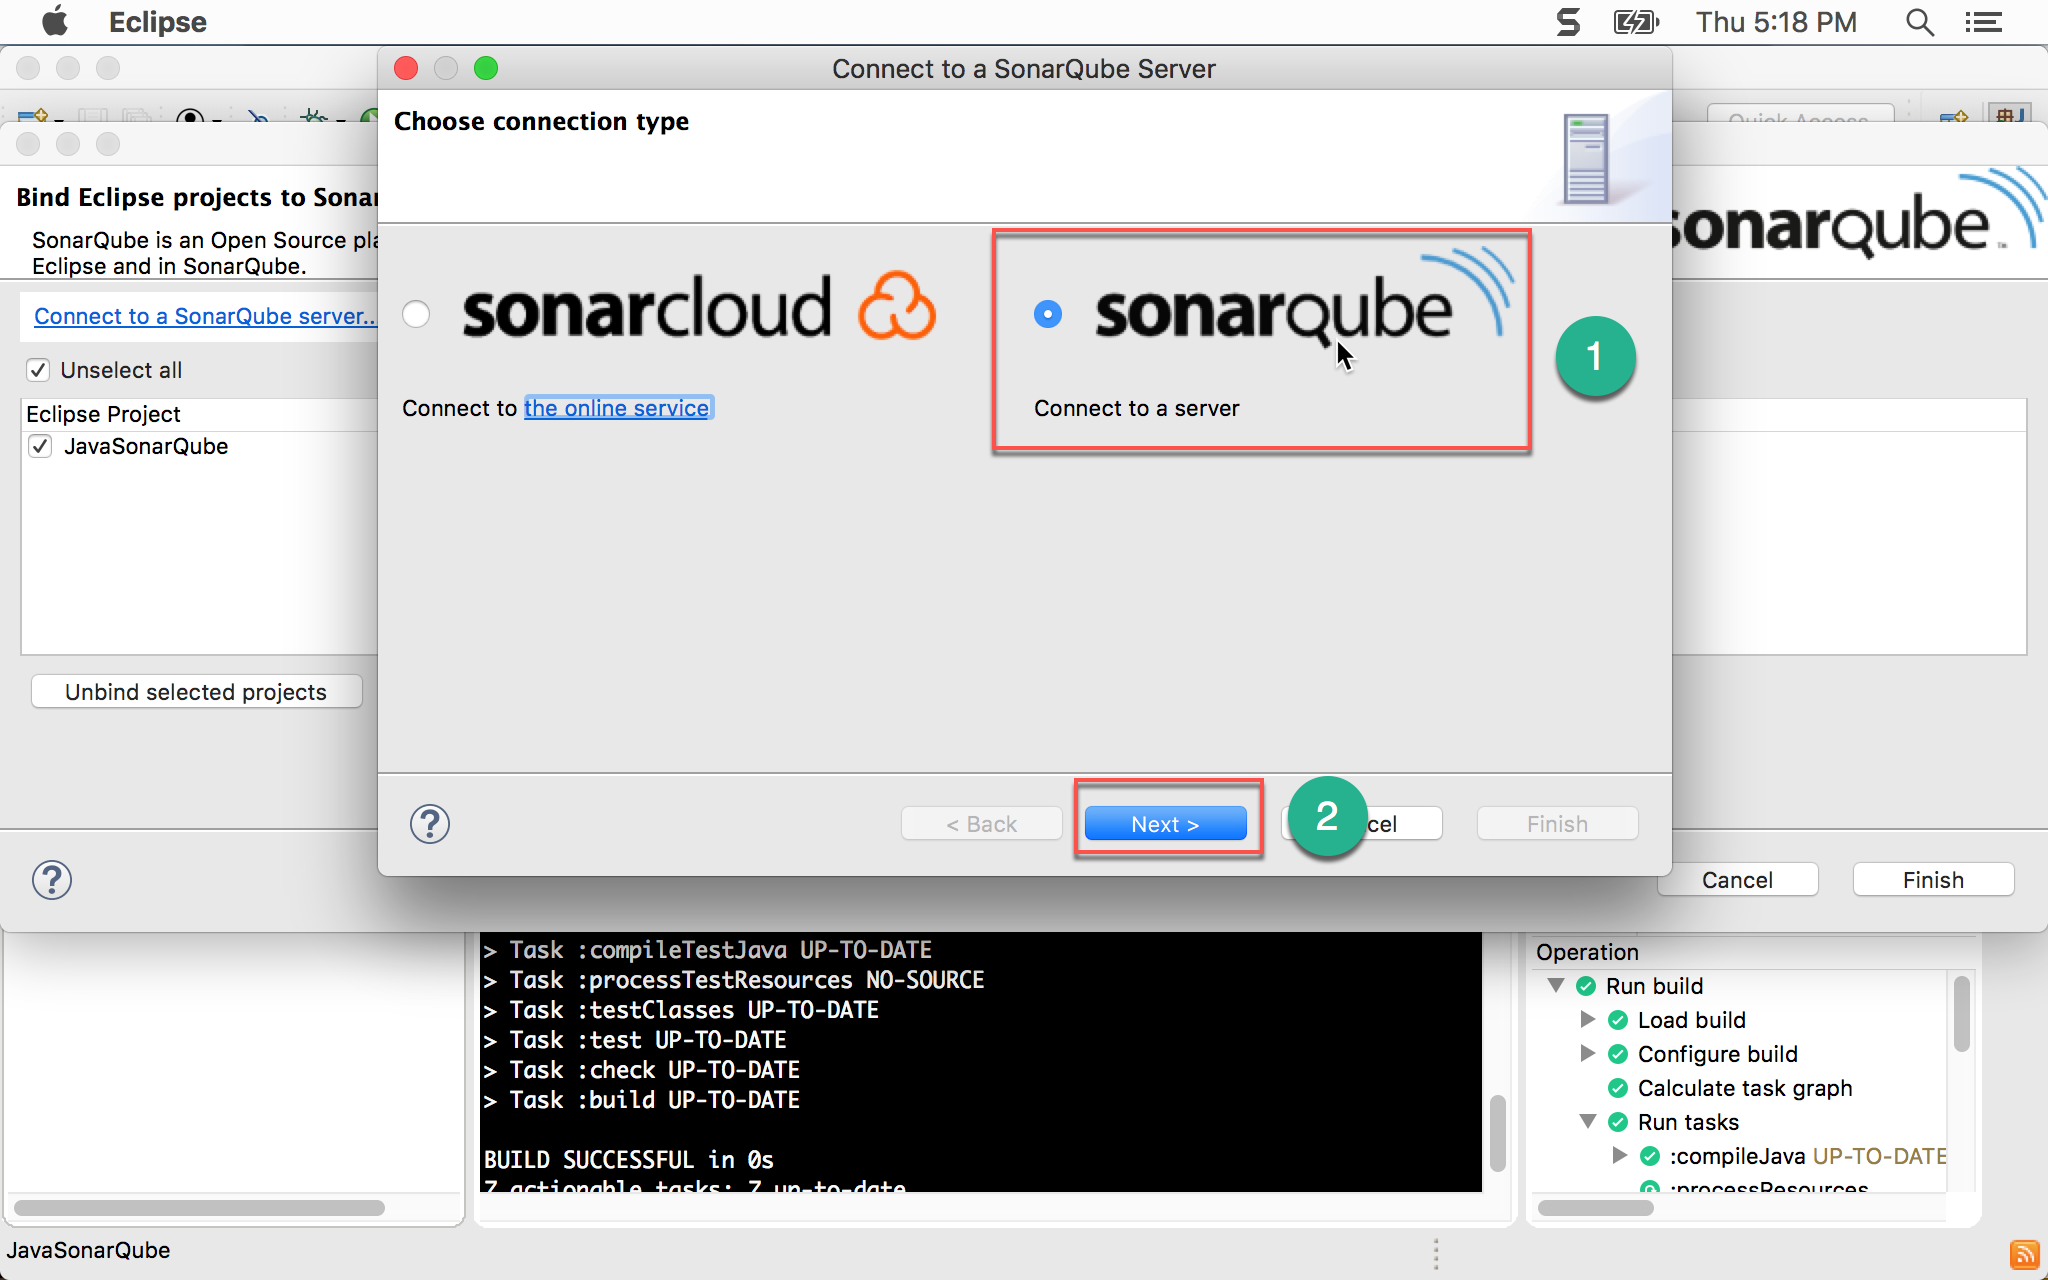
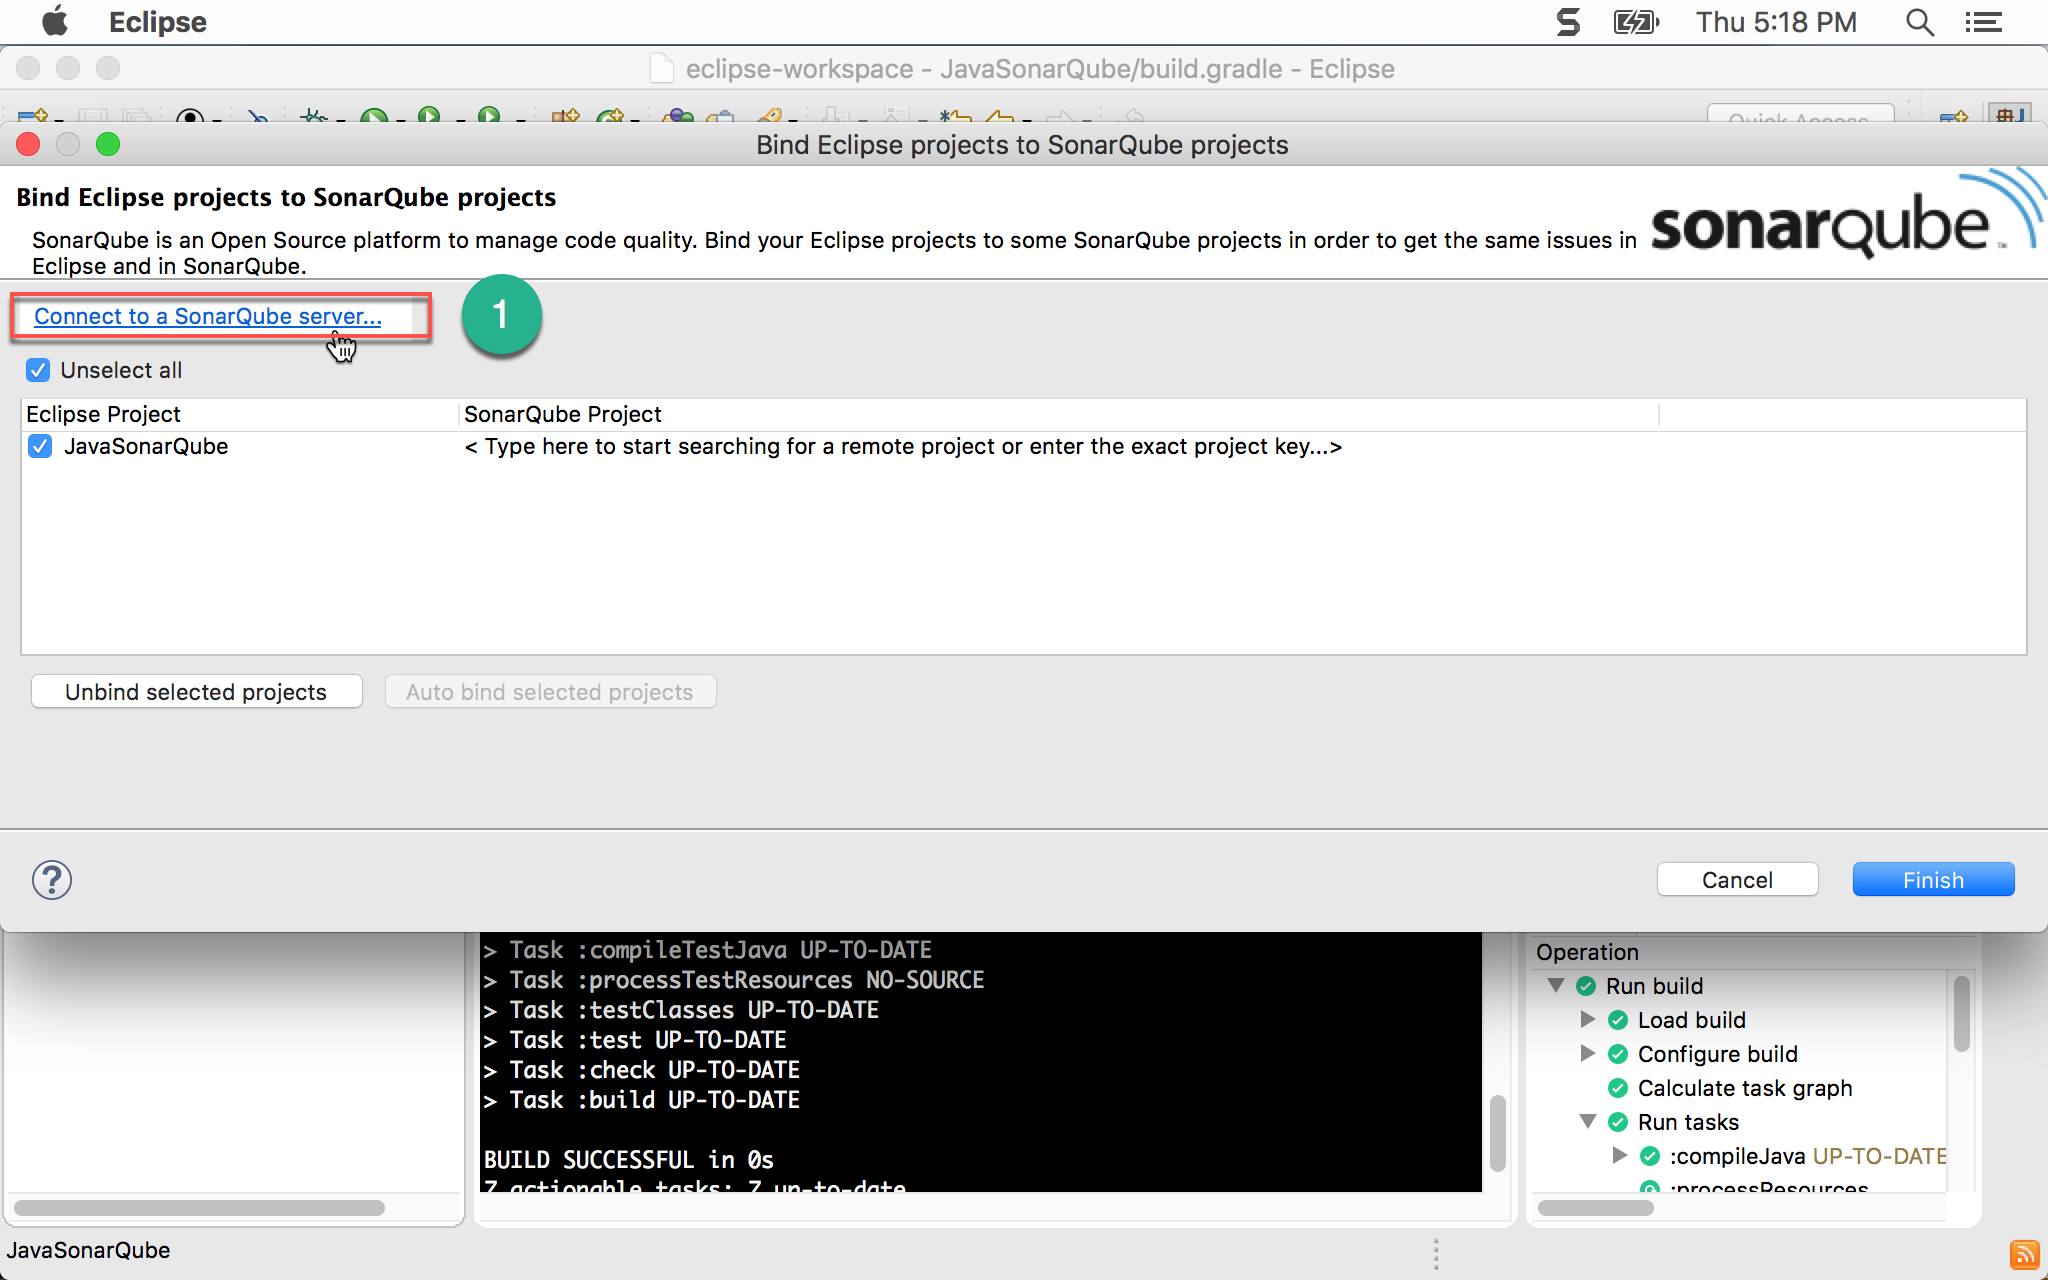
- 選擇
sonarqube - 按
Next繼續

- 輸入 SonarQube server 網址
- 按
Next繼續
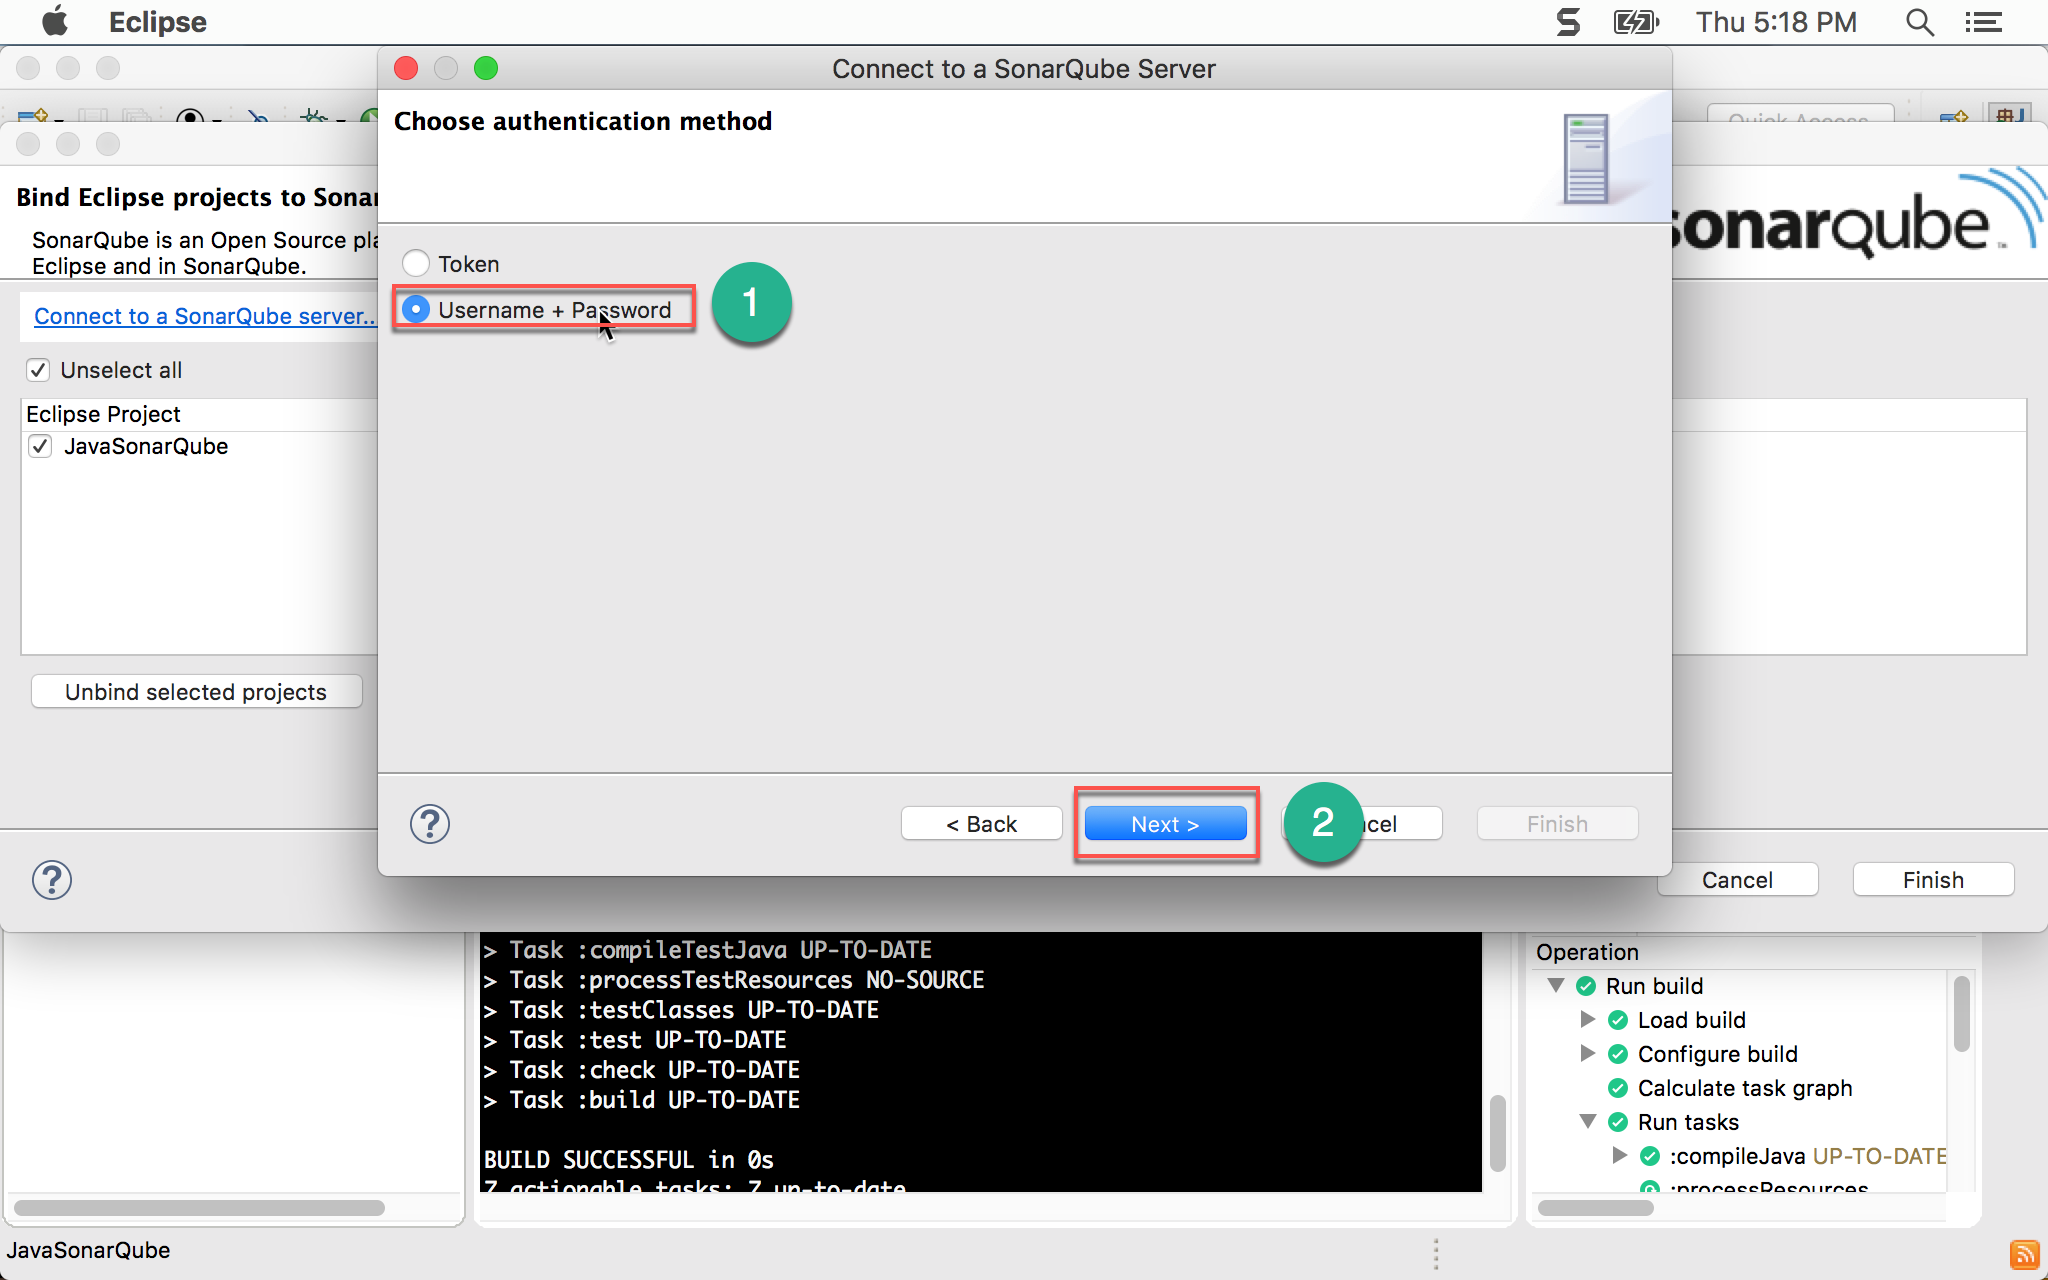
- 選擇
Username + Password - 按
Next繼續
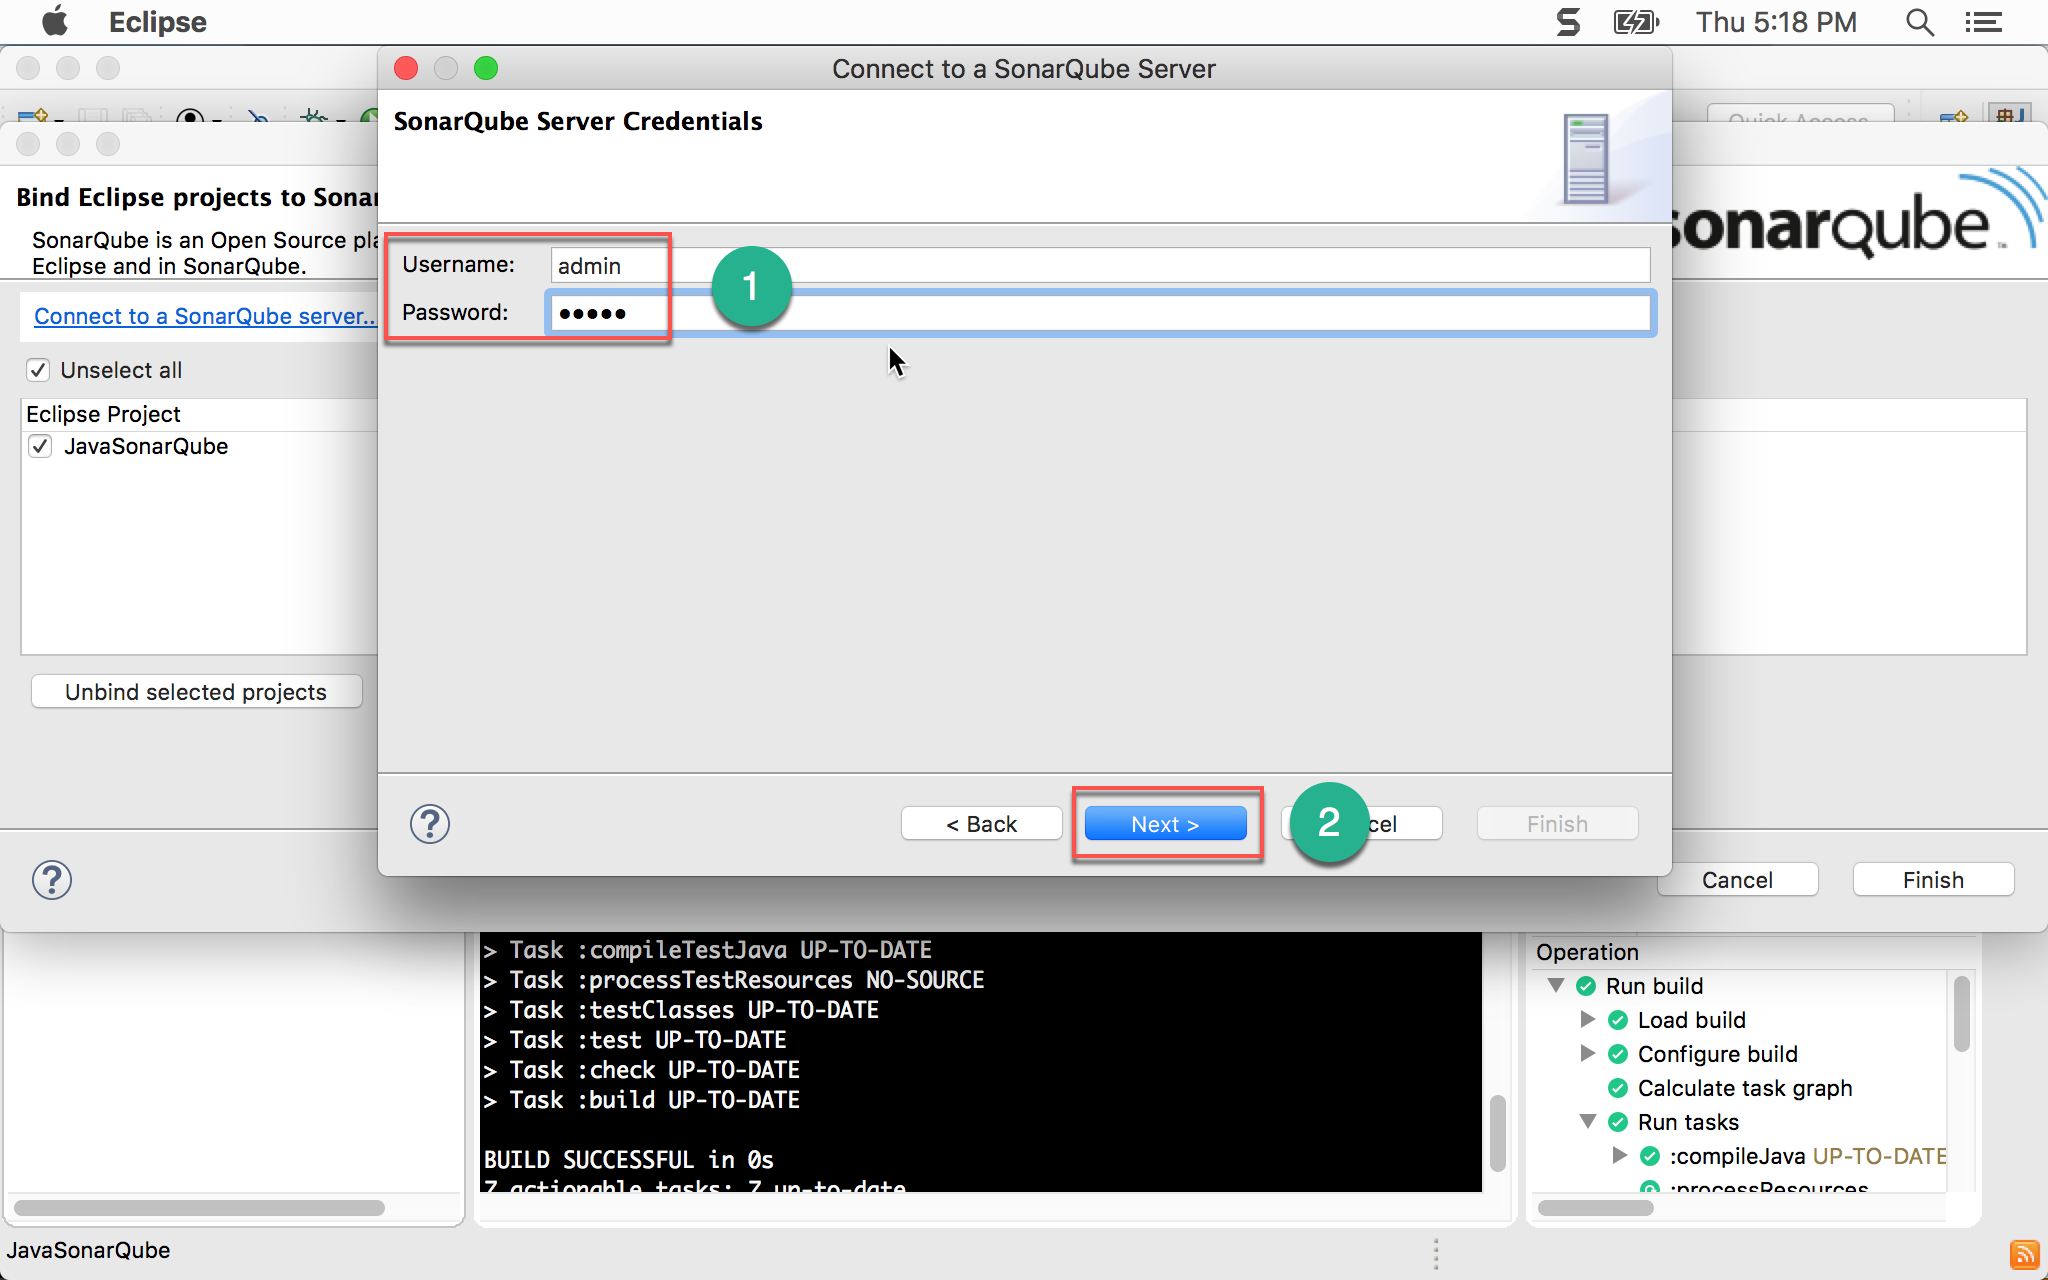
- 輸入 SonarQube 帳號與密碼
- 按
Next繼續
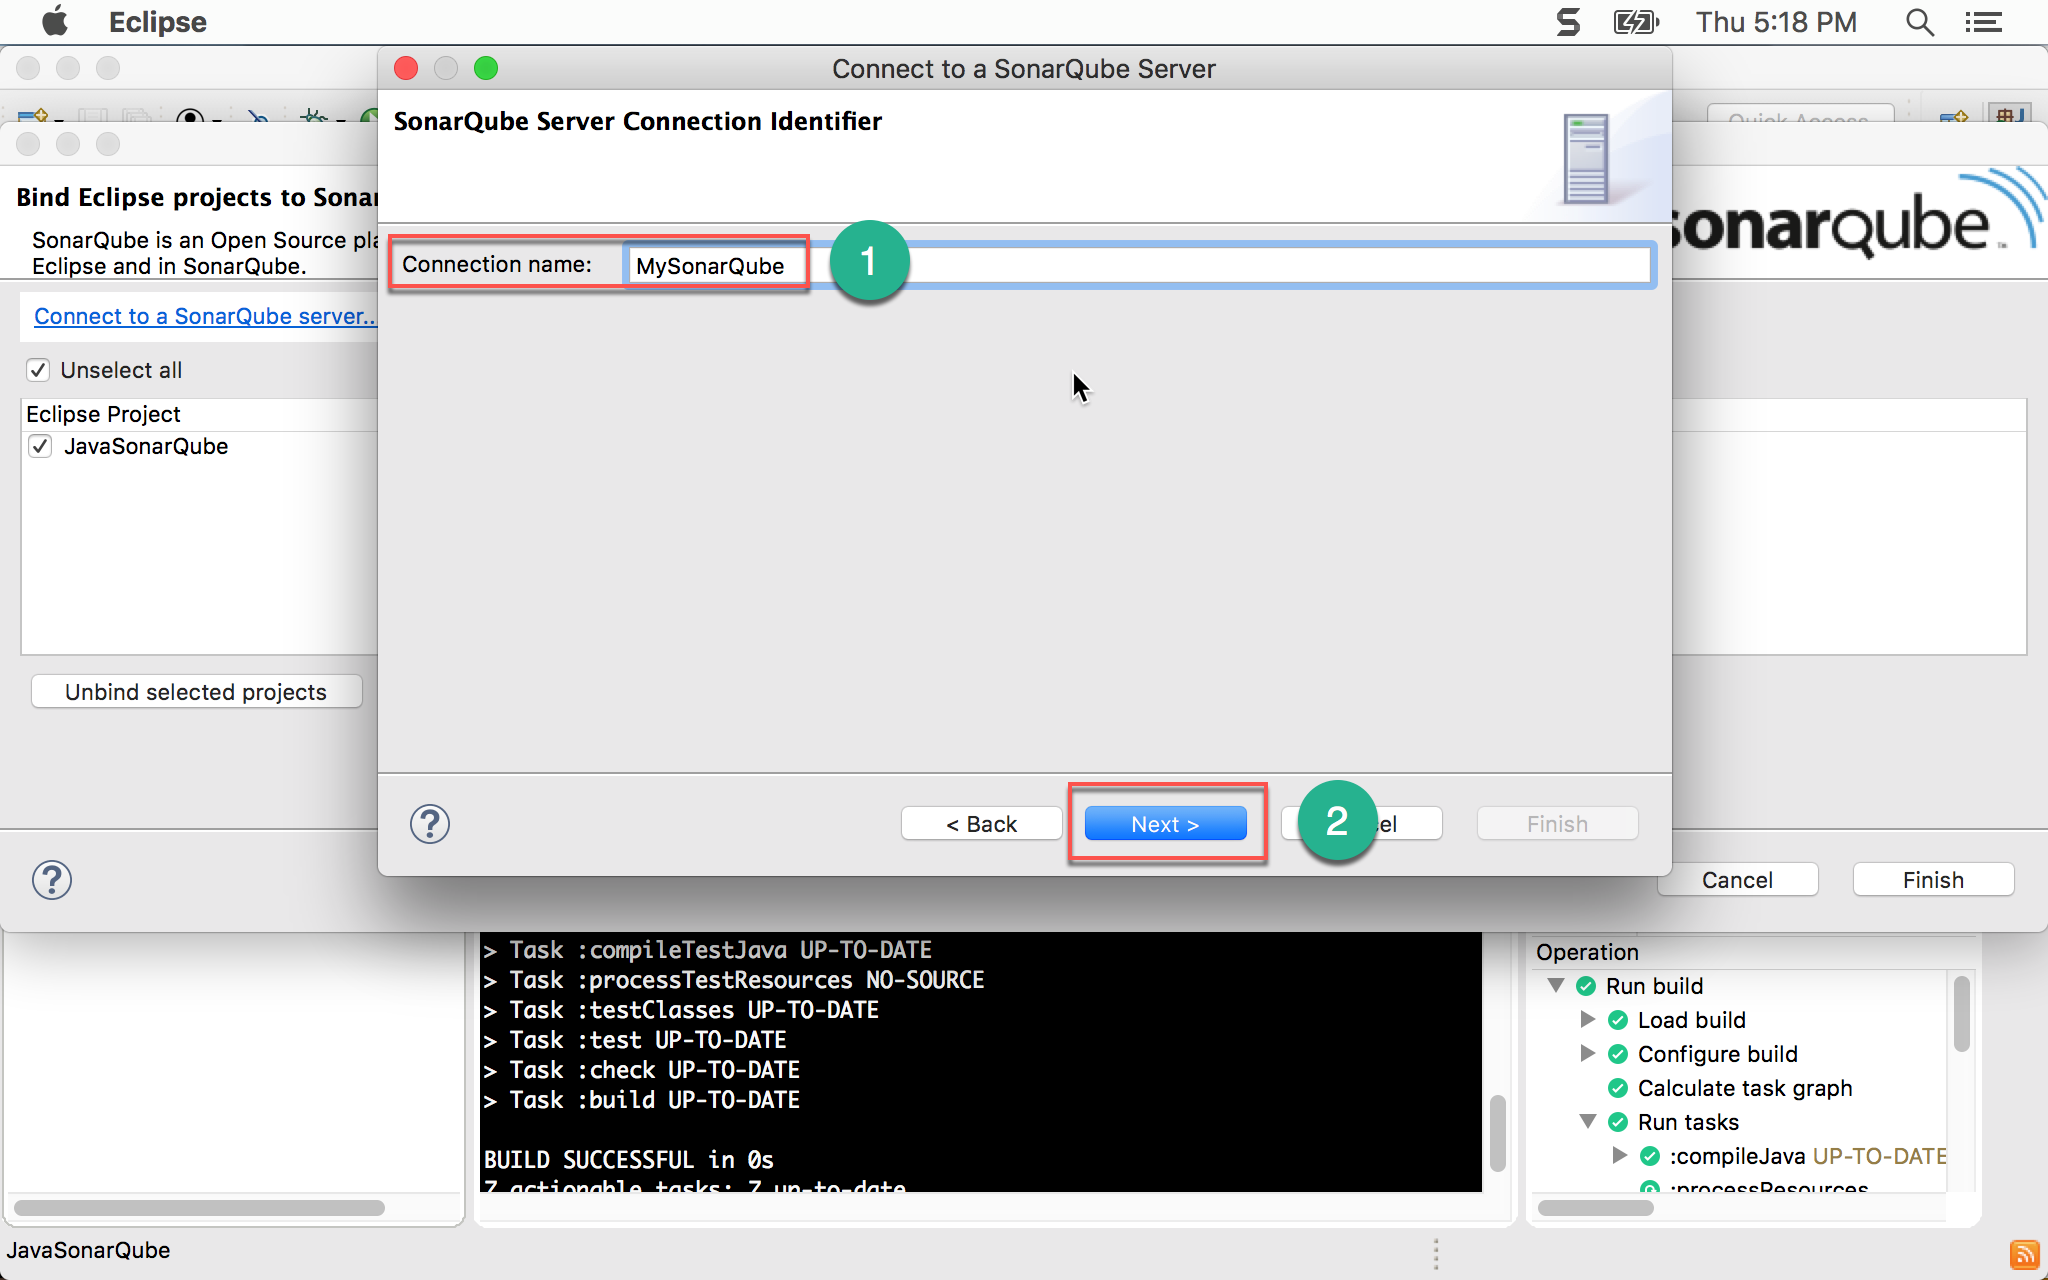
- 輸入 connection 名稱
- 按
Next繼續
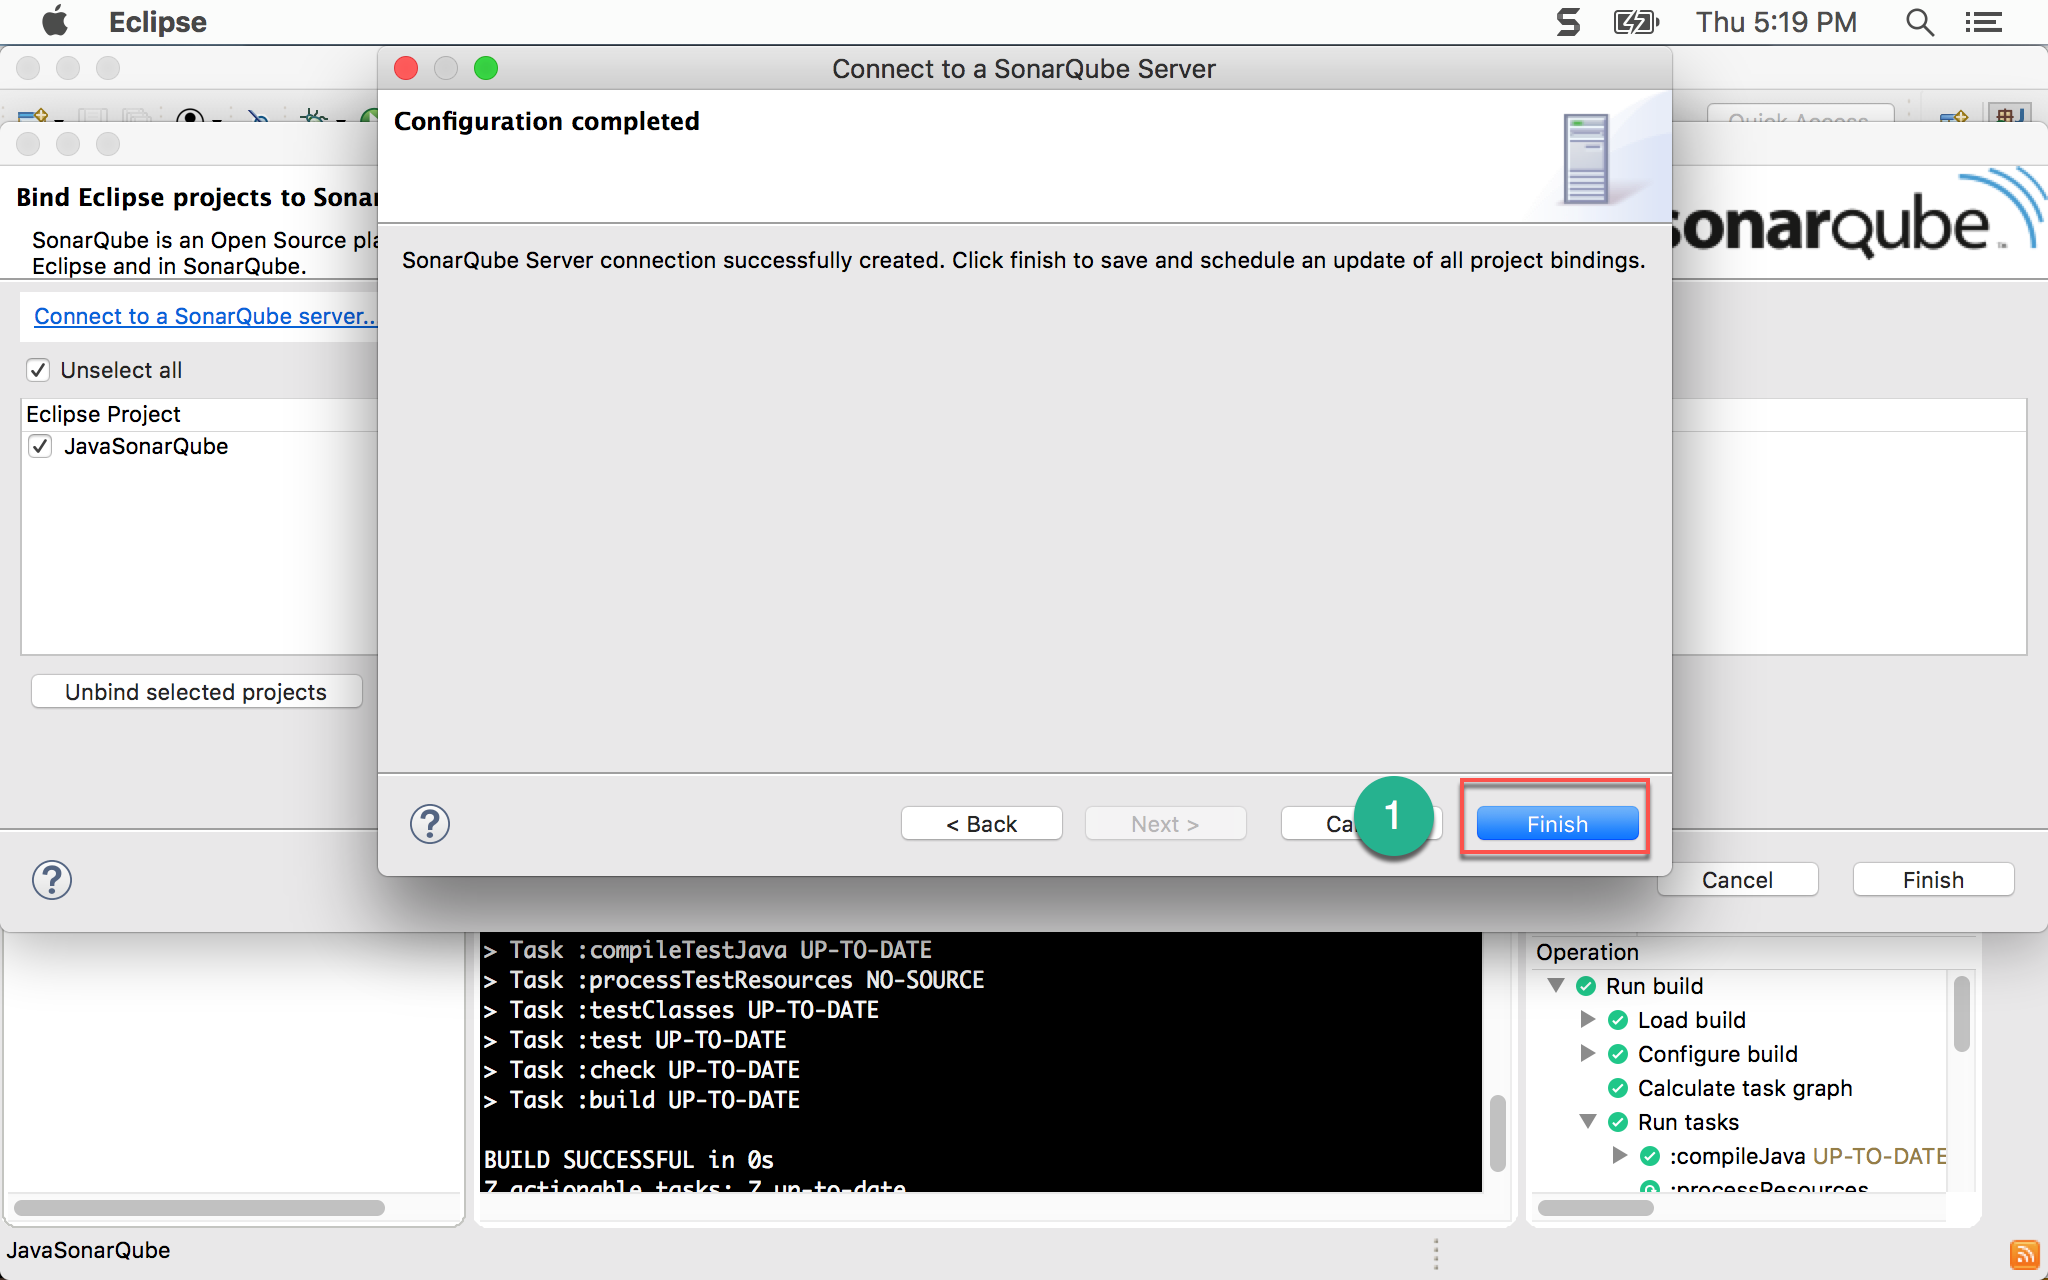
- 按
Finish完成設定
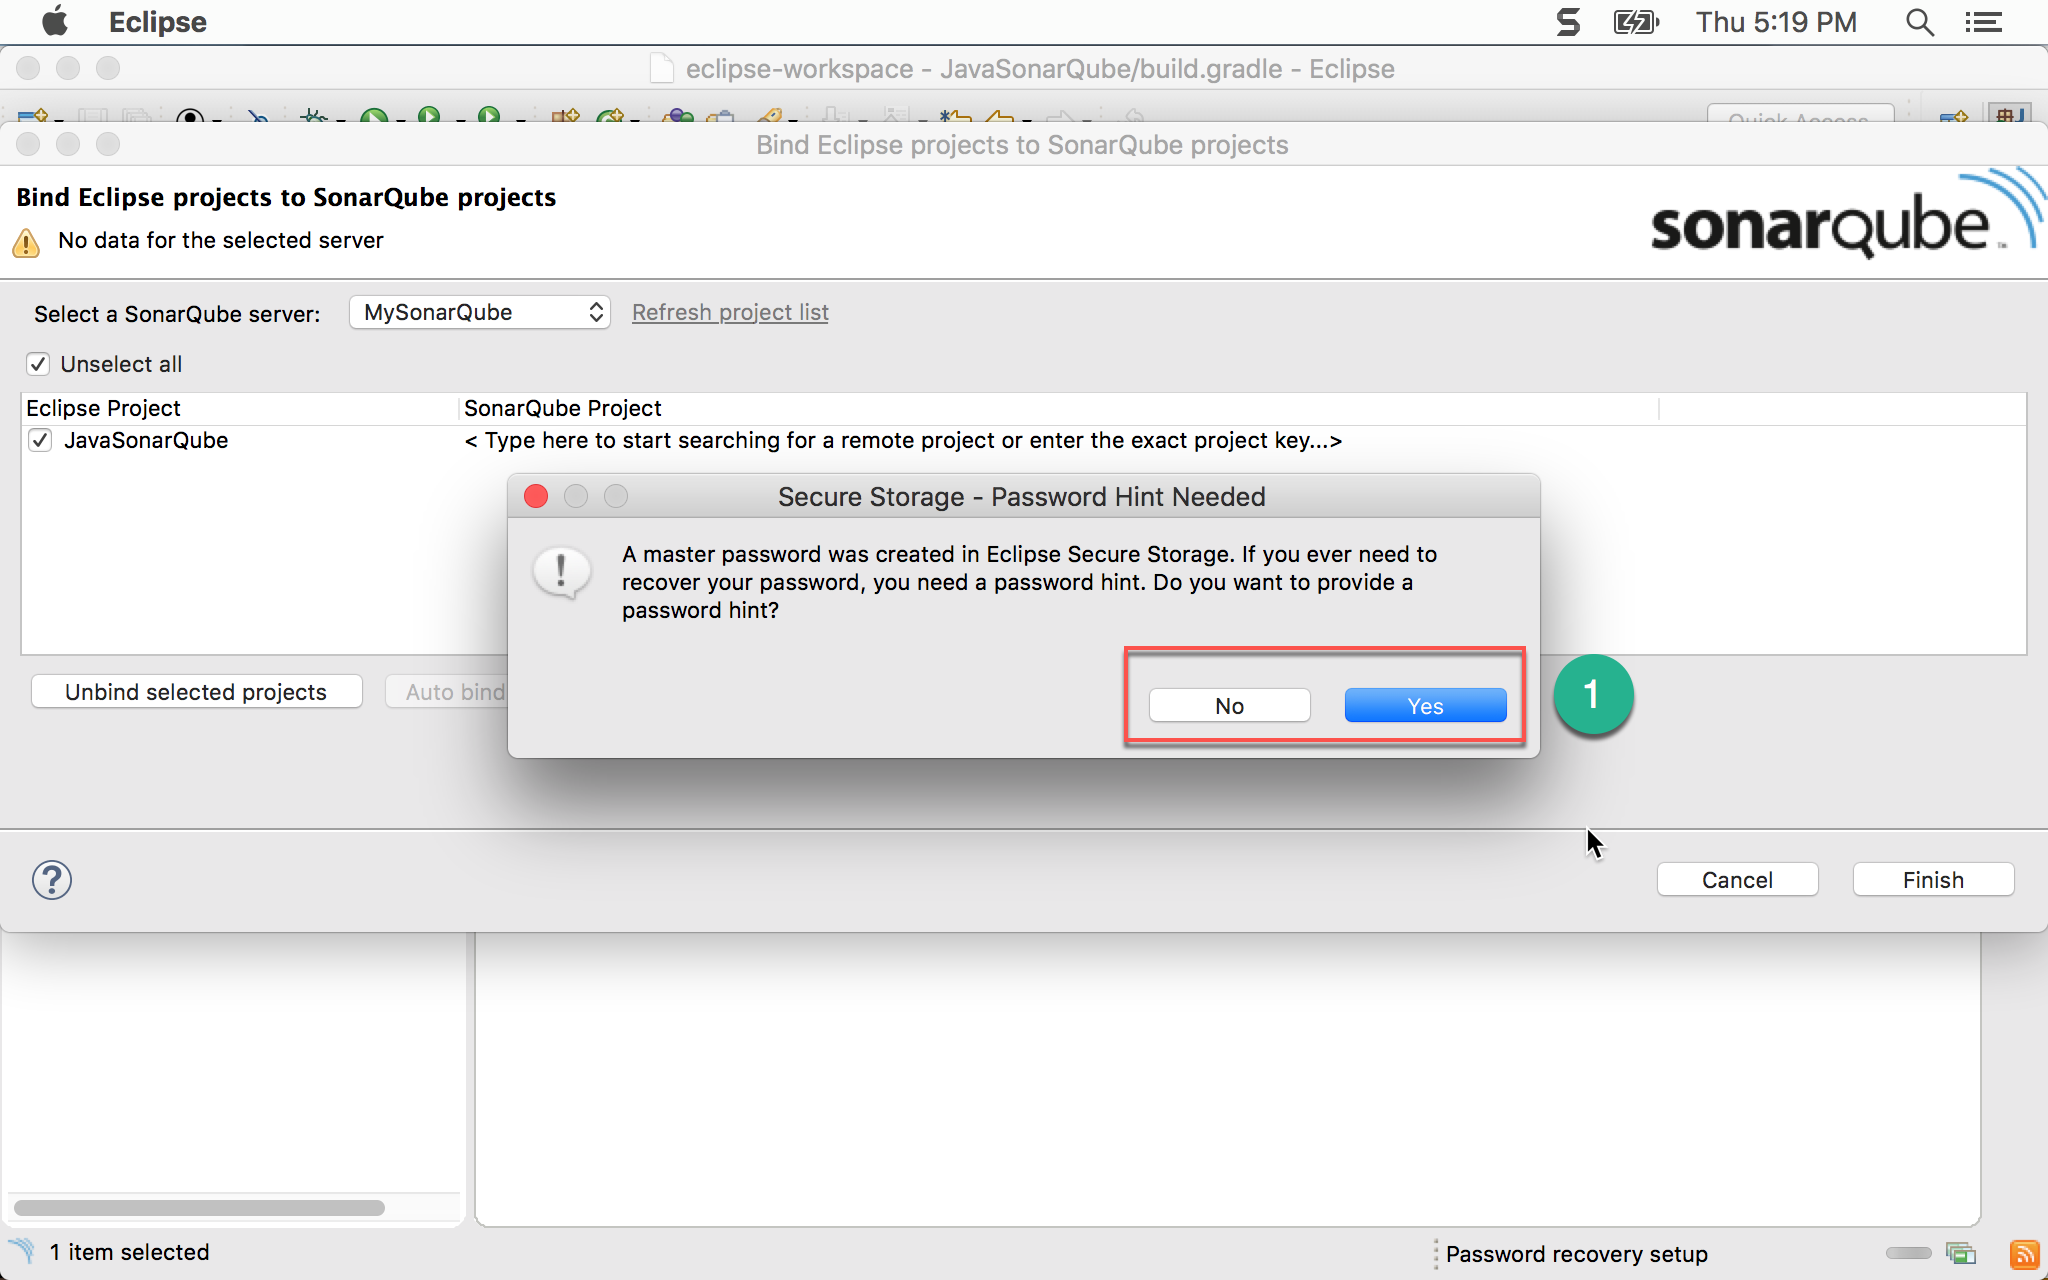
- 是否要 Eclipse 提供 Password hint,選
No或Yes都可以
- 按
Finish完成連接 SonarQube server 動作
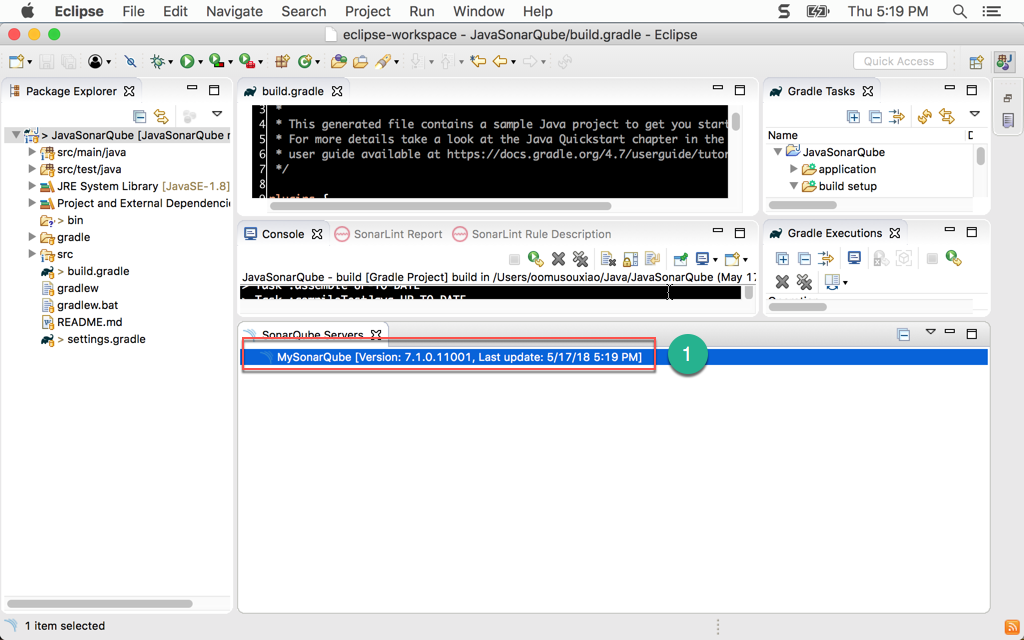
- 顯示 SonarQube 連線正常
執行 SonarQube 檢查
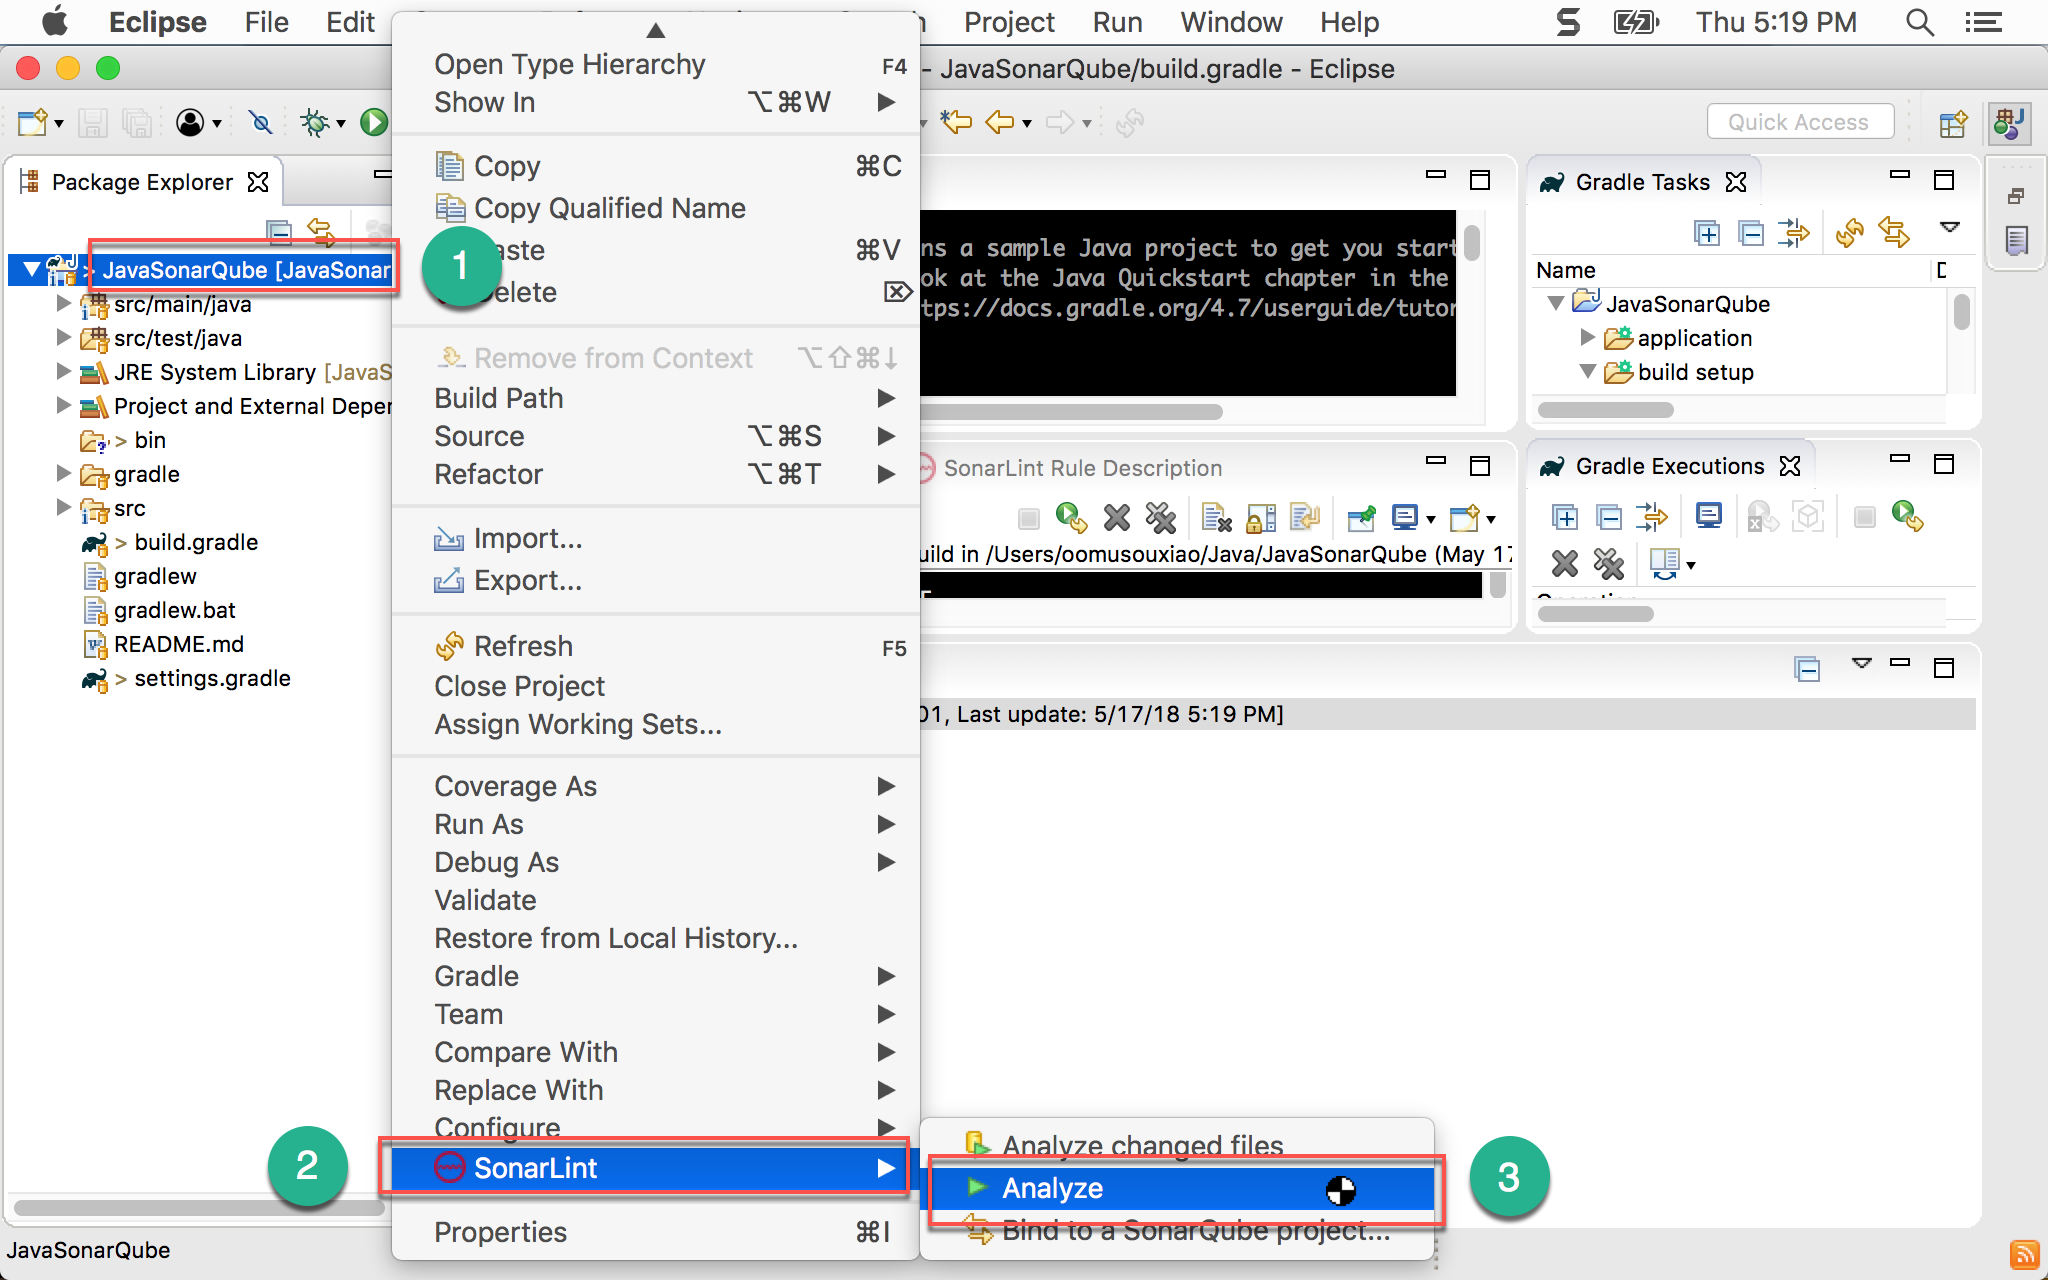
- 選擇專案按滑鼠右鍵
- 選擇
SonarLint - 選擇
Analyze

- 下方顯示了與 SonarQube 網頁完全相同的警告,因此 developer 在開發階段,就可以完全獲得 SonarQube 的支援
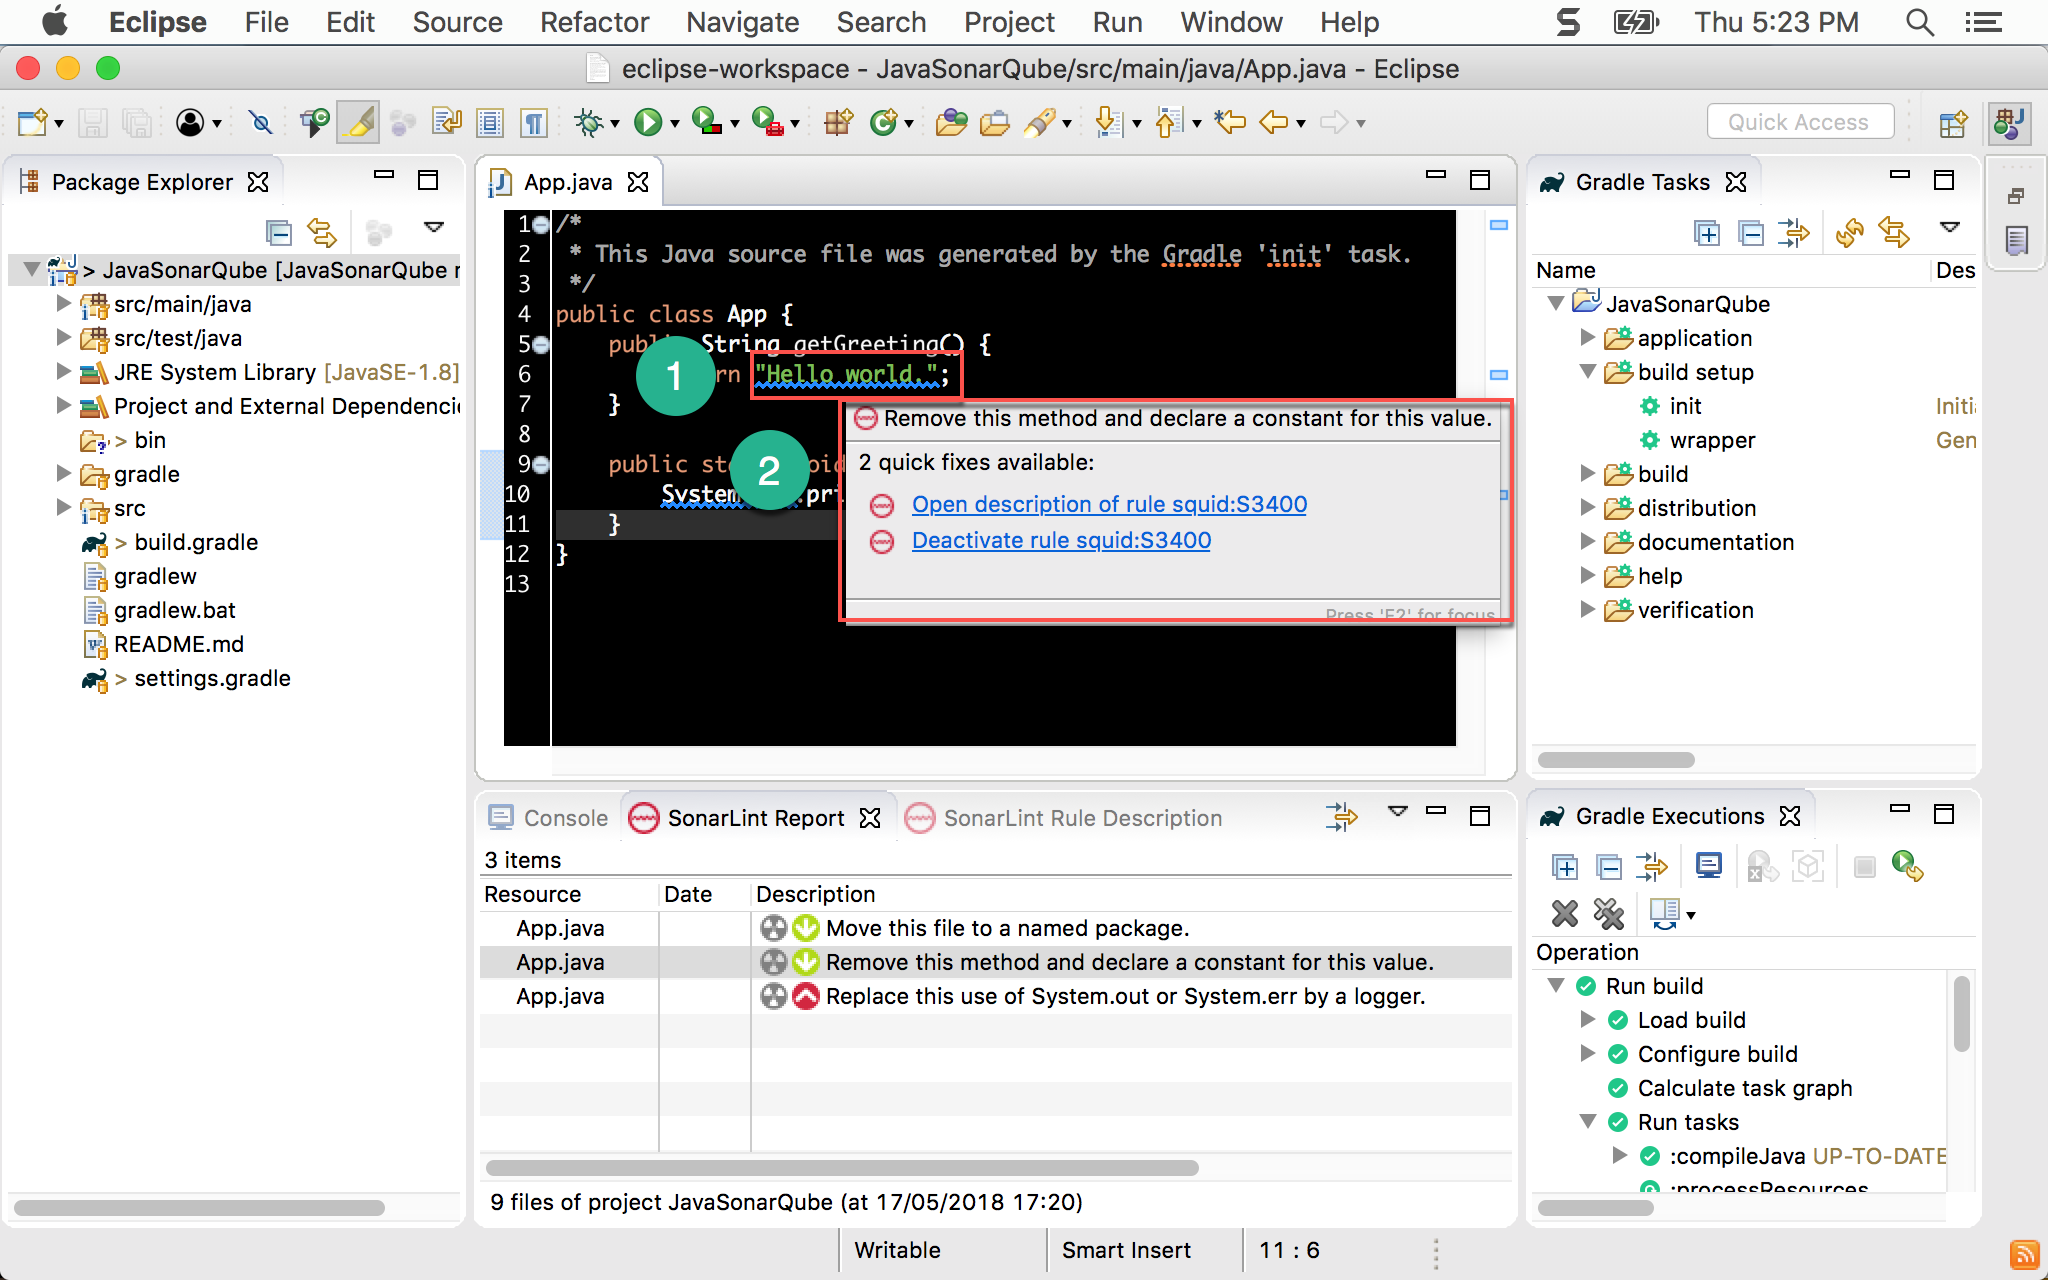
- 在 editor 也會即時警告
- 將滑鼠放在警告之上,也會顯示與 SonarQube 相同的警告訊息
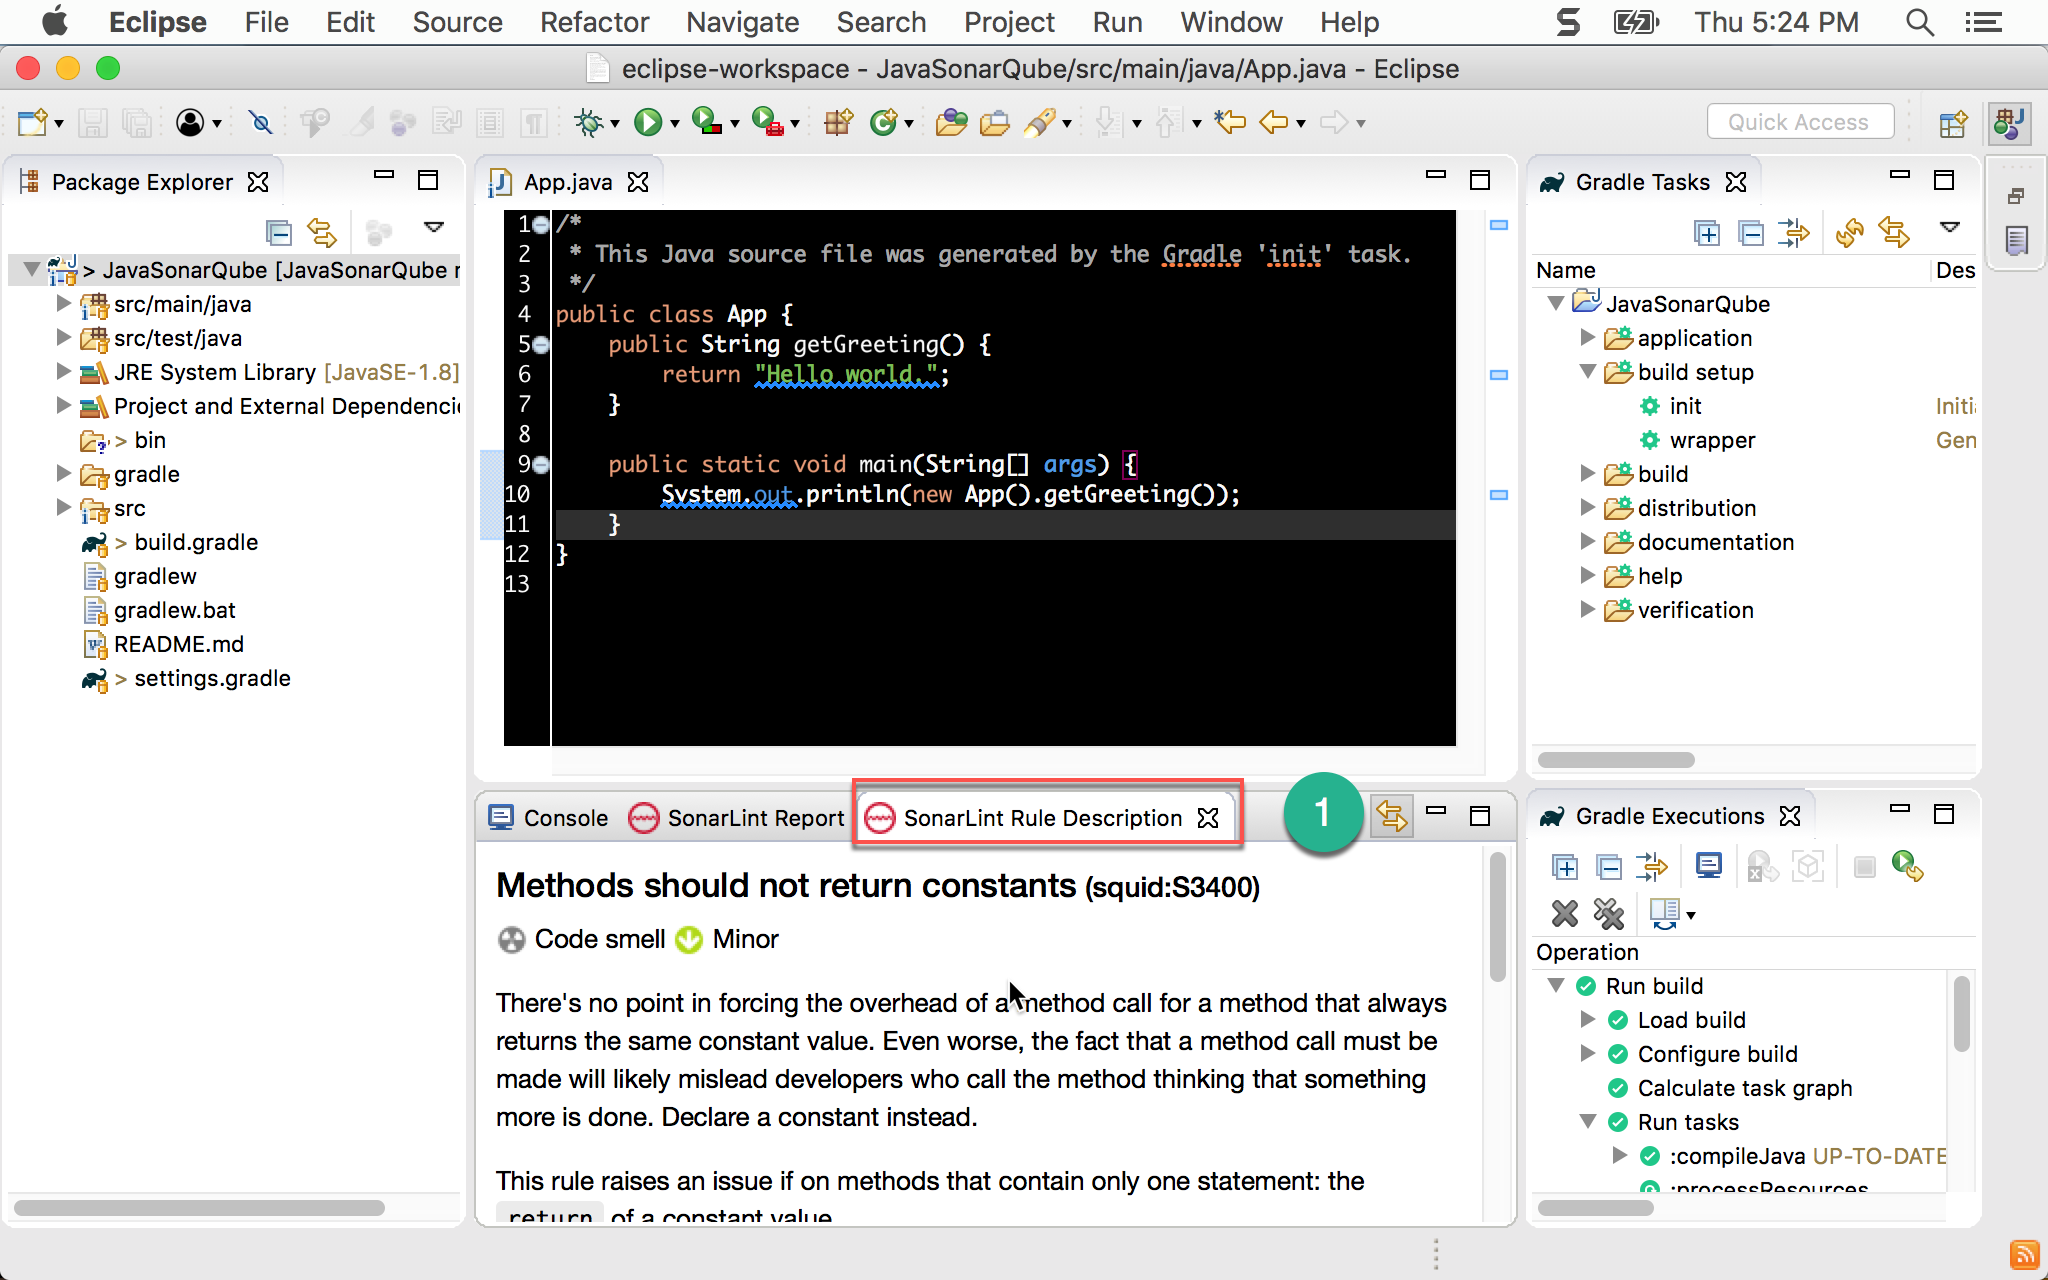
- 點選 SonarLint Rule Description,會顯示該警告更詳細的解釋,甚至還有範例說明
Conclusion
- 我對 Java 與 Gradle 完全不熟,本篇要感謝 Carl Su 的友情幫助,才能在 Eclipse 順利執行 SonarLint
- 有了 SonarLint,developer 就能更即時的獲得 SonarQube 的建議,養成寫出 clean code 的好習慣
Sample Code
完整的範例可以在我的 GitHub 上找到
Appendix
JAVA_HOME
~/.bash_profile
1 | export JAVA_HOME=$(/usr/libexec/java_home) |
這裡在執行 Gradle 時遇到一個雷,由於 Gradle 與 Eclipse 都會依賴系統變數 $JAVA_HOME,必須在 bash_profile 設定 $JAVA_HOME 才會讓 Gradle 與 Eclipse 順利抓到,而不能只設定在 .zshrc ,所以不要覺得在 iTerm 2 能 echo $JAVA_HOME 就沒事,畢竟 Gradle 與 Eclipse 不是吃 .zshrc,而是吃 .bash_profile。