如何在 Component 間交換資料 ?
若只有一個 component,就沒有交換資料的問題,反正資料都在 class 的 field;但一旦切成多 component 之後,parent component 與 child component 要怎麼交換資料就成為不可避免的課題,本文介紹 3 種方法。
Version
Node.js 8.9.3
Angular CLI 1.6.2
Angular 5.2
User Story
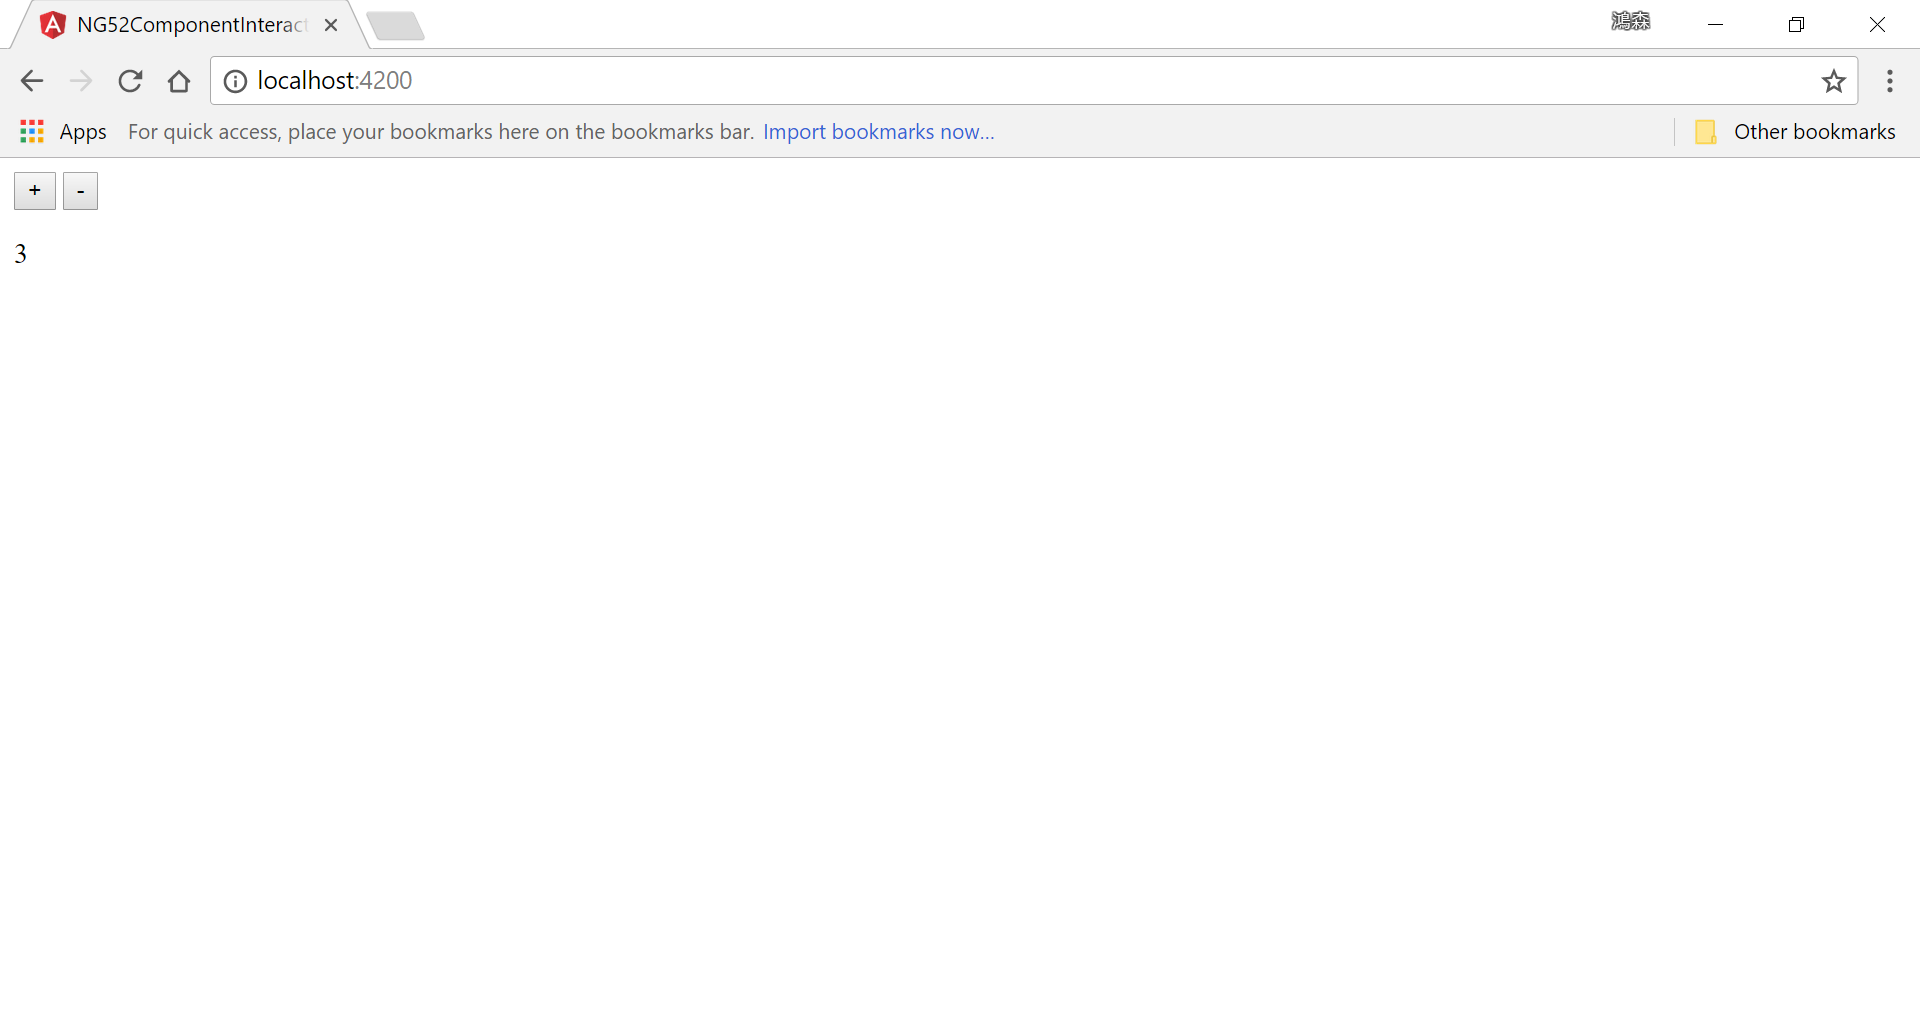
counter初始值為3- 按
+則counter+ 1,按-則counter-1
Task
有以下面 3 種實作方式
@Input()+@Output()decorator@ViewChild()decorator- Observable Data Service
@Input() & @Output() Decorator
Architecture

AppComponent負責顯示counter;CounterComponent負責處理<button/>AppComponent相當於 parent component,CounterComponent相當於 child componentAppComponent須向CounterComponent傳入 counter 初始值;CounterComponent須向AppComponent傳出最新 counter 結果
Implementation
AppComponent

app.component.html
1 | <app-counter (counterChange)="onCounterChange($event)" [initialCounter]="initialCounter"></app-counter> |
AppComponent 透過 InitialCounter 將 counter 的初始值傳進 CounterComponent,另外由 onCounterChange() 接受 CounterComponent 傳出的 counterChange event。
由 AppComponent 顯示實際的 counter。
onCounterChange($event)的參數一定要用$event,Angular 底層另有處理
app.component.ts
1 | import { Component } from '@angular/core'; |
10 行
1 | counter: number = this.initialCounter; |
counter 的初始值,除了顯示外,也傳進 CounterComponent。
12 行
1 | onCounterChange(counter: number) { |
由 onCounterChange() 接受 counterChange event,雖然傳進的是 $event,但在 method 內可使用自己容易閱讀的參數。
CounterComponent

counter.component.html
1 | <button (click)="onAdd1Click()">+</button> |
將 2 個 <button/> 封裝在 CounterComponent 內。
counter.component.ts
1 | import { Component, EventEmitter, Input, OnInit, Output } from '@angular/core'; |
第 9 行
1 | @Input() initialCounter; |
將 field 加上 @Input() decorator 後,parent component 就可以透過 @Input() 將資料傳進 child component。
10 行
1 | @Output() counterChange: EventEmitter<number> = new EventEmitter<number>(); |
將 field 加上 @Output() decorator 後,child component 就可透過 event 方式將資料傳到 parent component。
EventEmitter 可接受泛型,將要傳出的資料型別以泛型表示。
13 行
1 | ngOnInit(): void { |
凡透過 @Input() 傳進的資料,必須在 ngOnInit() lifecycle hook 才可抓到資料。
17 行
1 | onAdd1Click() { |
onAdd1Click() 接受 DOM 原生的 click event。
透過 EventEmitter.emit() 將資料由 child component 傳到上層的 parent component。
Summary

- 當 parent component 要將資料傳給 child component 時,使用
@Input()decorator - 當 child component 要將資料傳給 parent component 時,使用
@Output()decorator
@ViewChild() Decorator
Architecture
同樣是 AppComponent 與 CounterComponent,但這次是反過來,將 counter 包進 CounterComponent,卻將 <button/> 留在 AppComponent。

AppComponent負責處理<button/>;CounterComponent負責顯示counterAppComponent相當於 parent component,CounterComponent相當於 child componentAppComponent直接呼叫CounterComponent的 method 改變counter;AppComponent也可直接讀取CounterComponent的 property
Implementation
AppComponent

app.component.html
1 | <button (click)="onAdd1Click()">+</button> |
將 2 個 <button/> 留在 AppComponent 內。
AppComponent 透過 InitialCounter 將 counter 的初始值傳進 CounterComponent,實際的 counter 值將由 CounterComponent 顯示。
app.component.ts
1 | import { AfterViewInit, Component, ViewChild } from '@angular/core'; |
10 行
1 | @ViewChild(CounterComponent) counterComponent: CounterComponent; |
Angular 允許我們在 parent component 透過 @ViewChild() decorator 宣告 child component,藉此存取 child component 的 public field 與 method。
@ViewChild() 第一個參數傳入 child component 的型別。
第 9 行
1 | export class AppComponent implements AfterViewInit { |
若要透過 @ViewChild() 存取 child component 的 public field,則必須在 ngAfterViewInit() lifecycle hook 才可抓的到,不可以在 ngOnInit()。
17 行
1 | onAdd1Click() { |
若要透過 @ViewChild() 存取 child component 的 public method,則無此限制。
CounterComponent

counter.component.html
1 | {{ counter }} |
負責顯示 counter。
counter.component.ts
1 | import { Component, Input, OnInit } from '@angular/core'; |
第 9 行
1 | @Input() initialCounter; |
將 field 加上 @Input() decorator 後,parent component 就可以透過 @Input() 將資料傳進 child component。
Summary

- 當 parent component 要存取 child component 時,使用
@ViewChild()宣告 child decorator,public field 可在ngAfterViewInit()存取,public method 則無此限制
Observable Data Service
一樣維持 AppComponent 包含 <button/>,而 CounterComponent 顯示 counter,但這次將 counter 獨立放在 CounterService 內。
Architecture

AppComponent負責處理<button/>;CounterComponent負責顯示counterAppComponent相當於 parent component,CounterComponent相當於 child component- 將
counter變數改放在CounterService的BehaviorSubject,再以Observable型態給其他 component 訂閱
- 根據
依賴反轉原則,component 不直接相依於CounterService,而是兩者相依於 interface - 根據
介面隔離原則,component 只相依於它所需要的 interface,因此AppComponent訂出InitialCounterInterface,而CounterComponent訂出ChangeCounterInterface,CounterService必須實踐此 2 個 interface AppComponent、CounterComponent與CounterService都只相依於InitialCounterInterface與ChangeCounterInterface,如此 component 與 service 將徹底解耦合CounterComponent只負責訂閱CounterService;當資料改變時,CounterService會自動更新CounterComponent
Implementation
AppComponent

app.component.html
1 | <button (click)="onAdd1Click()">+</button> |
將 2 個 <button/> 留在 AppComponent 內。
AppComponent 透過 InitialCounter 將 counter 的初始值傳進 CounterComponent,實際的 counter 值將由 CounterComponent 顯示
app.component.ts
1 | import { Component } from '@angular/core'; |
15 行
1 | onAdd1Click() { |
使用 CounterService 提供的 add1() 將 counter + 1。
12 行
1 | constructor(private counterService: ChangeCounterInterface) { |
因為 onAdd1Click() 與 onMinus1Click() 都使用了 CounterService,因此需要 DI 注入 CounterService。
根據 依賴反轉原則,我們不應該直接相依於 CounterService,而應該相依於根據 ApppComponent 需求所定義出的 ChangeCounterInterface。
change.counter.interface
1 | export abstract class ChangeCounterInterface { |
根據 介面隔離原則,因為 AppComponent 只使用了 add1() 與 minus1(),因此 ChangeCounterInterface 也應該只有 add1() 與 minus1()。
CounterComponent

counter.component.html
1 | {{ counter$ | async }} |
只負責顯示 counter$ 的 component。
counter.component.ts
1 | import { Component, Input, OnInit } from '@angular/core'; |
12 行
1 | counter$: Observable<number> = this.counterService.counter$; |
counter$ 為 Observable,直接使用 CounterService.counter$ property。
17 行
1 | ngOnInit(): void { |
由 CounterService.setInitialCounter() 設定 counter 的初始值。
14 行
1 | constructor(private counterService: InitialCounterInterface) { |
因為 ngOnInit() 使用了 CounterService,因此需要 DI 注入 CounterService。
根據 依賴反轉原則,我們不應該直接相依於 CounterService,而應該相依於根據 CounterComponent 需求所定義出的 InitialCounterInterface。
initial-counter.interface.ts
1 | import { Observable } from 'rxjs/Observable'; |
根據 介面隔離原則,因為 CounterComponent 只使用了 counter$ 與 setInitialCounter(),因此 ShowCounterInterface 也應該只有 counter$ 與 setInitialCounter()。
CounterService

counter.service.ts
1 | import { Injectable } from '@angular/core'; |
第 8 行
1 | export class CounterService implements InitialCounterInterface, ChangeCounterInterface |
根據 介面隔離原則,我們依照 component 需求訂出 InitialCounterInterface 與 ChangeCounterInterface,因此 CounterService 必須概括承受實現這些 interface。
第 9 行
1 | private counterStore$: BehaviorSubject<number> = new BehaviorSubject<number>(0); |
使用 BehaviorSubject 當作 CounterService 內部的資料庫,儲存共用的 counter。
12 行
1 | setInitialCounter(initialCounter: number) { |
使用 BehaviorSubject.next() 儲存 counter 的初始值。
16 行
1 | add1() { |
使用 this.counterStore$.getValue() 獲得目前 counterStore$ 最新一筆資料,也就是目前的 counter 值,然後 +1。
最後使用 this.counterStore$.next() 將最新的 counter 寫入 BehaviorSubject。
10 行
1 | counter$: Observable<number> = this.counterStore$; |
已經都自己維護一份 BehaviorSubject 的 counterStore$,我們希望當 BehaviorSubject 使用 next() 改變資料時,能通知所有 subscribe() 的 component 都能自動更新,這也是我們使用 Observable Data Service 的初衷。
既然 BehaviorSubject 繼承於 Observable,理論上我們也可直接將 store$ 設定為 public,直接被 component subscribe(),但因為 BehaviorSubject 提供 next(),因此也可能被 component 誤用 next() 而新增資料,因此我們改用真的 Observable 給 component 訂閱,確保 store$ 不會被 component 新增資料。
由於 store$ 也是一種 Observable,根據 里式替換原則,父類別可被子類別取代,因此不需要特別傳型。
AppModule
app.module.ts
1 | import { BrowserModule } from '@angular/platform-browser'; |
由於我們 component 與 service 都是基於 依賴反轉原則 與 介面隔離原則 所設計,因此必須藉由 DI container 幫我們將相對應的 service 注入。
18 行
1 | CounterService, |
一般我們使用普通 service 時,都是每個 component 注入新的 service,但使用 Observable Data Service 時不可如此,因為我們就是希望各 component 共用一份資料,只要在 provider 使用 useExisting,Angular DI container 就會以 Singleton 方式建立 service,各 component 才能共用同一份 counterStore$ 。
Summary

- 當 component 之間有 parent / child 架構時,尚有
@Input()、@Output()、@ViewChild()等方法可用;但當 component 之間為 sibling 架構時,就只剩下 Observable Data Service 可用 - Parent / child 架構算 sibling 架構的特例,當然也可以使用 Observable Data Service
- 當 sibling component 越多,越適合 Observable Data Service
Conclusion
- @Input() & @Output() : component 之間的資料是靠傳遞的,透過
@Input()傳入,透過@Output()傳出;若 child component 的改變必須及時通知 parent component,則適合@Output() - @ViewChild() : 由 parent component 直接存取 child component 的資料;若 child component 不會改變,則適合
@ViewChild() - Observable Data Service : 將 component 相關的資料獨立成 service,DI 注入到 component,透過 RxJS,只要訂閱 component,將來資料若異動會自動更新;若 component 之間的互動與資料關係複雜,則適合 Observable Data Service
Sample Code
完整的範例可以在我的 GitHub上找到